

Butterick 5537 is a unisex pattern for a robe and pajamas. I needed a flannel robe and like the shawl collar on this one, so I gave it a try.
It gave me a Eureka moment so I’ll just skip right to that. I’ve only made one unisex pattern before. It was a Hawaiian style shirt and didn’t fit me well. I remembered it when I’d cut this robe because I had a similar result.
Mr. Math is 6’2″. I’m 5’5″. He has a 40″ chest and I have a 39″ bust. No matter whether I was making this robe for him or for me, I’d cut a Medium (which I did). But which of us will it fit? It can’t possibly fit both of us well and it doesn’t. This isn’t really a unisex pattern – it’s been drafted for a man. It fits the mister perfectly and the details are proportionate. I, on the other hand, was overwhelmed by fabric. So, if you’re a woman who is buxom or who has broad shoulders, a broad back, is tall, or wants a robe that is longer than mid-calf, this pattern might work for you right out of the envelope. If you’re a shorter, pear-shaped woman with narrow shoulders, who chose a pattern for a mid-calf length robe because you actually wanted a mid-calf length robe, then you (like me!) will have some modifications to make.
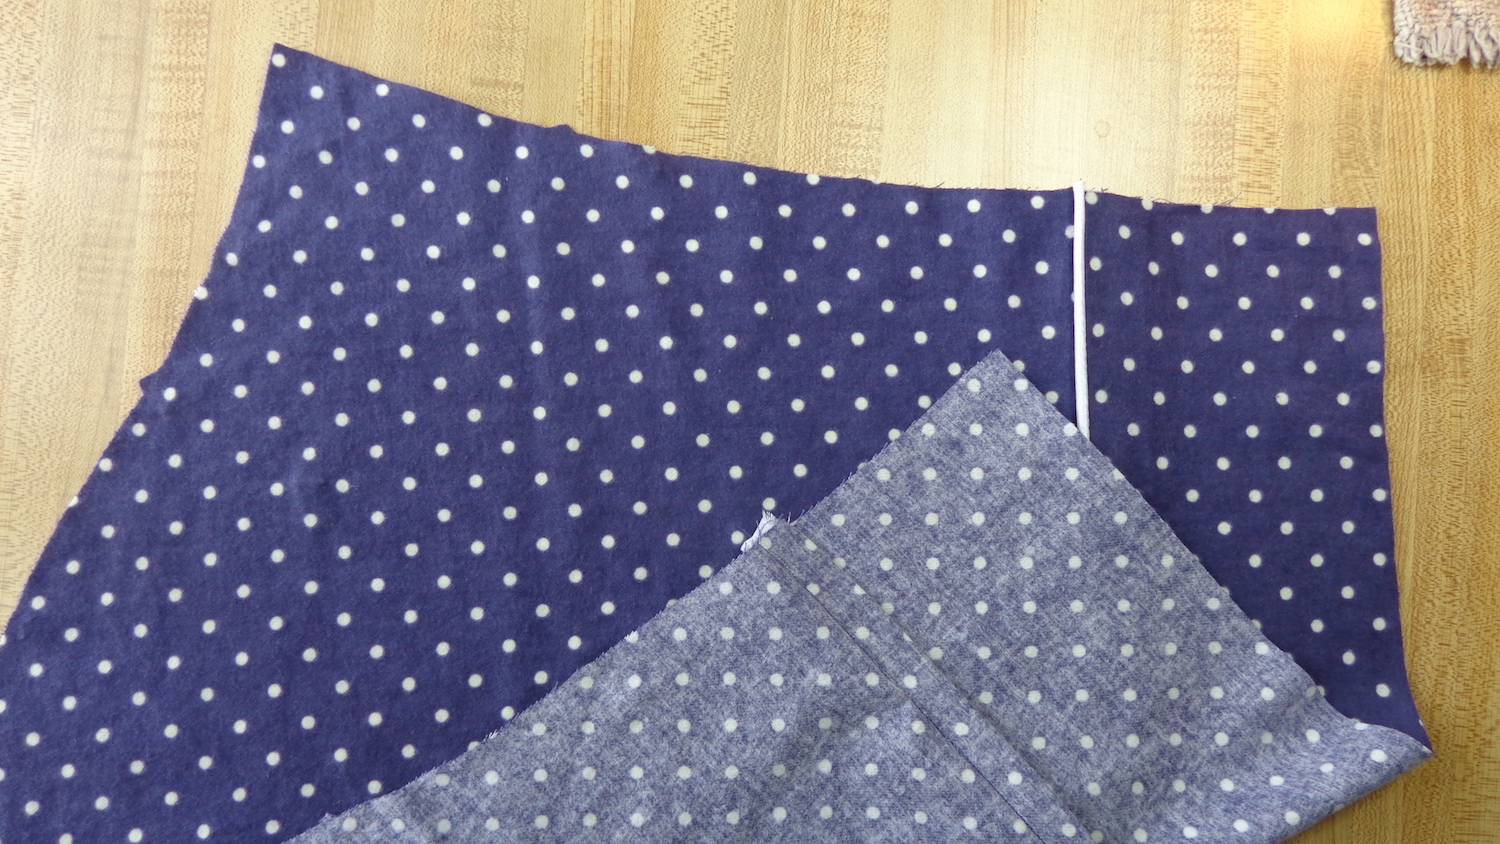
I bought a purple 100% cotton flannel with white polka dots (115cm wide) at Fabricland. The design is printed, and (as is so often the case) it’s printed off-grain – this made it a bit of a challenge to match the pockets but I did my best. I added some satin piping in white, as well. Since this robe is going to be washed, I pre-washed both the flannel and the piping (put it in a pillowcase or lingerie bag in the washer), so there won’t be any surprises later. I used a fusible knit interfacing for the collar facing and also interfaced the belt.
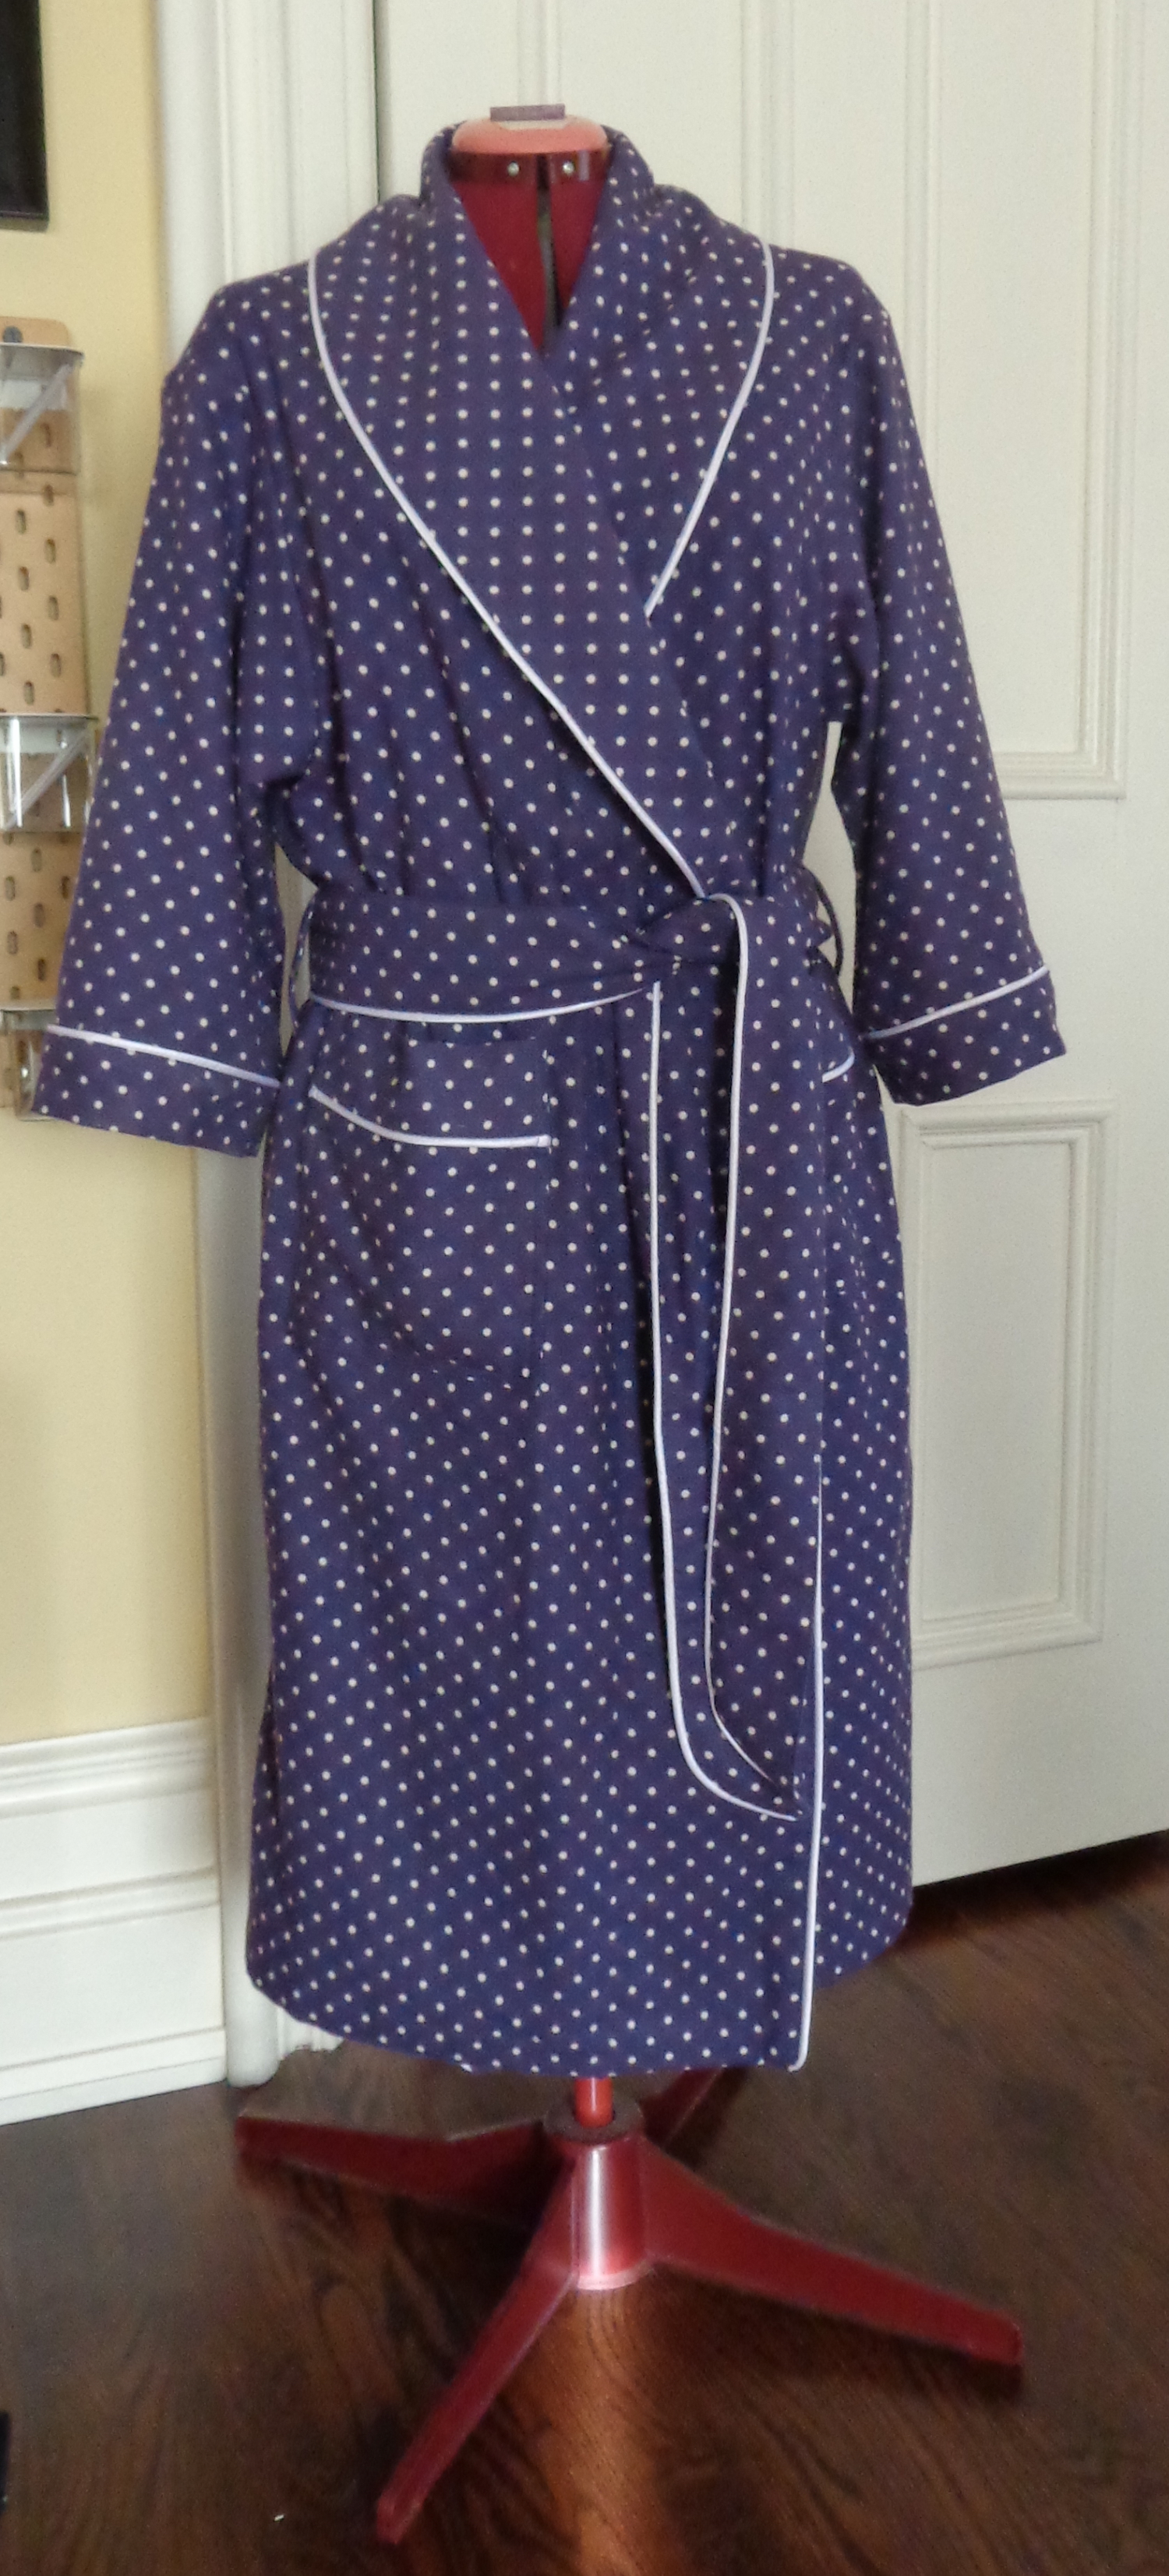
Here’s my finished robe, so you don’t lose hope reading about my modifications!
The surprises were in the dimensions of the garment: it was absolutely enormous for me. When I seamed the shoulders, thought “wowza” and tried on the unfinished robe, the bottom edge was on the ground. There was no way it would hem to mid-calf as in the illustration. I cut six inches off the hems right away and began to modify. The pocket placement was far too low – sadly, I sewed them on before having my “wowza” moment, so I got to pick them off again. I could only put my fingertips in the pockets – and the pockets were proportionately too big, IMO. The armscye is closer to my waist, so naturally, the placement of the belt loops is too low. The sleeves are similarly long and wide – I knew at that point I’d have to cut at least 4″ off them. At this point, I abandoned the directions and began to make modifications each step of the way.
I had already decided to fell the seams wherever possible, since that finishing will ensure it wears better. I picked off the pockets and put them aside, working on the collar first. I felled the shoulder seams, added the piping to the outside edge of the collar, then sewed the facing to the fronts along the outside edge but stopped about 6″ from the bottom edge. Then I sewed the side seams and felled them, then I turned up a two-inch hem (one inch rolled twice) and ironed it in place. With this done, I could fold under the hems at the front edge and finish that seam. Then I sewed the hem. Once turned and pressed, I top-stitched the outer edge of the collar near the piping to make that edge crisp.
The facing on the collar was supposed to be slip-stitched in place over the shoulder seams, which didn’t make sense to me. I pressed mine, but before sewing it in, I added a loop at the center back to hang the robe on a bathroom hook, and a label, just because. 🙂 I then pinned and sewed the collar facing down, from one hem, all the way around to the other. Phew!
On to the pockets. (If you place them sooner, you might inadvertently catch them when sewing down that collar facing.) I made a modification to the pockets since I had to do them again anyway. I wanted the piping to run across each one, like a cuff, and thought it would be better for the pockets to be lined so there’d be no raw edges inside. I cut two pockets, each 8″ by 18″. I sewed the piping on one 8″ edge, and pressed the seam allowance to the inside. In these pictures, the top of the pocket is at the left and the bottom on the right. (They look off-square partly because I’m bad at holding the camera level.)

Next, I turned it over and folded the “cuff” to the inside, right sides together – mine is 2.25″ from the fold to the outer edge of the piping.
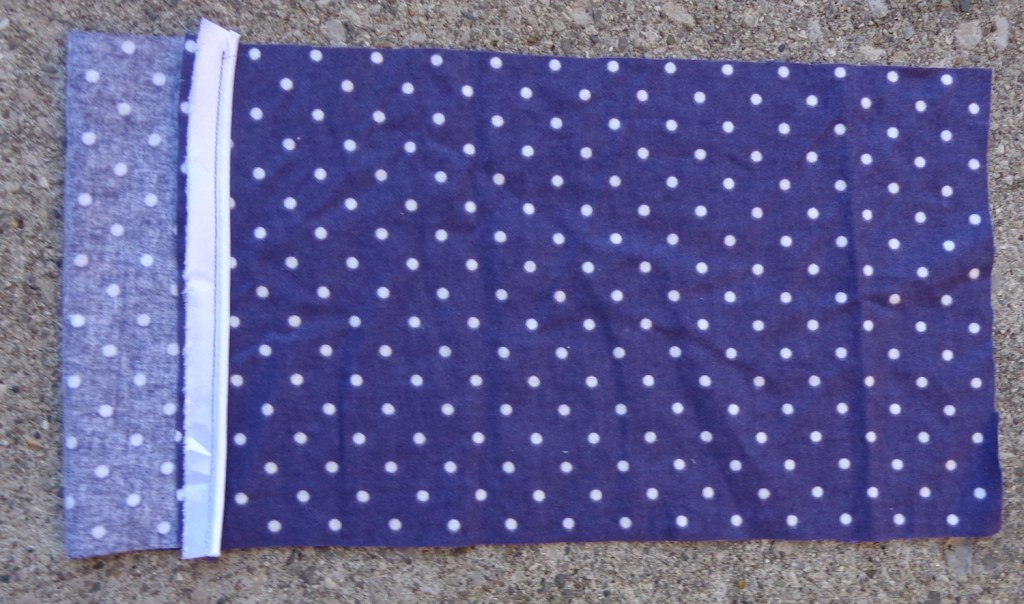
I folded the length of the pocket over this, so that the depth of the pocket was 8″. This created an overlap at the cuff end. See the raw edge at the left?
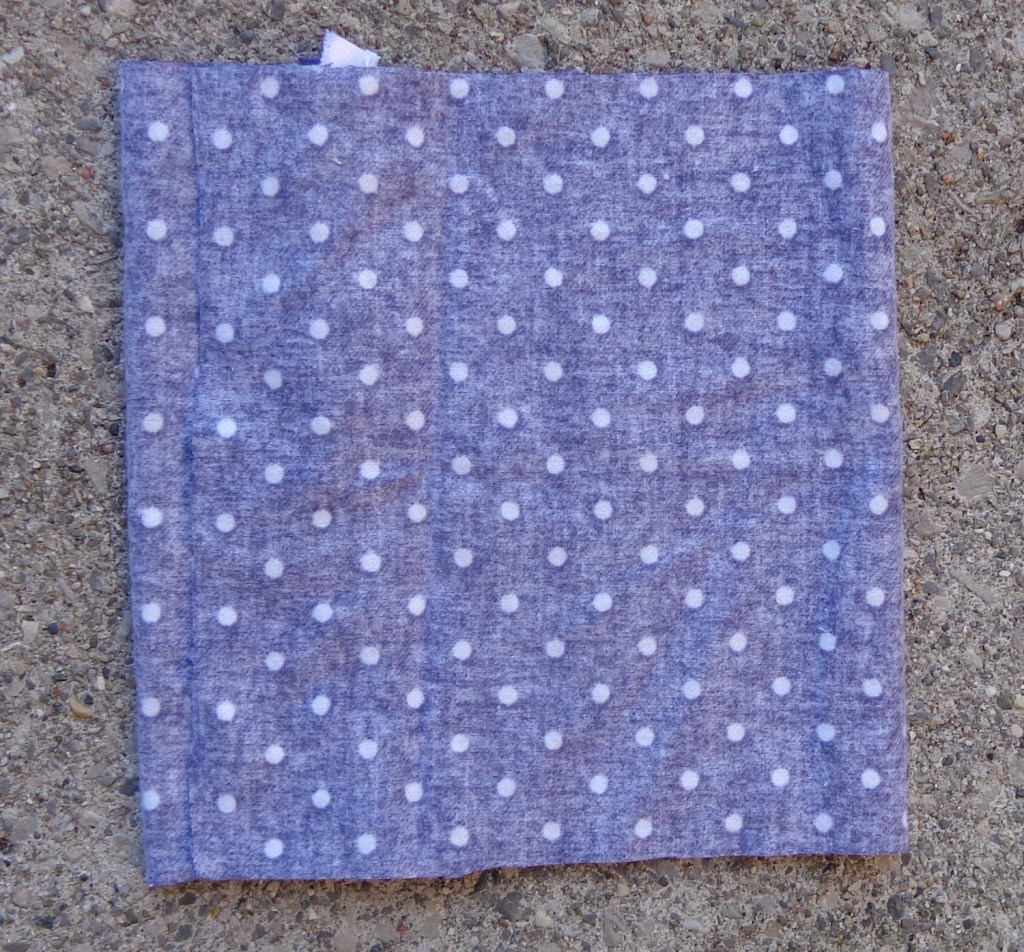
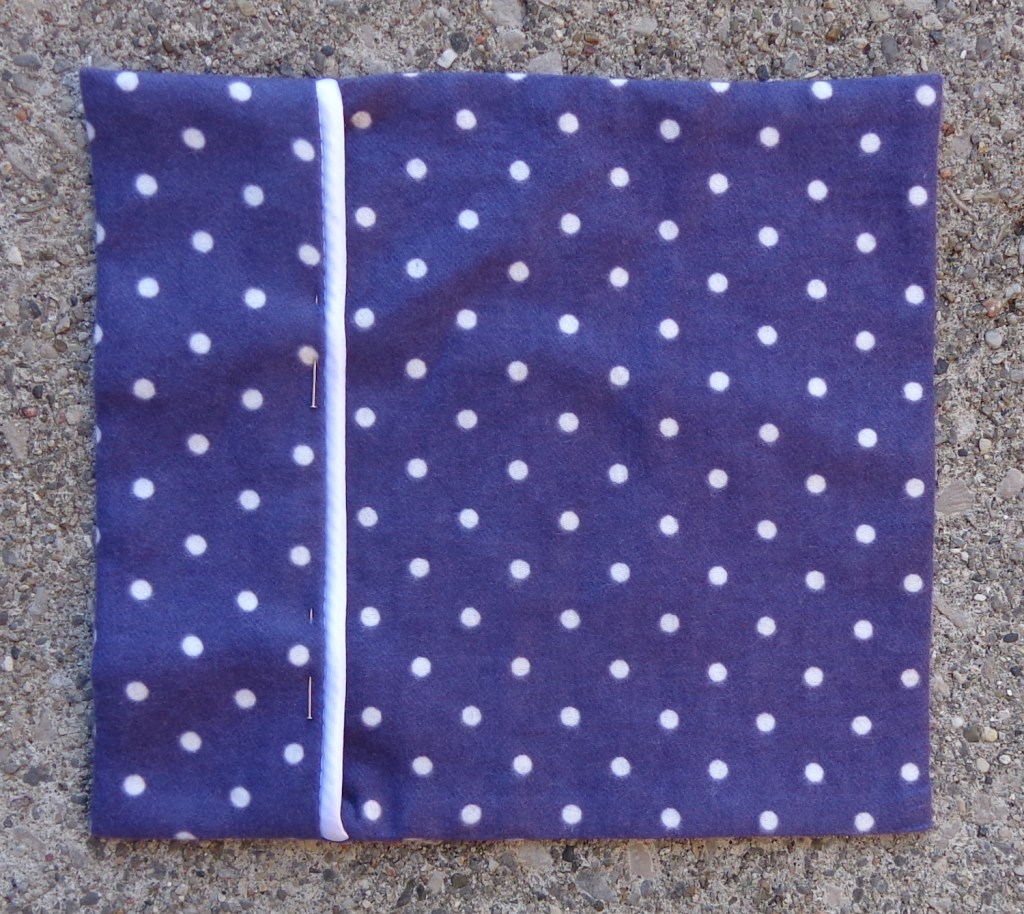
I sewed the sides of the pocket with 1/4″ seam allowances – in these pictures, those are the top and bottom edges – then turned the pocket through the cuff. This is is before it was pressed: I then top-stitched along the edge of the piping to close the opening forever, leaving a nice lined pocket.
I tried on the robe and positioned the pockets after I’d sewn down the collar facing, then edge-stitched and top-stitched them in place. I couldn’t match them perfectly because of that off-grain thing – also, I had to cut them crosswise instead of lengthwise out of the leftover fabric. If I’d shortened the robe in the first place, there would have been lots of fabric to cut them lengthwise. It turned out that the placement line closest to the center front was good, but my pockets are 4″ higher than the pattern specifies. They are too high, but they’re staying put—I should have only moved them up 2″
The sleeves were my next challenge. I knew they were too long, so pinned one in and tried on the robe. I marked a hem, took off the robe to pin it all the way across the sleeve, then tried it on to verify the position again. I pinned for a bracelet-length sleeve, so the cuff (which is wide on me) doesn’t slide through my breakfast. I had 11″ of fabric folded back for the hem, but I didn’t cut it yet. I wanted a piped cuff like the one on the pockets. I marked two inches above the pinned hemline, then removed those pins. (They were about to become incorrect.) Then I sewed a piece of piping across that line, piping cord toward the shoulder.
I pressed and folded up the hem to encase the raw edges of the piping and sewed again.
I pressed that seam allowance down toward the cuff, then cut the sleeve 4.5″ from the piping. There was over 7″ of excess that had to go away.
Next I sewed the sleeve seam and felled it.
I pressed under 1/2″ on the cuff, then pressed it up 2″. This makes a cuff with that seam allowance from the piping trapped inside. (Ha.) If I did this again, I’d fell the seam first and do the cuff in the round afterward. That would simplify the bulkiness of the two ends of piping coming together at the same place. Here’s one sleeve inside-out, and one turned the right way.

I then pinned the sleeves into the robe and sewed them in place, trimming back the seam allowance. Since I was all-in at this point, I cut some bias binding from the flannel and bound those shoulder seams with it to finish them neatly.
I also put piping around the belt, and interfaced it, just to give it a bit more definition. The piping could only be on one side – I realized belatedly – since the belt folds lengthwise and is seamed in the middle. If I cut it again, I’d split the belt lengthwise and eliminate that middle seam so it could be piped all the way around.
I’m basically happy with the result but am still swimming in it, mostly because of those deep armholes and the extra fabric in the bodice. (It makes me look like a blueberry hobbit.) If I cut this pattern again, I’d take two inches out of the length between the shoulders and the bottom of the armholes – I’d just fold the pattern an inch on the front, back and collar facing. That would also mean folding two inches out of the sleeve width, one on each side of the center line. They’d still be 13″ wide, so that would be fine. That would take 2″ out of the length, so I’d cut the robe 4″ shorter than the pattern piece. (It’s rectangular, so I could just fold up the hem.)
I also think the collar is proportionately a bit wide for my size – it’s perfect on Mr. Math – but I’d probably leave that alone. I might take an inch out of the width on the fronts and the back, to make that drop shoulder extend a little less than it does now. That would mean adding an inch to my modified sleeve length.
The interesting thing is that I cut a pair of the pants from this same pattern for Mr. Math. To my surprise, they weren’t drafted for either of us – I had to add 3″ to the length for his, and would have to shorten them by at least that much for me. The inconsistency is strange.
I do like that white piping. What do you think?

Pingback: A Linen Apron | Alive & Knitting