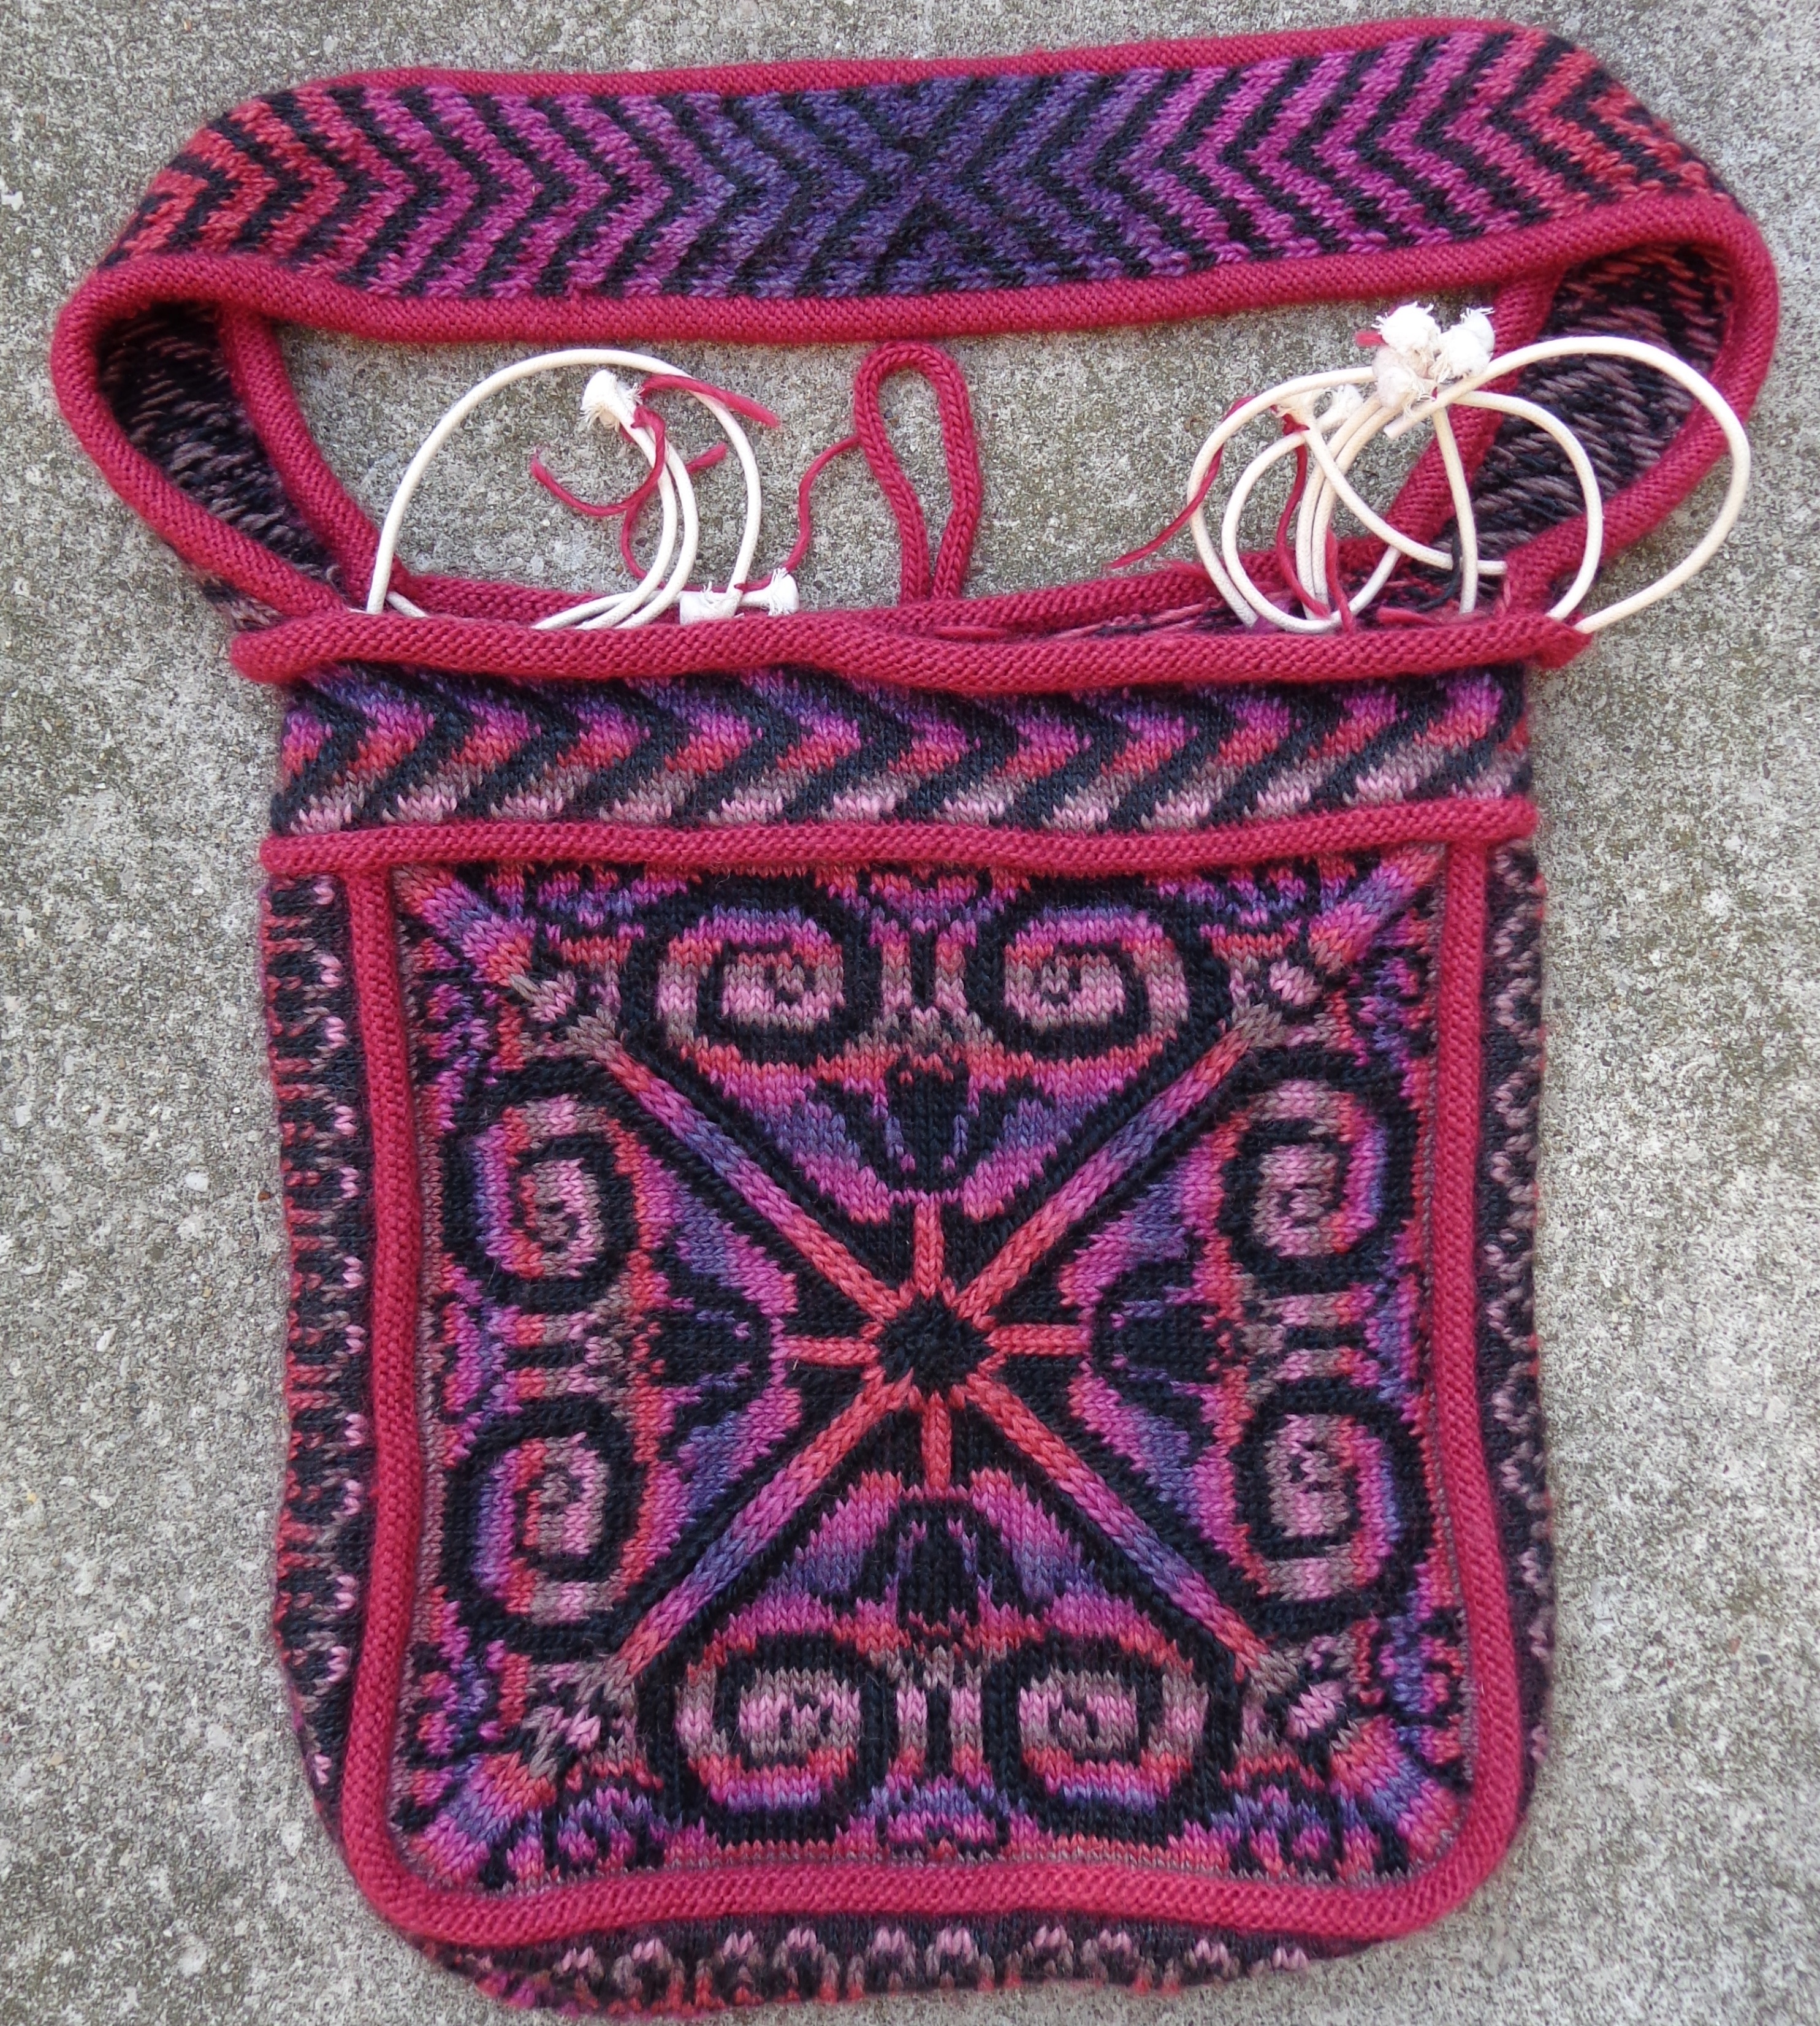
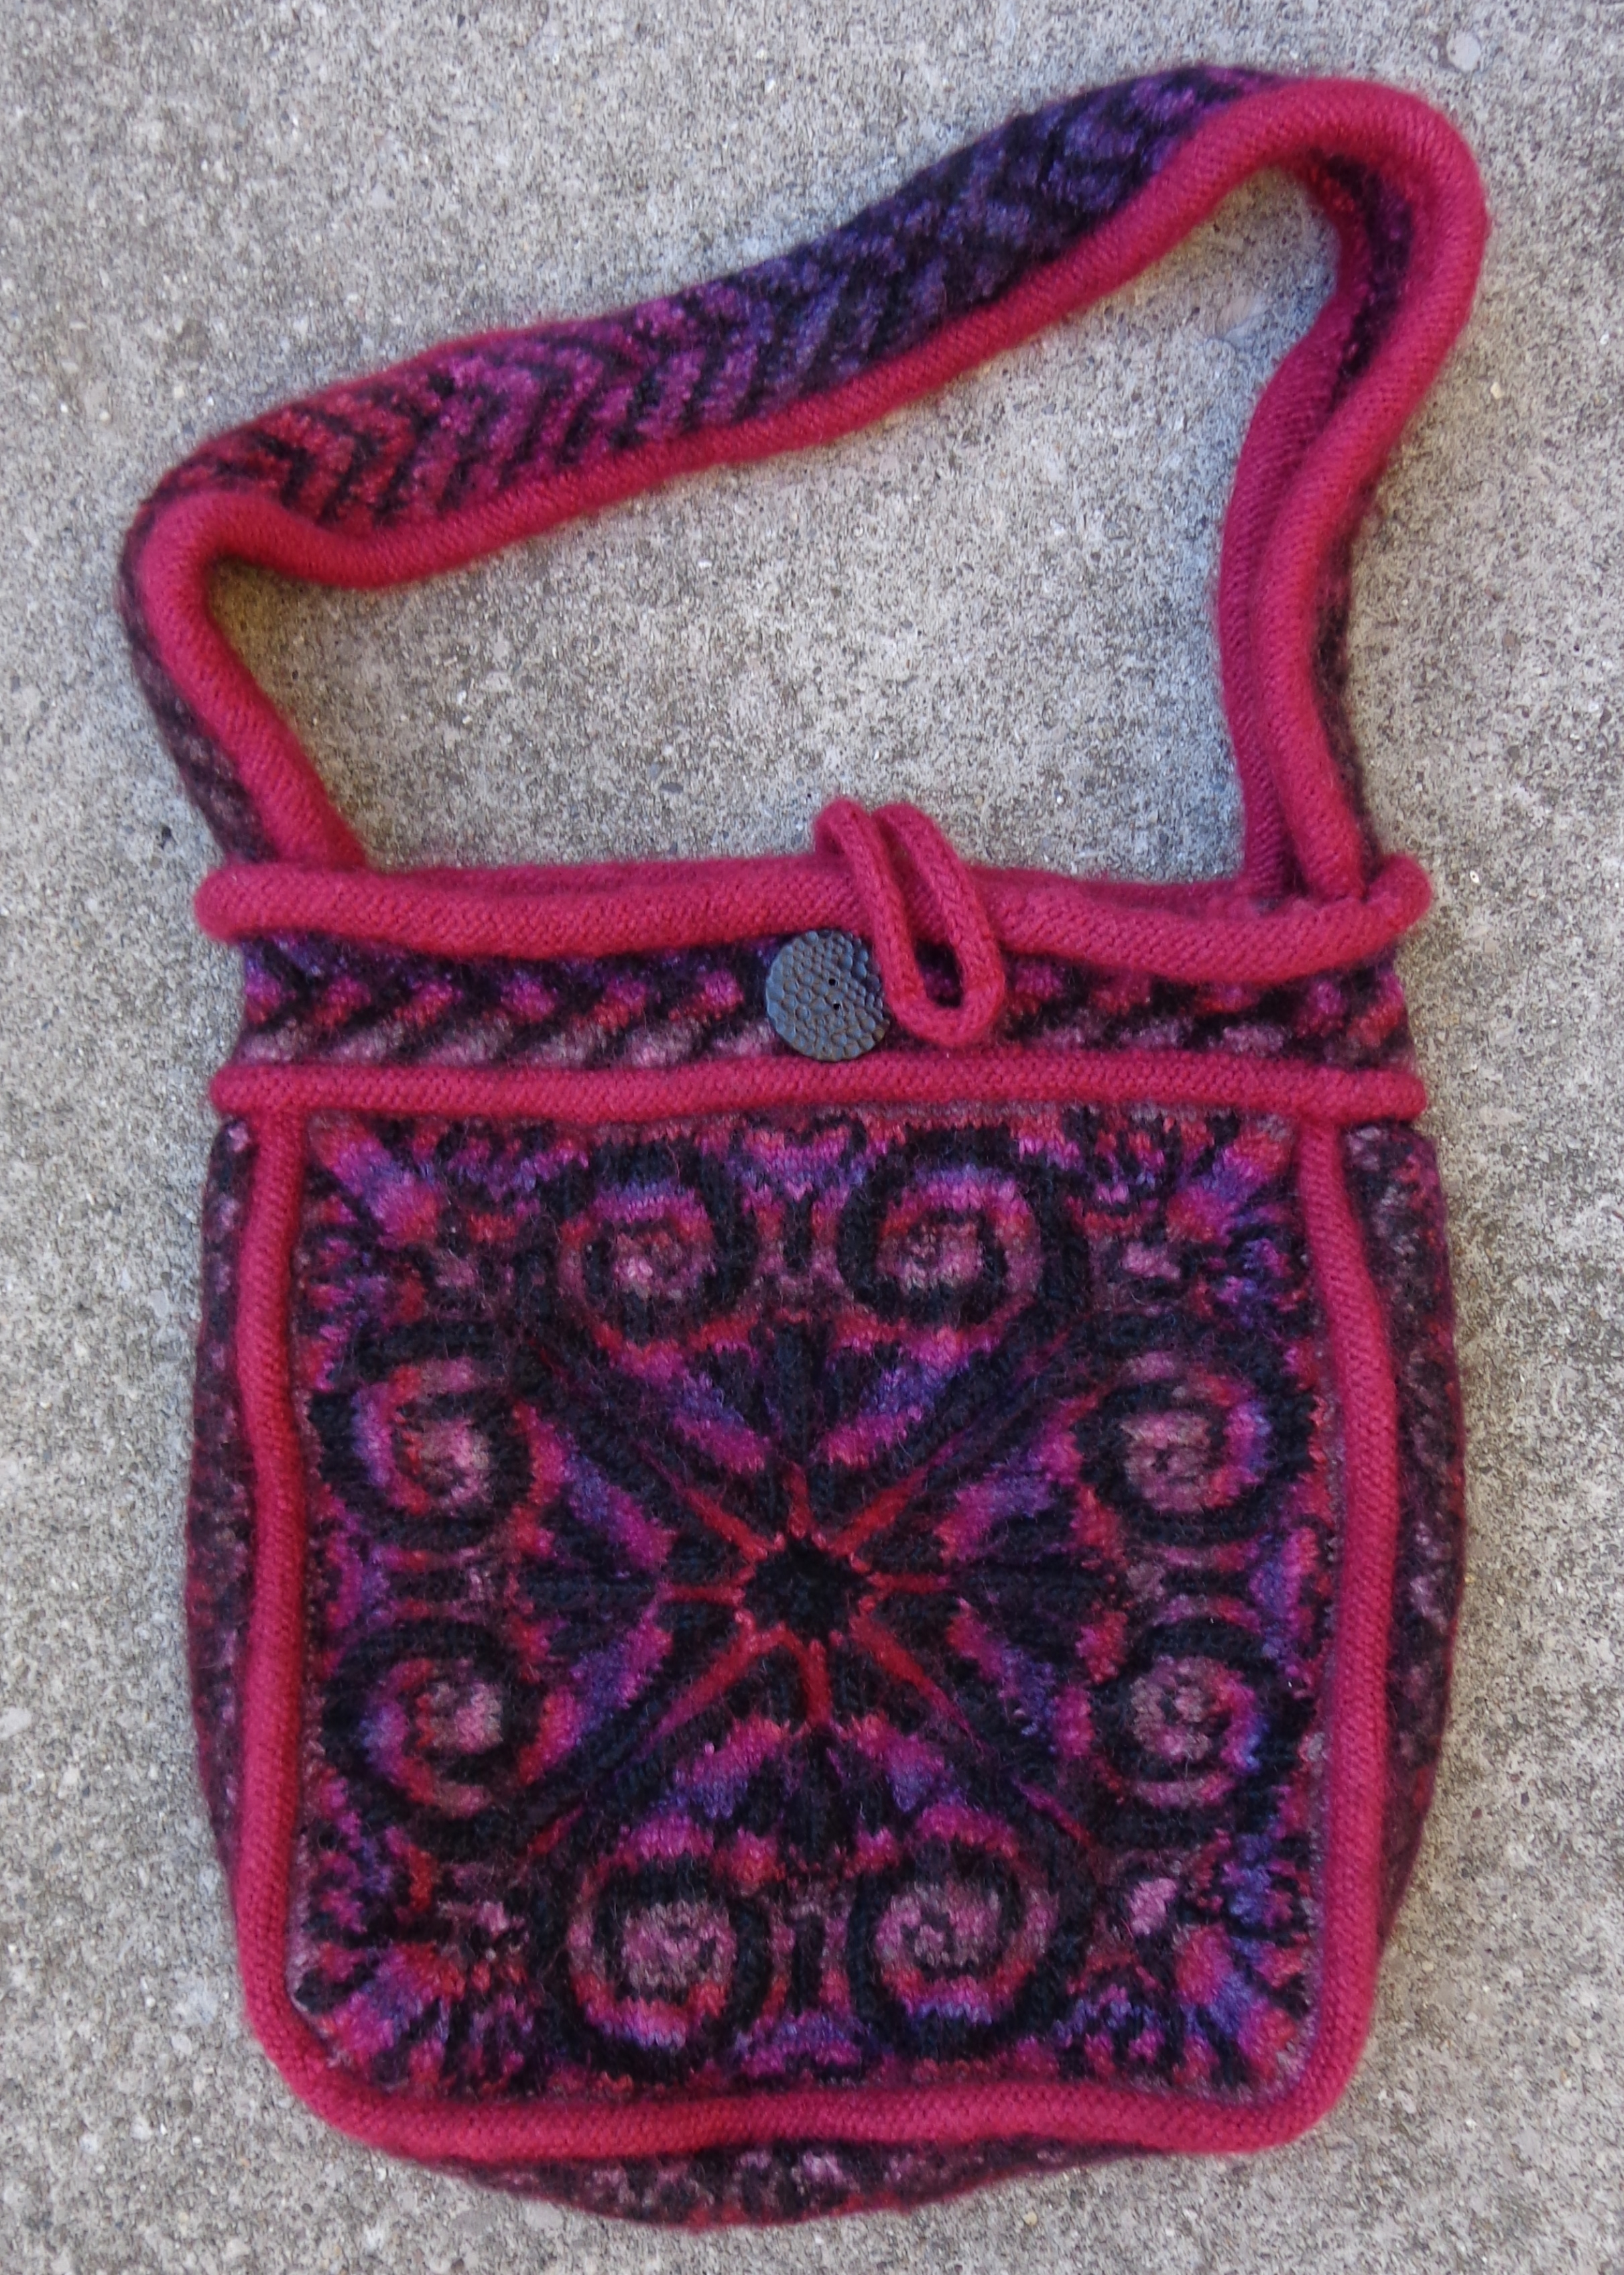
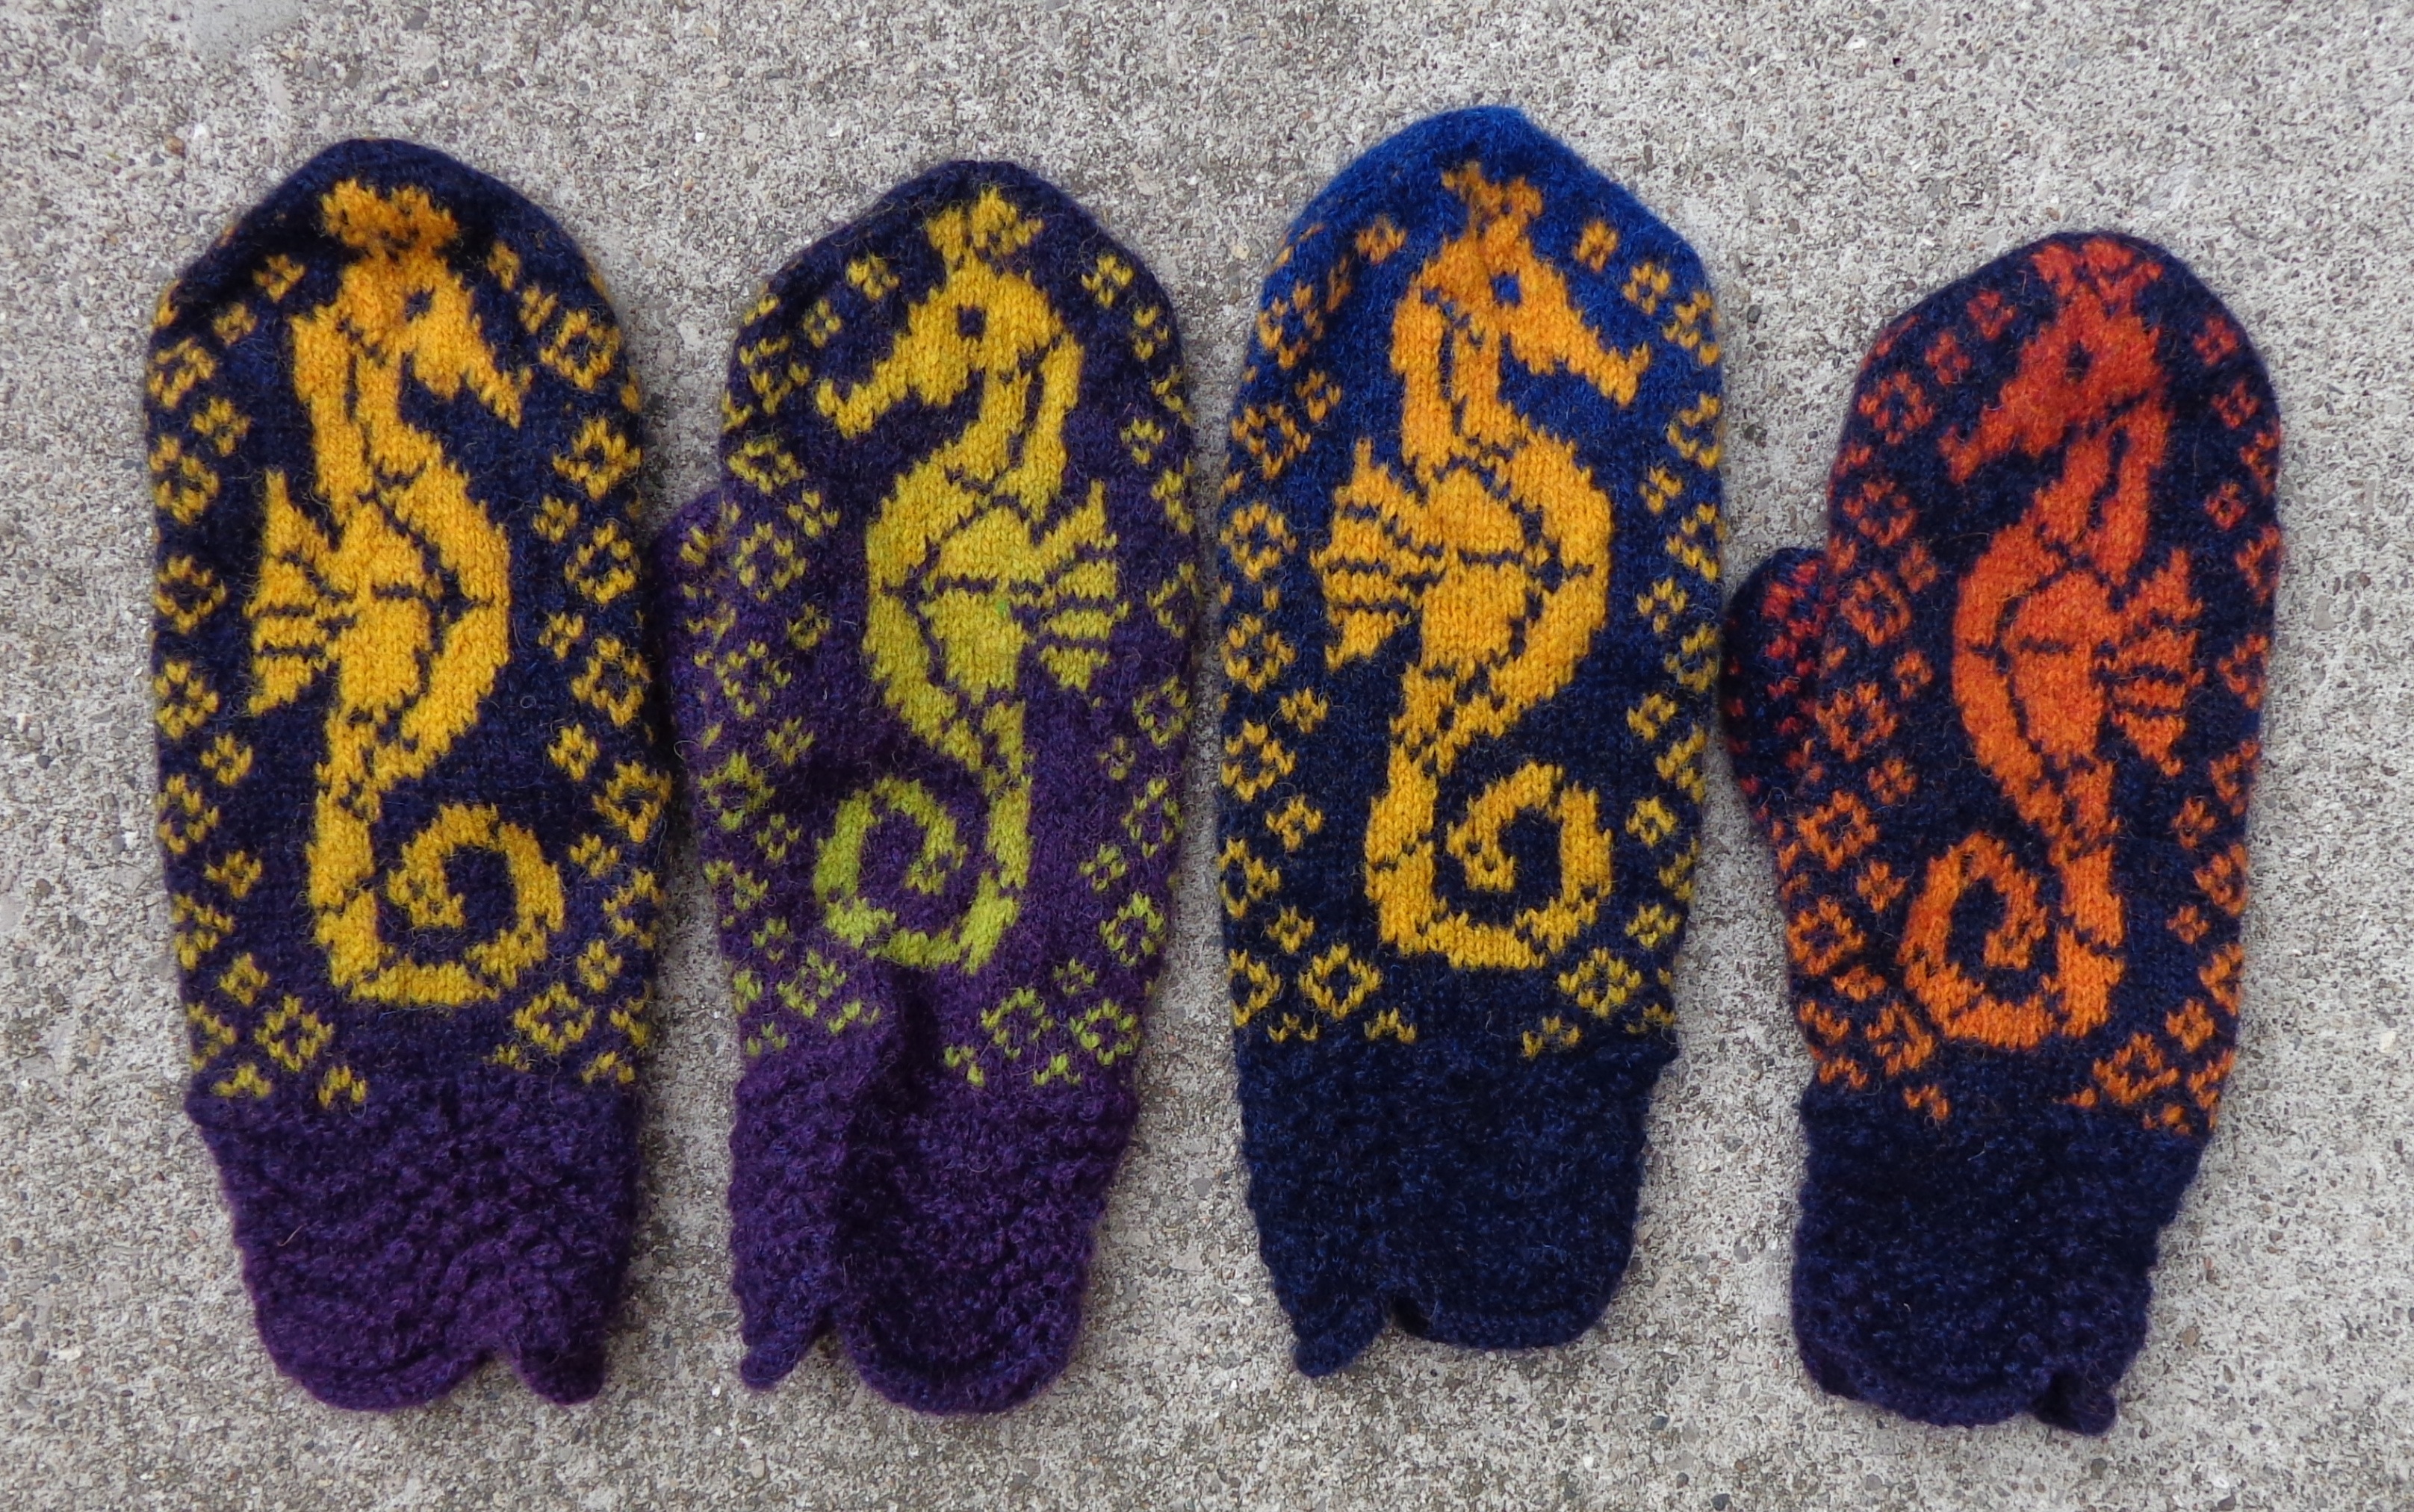
Well, you probably remember me going on and on (and on) about this fair isle messenger bag. Happy to say that it is DONE and you won’t have to hear anymore about it after today. I finally finished the knitting after abandoning that double knitted strap that wasn’t going to get knitted in my lifetime.
The most recent post on the bag is HERE, and it has links to the earlier posts. Unfortunately, the nifty black I-cord I was showing you in that picture is no more. After finishing the strap, I decided that all of the I-cord had to be in the variegated violet — so I ripped out the black I-cord. I’m not a huge fan of knitting I-cord, so it nearly made me weep to tear out three feet of it. BUT it looks much better with the I-cord all the same colour.
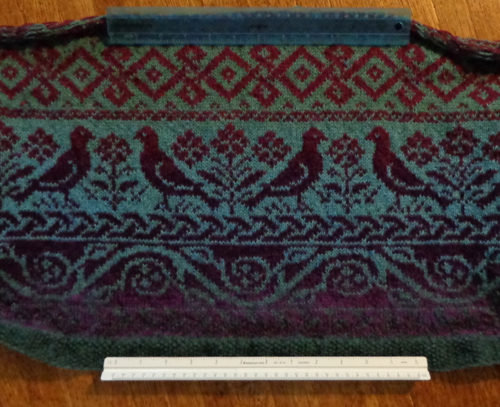
Here it is, ready to be felted:
It’s about 24″ wide and 22″ deep in its unfelted state. My hope was for a bag more like 18″ wide and 13″ deep. I’ve felted a lot of SWS and that seemed about reasonable to expect in terms of shrinkage. I was a bit worried about it being so humungous – would this be the felting project that finally finished off my trusty (ferocious) top-loading washing machine?
Nope. But it didn’t felt the way I expected. Felting is, by nature, somewhat unpredictable, at least the way I do it. Putting the piece into a pillowcase then chucking it into the washing machine and coming back in half an hour leaves lots of opportunity for variation. I just don’t have it in me to stand guard over a felting piece though, pulling it out of the machine at regular intervals, much less to felt by hand in the tub with a plunger. I have made my peace with unpredictability.
Sometimes. On the first ride through the washer, the bag felted quite a bit. The flap and strap hardly felted at all. The design was starting to lose definition on the bag, but the bag was still pretty big. I had to leave it on the top of the washing machine and visit it regularly – poke it, prod it – to come up with a plan. Mostly I had to accept that I was past the point of no return – it was useless as it was; there was no going back; I might as well risk another run through the washer.
Before putting it back into the pillowcase, though, I tried to figure out how to make the strap and flap felt more than the bag on this run. The front of the bag had also felted more than the back on the first pass. So, I rolled up the bag and tied it into a big roll, with the back of it on the outside, much the way a butcher ties up a roast. It seemed that less exposure to hot water and less agitation could make the bag felt less. (Remember that I make stuff up for a living.) The flap and strap were free to move around inside the pillowcase. Back into the machine it went.
This worked pretty well. I made progress. But now, I have to get down to regional felting. Ugh. This is the handwork, in the sink, rubber gloves and hot water, just to get the flap and the strap to felt consistently with the rest. I have doubts. For the moment, I have to let it sit, maybe visit it, poke it and prod it once in a while. It’s still huge – about 18″ by 18″, but mostly I’m not loving it as much as I did (although this photo might change my mind.) Here it is:
What do you think?

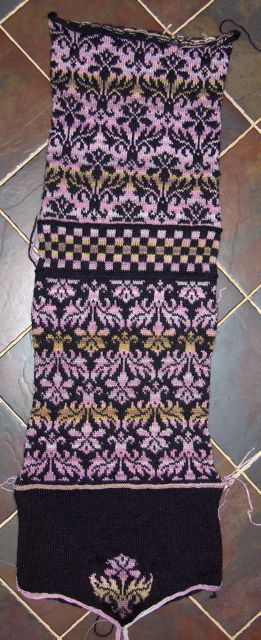
 This pattern is from the latest Rowan magazine, #56, and is called Roan. It’s a kimono style sweater and is knit in heavier yarn than the one I’m using. This yarn is Kauni Effektgarn, a yarn I love because of the way it gradually changes colour. This is the teal colourway and the pink/purple colourway. I had to recalculate things to ensure that the sweater fits – I’ll be getting more stitches per inch in both directions – so I’m knitting by the directions for the large size to get a sweater slightly smaller than a medium. I’ll need to add more repeats of the Celtic knot to get the length, too.