I have been finishing up some projects this month, but haven’t been good about getting pictures taken. This week, we’ll catch up a bit.
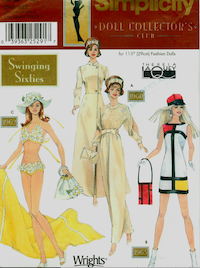
This pattern features designs from the 1960’s. It’s not currently available new, so I bought a digital download on Etsy. It’s Simplicity 9913.
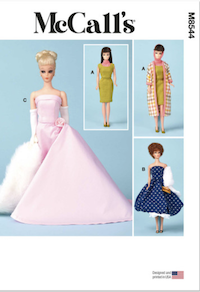
I wanted to make the Mondrian dress, inspired by the Yves St. Laurent model on the right. Because I didn’t trust the download’s sizing, I made one in a solid color first. It actually came out reasonably well – the one difference is that I added a button band to the back closure to keep it tidy. I tried both hats but didn’t have much luck with either, maybe because my model’s hair is thick. They just perch on the top of her head, which looks silly.
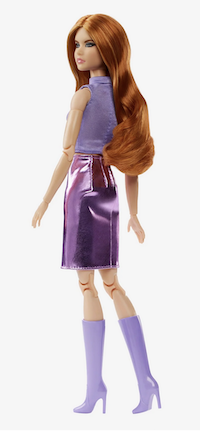
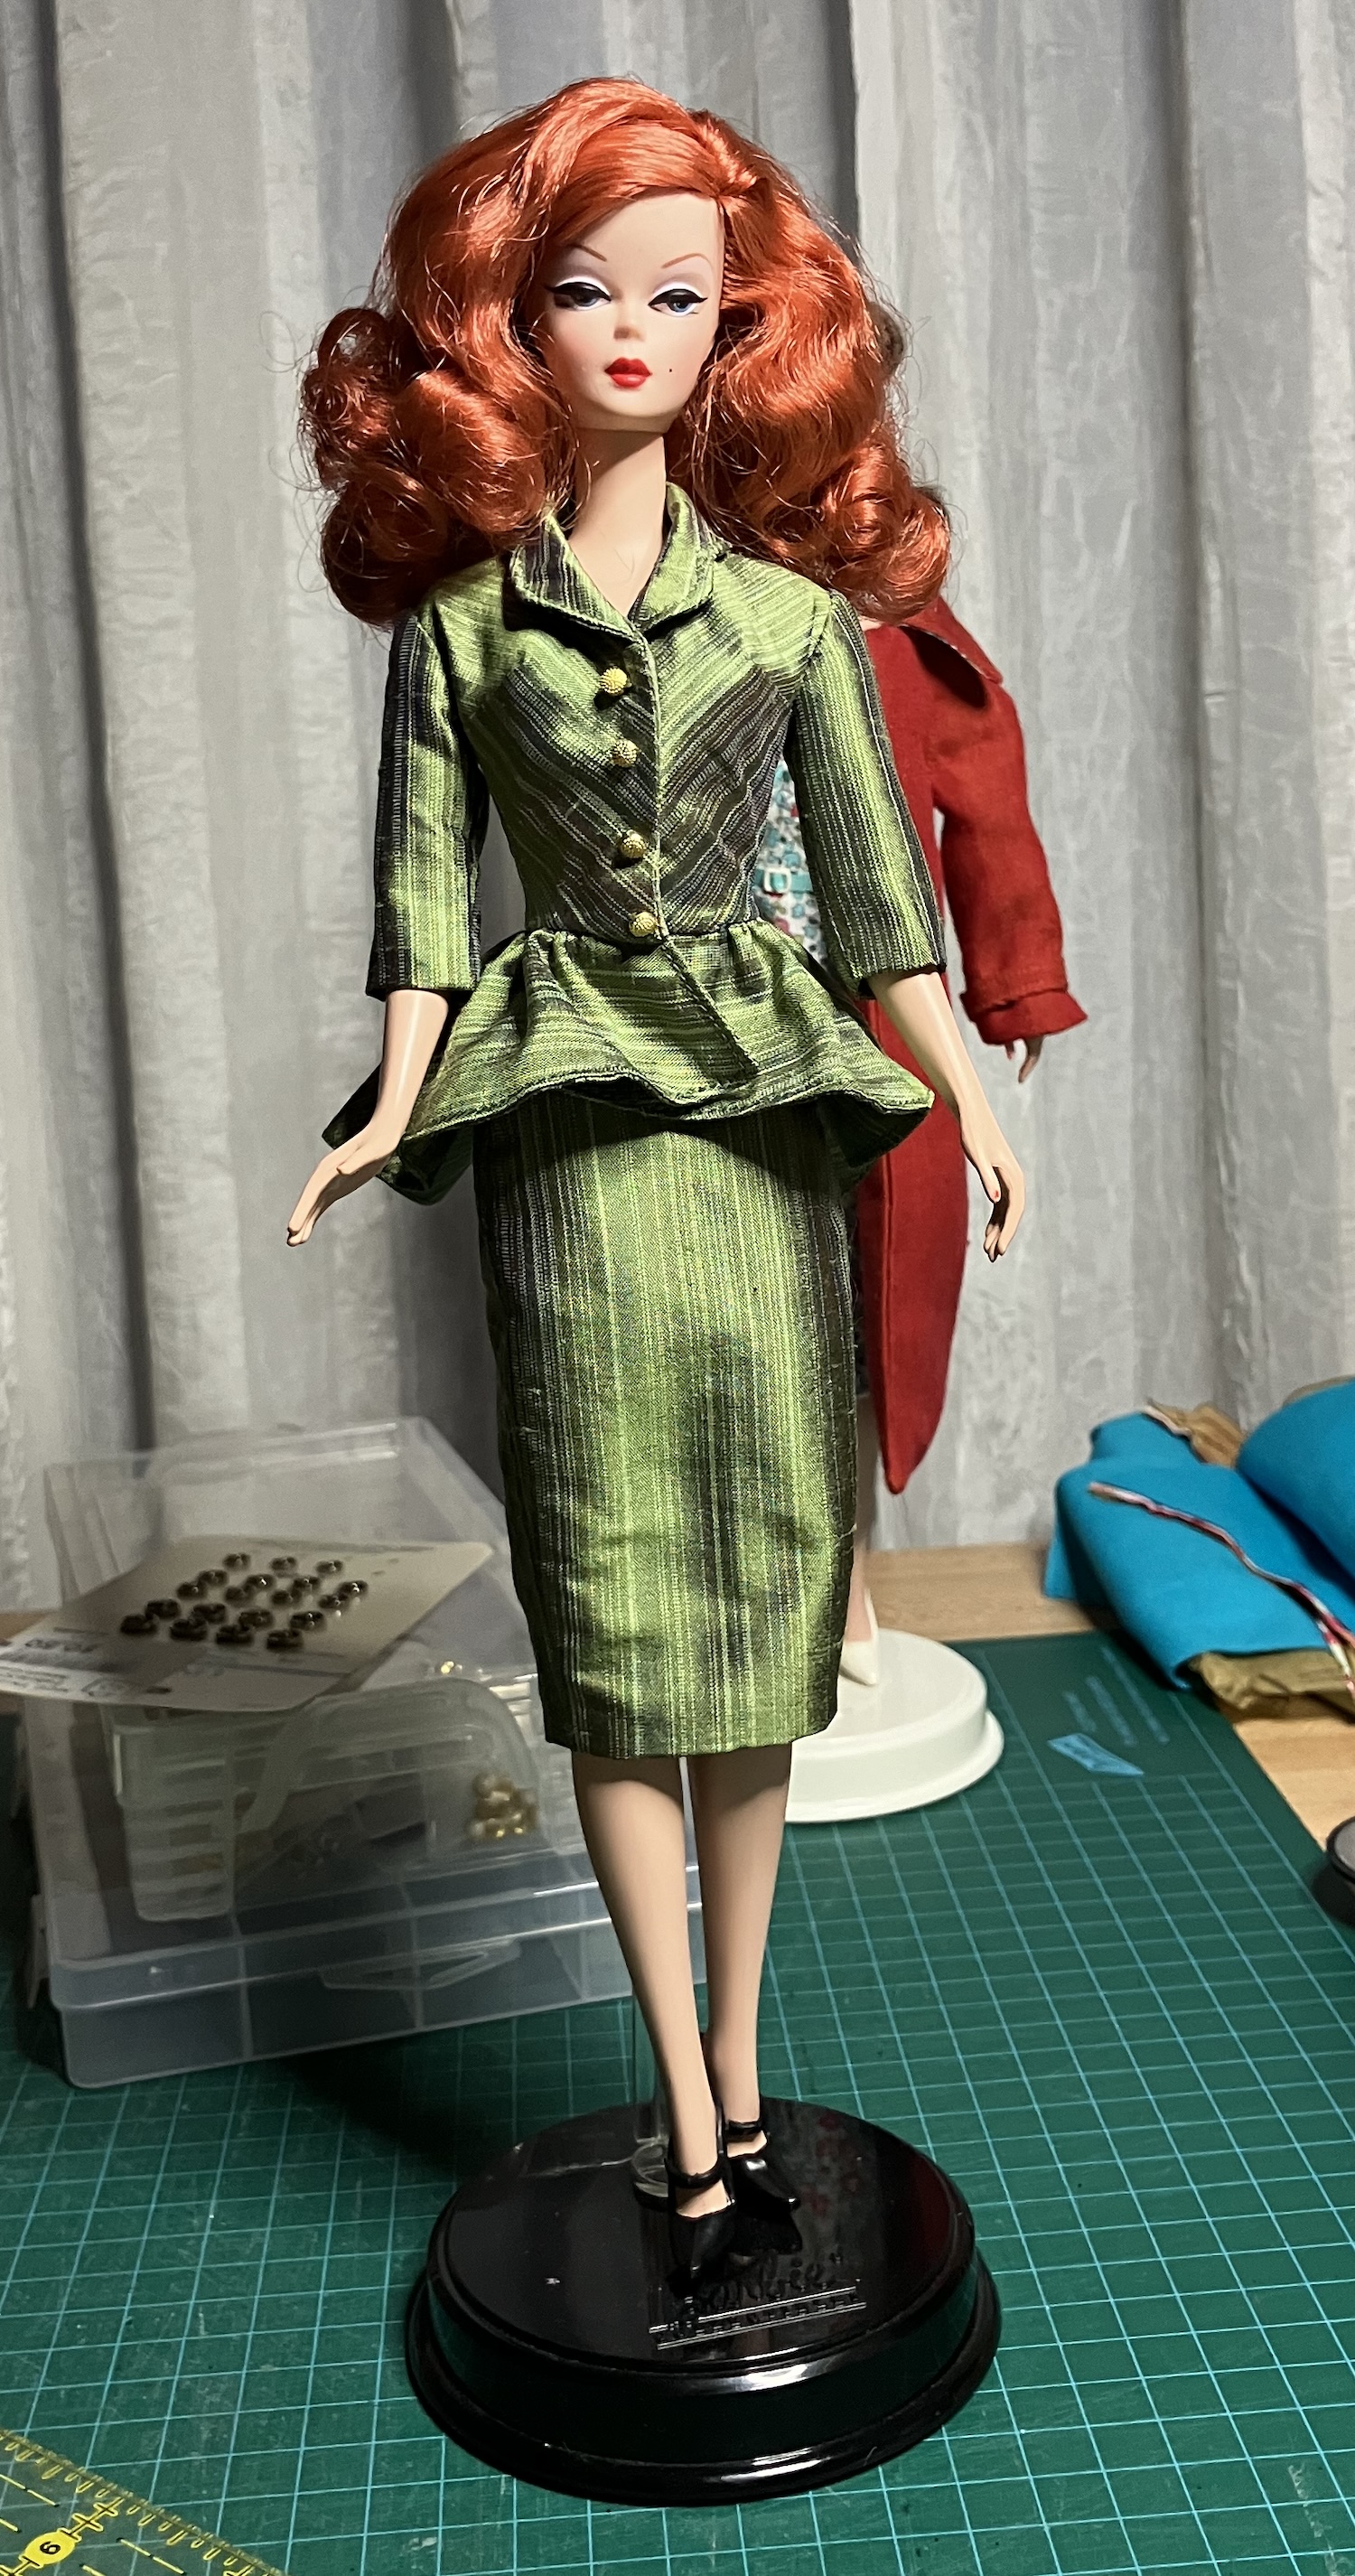
My model today is a new girl here. She’s Barbie Looks #20 (that link will take you to the Mattel site) and was discounted on Cyber Monday. I’ve been wondering how the new articulated bodies differ in proportion from the other dolls in my collection so bought this one. The main difference in proportion is that her bust is smaller. She’s probably closest in size to the model muse body sculpt.
Her hair, btw, was not like this official picture. The ends were frizzy and it was very bulky – there was some product in it that made her ponytail as big around as my thumb. So, she had a boil wash and a trim. It’s still not like this picture, but is an improvement.
My idea was that she could be my sixties girl, instead of a Poppy Parker, so here she is in the test sew of the YSL shift. I made the dress in one color, with the purse. I used a 10″ square of orange quilting cotton (used it all up!) and lined the dress with cotton voile.
It’s a little bit loose for her in the front bust. It fits the vintage body sculpt perfectly through the bust.
She doesn’t seem inclined to be a sixties girl, maybe a contemporary girl who likes vintage fashion, as you can see from the Blundstone boots she’s chosen. She is very posable, which is fun, although I think her knees and elbows look odd.
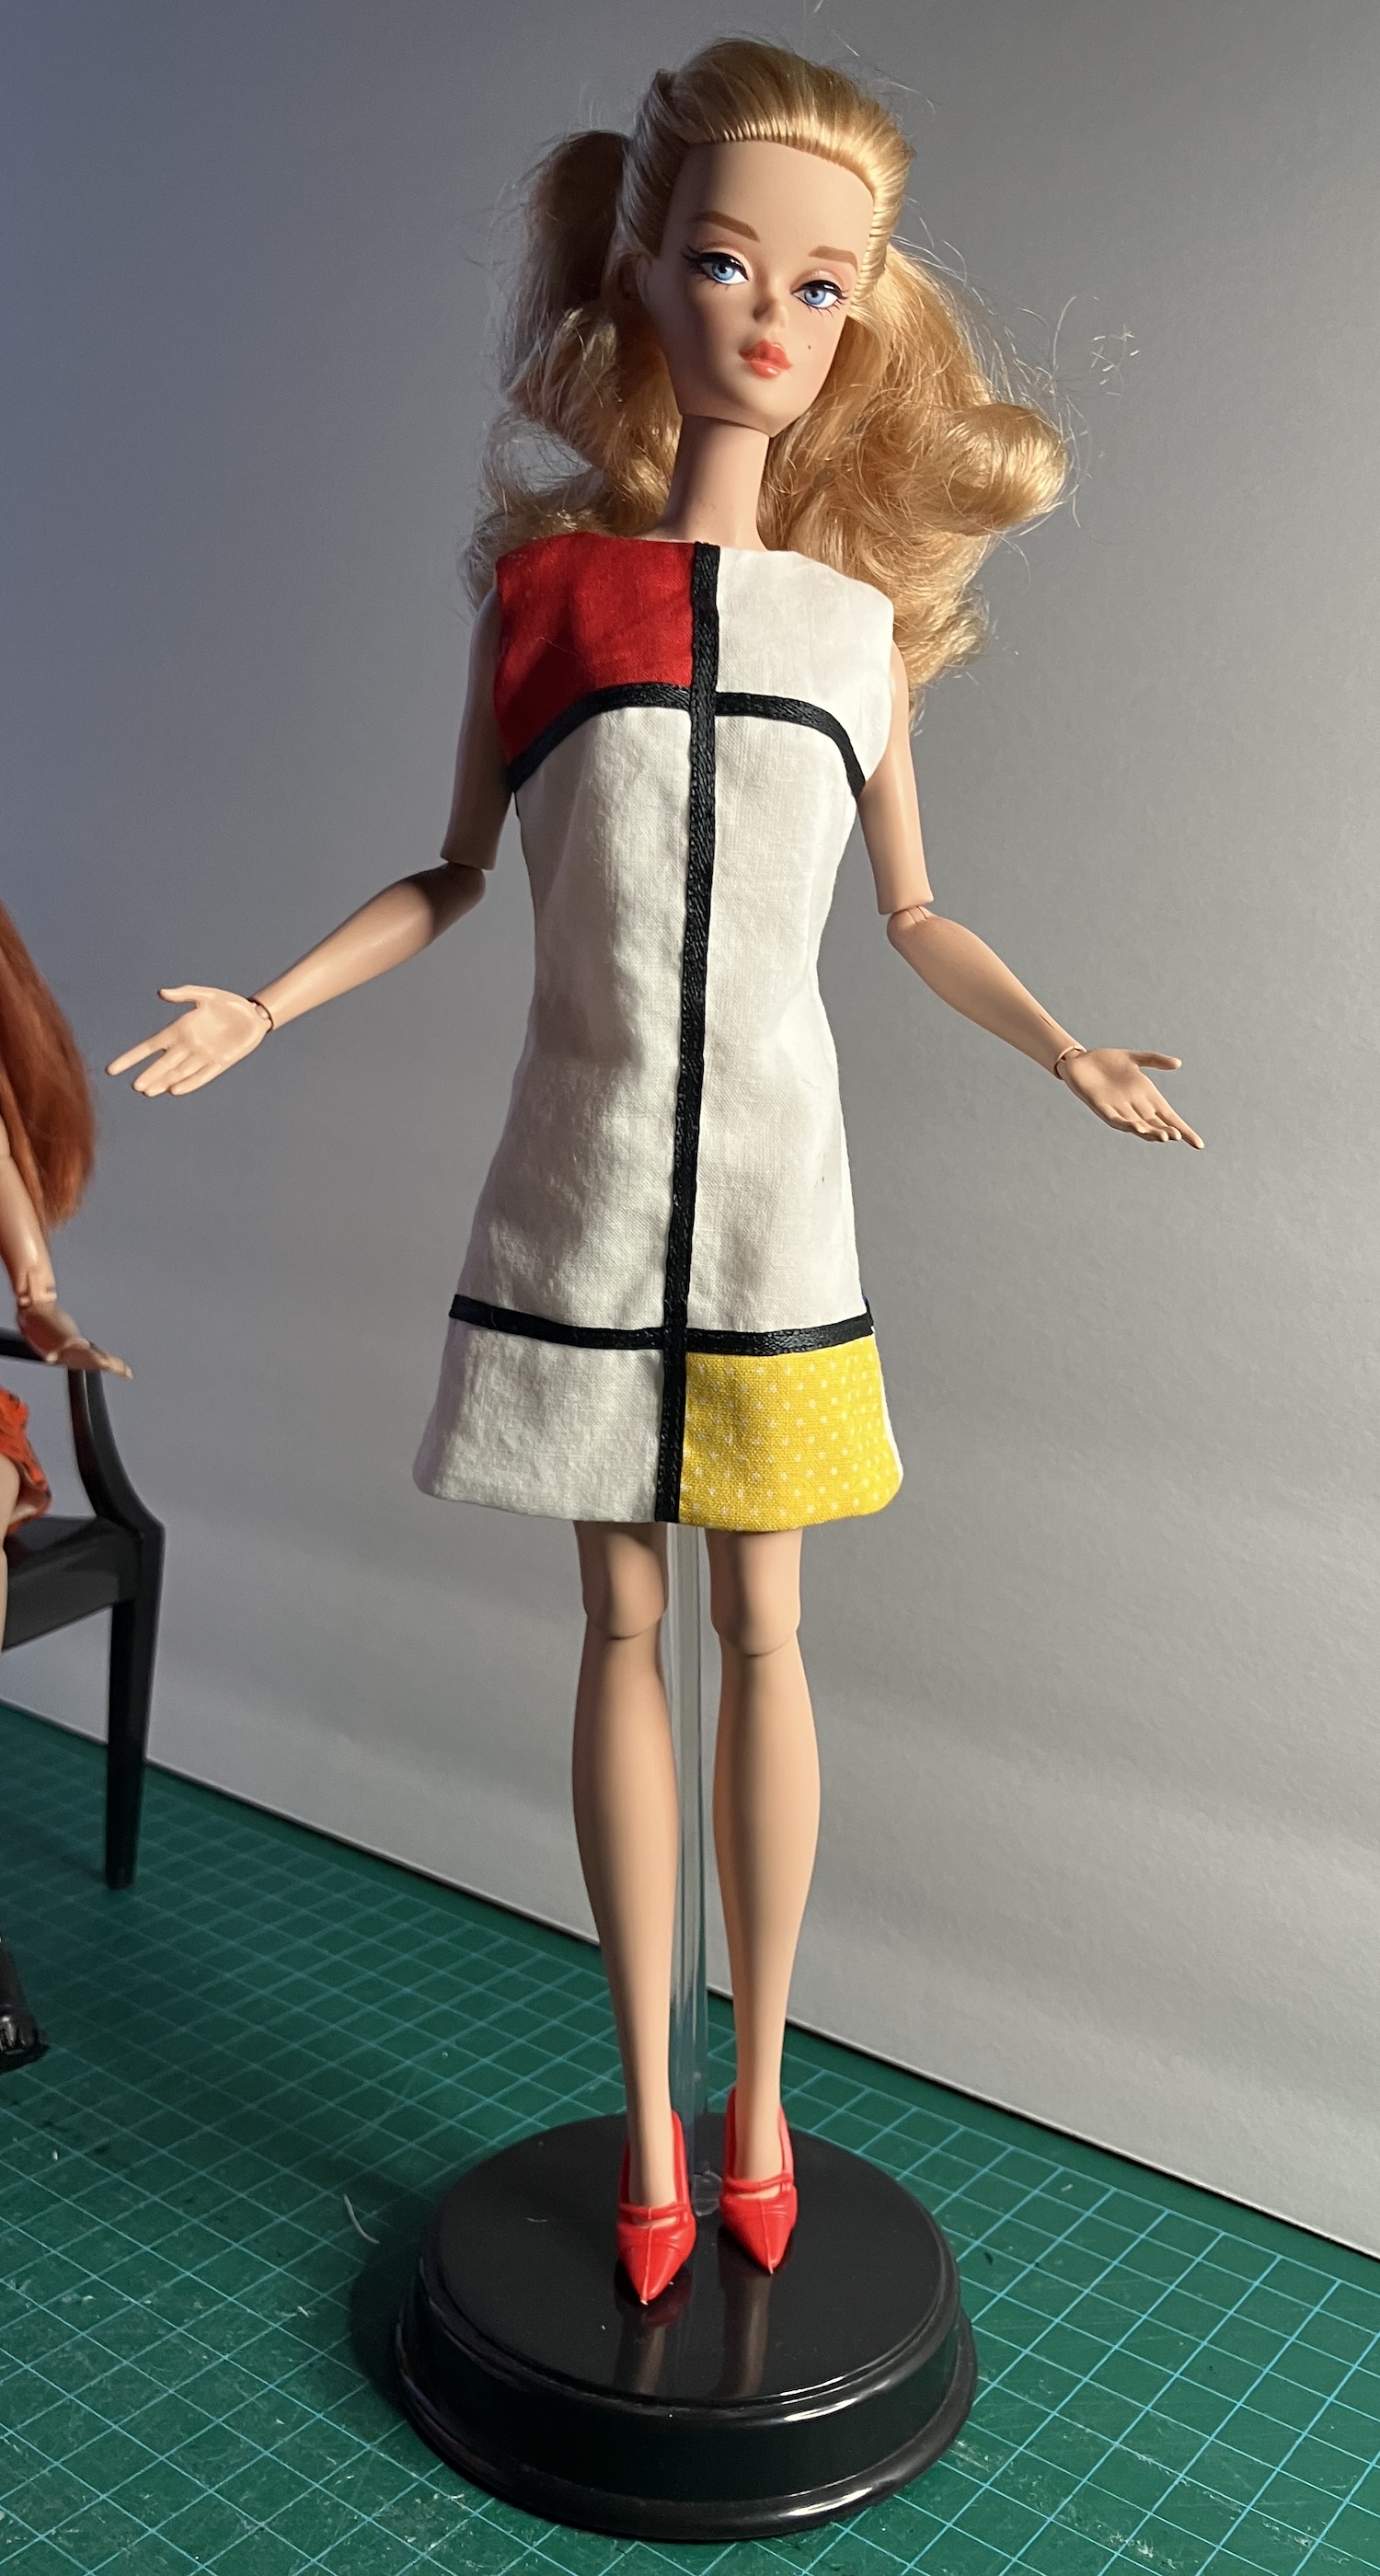
Next up, the YSL dress with the color block. The black is done with a narrow ribbon topstitched to the dress, which is clever.
Wiki says there were six variants of the YSL Mondrian dress, though it’s tough to find pictures of them all online. Here are a couple of images from the September 1965 issue of Vogue, which featured the dresses. The one on the cover is the one you see most often.
This pattern is for the dress at the back in the right picture, probably because the front is symmetrical and that’s easier when you’re working small. There was a series of three Yves St. Laurent Barbie dolls released in 2018, including a Mondrian one wearing a replica of the front dress with the blue shoulder. You can see them all in this blog post at The Fashion Doll Chronicles.
I was also trying to find a picture of the back. The pattern has the back in pieces, making me think the middle panel on one side or the other must be in a color, too. I can’t find it, so I just decided to make one of them blue and put some yellow on one shoulder.
Here’s the finished dress:
I’m not much for clear yellows, so the only yellow fabric in my stash has tiny white dots. I think it works just fine. I do wish I had a mod girl with flat feet to model the dress. She could wear flats (as the YSL girls did, with big buckles) or white go-go boots. The dress would also fit her better in the bust than the Silkie girl, as the made-to-move dolls had proportions more similar to vintage Barbie. Another girl? Hmm. I don’t know…