Things have been quiet here this month, as I’ve been deciding how to go forward. At the end of last year, I discovered that several of my pictures of my dolls were being used on scam sites. I had thought that taking mediocre pictures would keep them from being stolen, but evidently that’s not so – now they look “authentic”. As an author, I have a whole lot of issues with the general dissolution of copyright and its protections, so hmm. As much as I love sharing my progress and results with others, I’m not interested in providing anything to aid scammers or pirates. This is the reason why I’ve never published any patterns or designs for dolls.
I did treat myself to some Japanese books this year and will share that with you today. Again, copyright is a concern – there are people on Etsy selling digital editions of many of these books, sometimes even with a translation by Google, but I doubt these are licensed digital or English editions. The beauty of Japanese craft books is that they’re so thoroughly illustrated that you can follow the directions even if you don’t read Japanese – plus buying the actual print book supports the creator and his/her copyright.
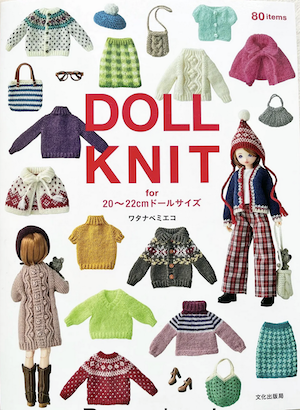
This first book is Doll Knit by Mieko Watanabe, for 20 – 22cm Obitsu dolls. You can find her on Instagram right here. The knits are detailed and very cute. The knits are all charted, so you don’t have to read Japanese to follow the instructions. They’re sized for the Obitsu dolls but fit the current MTM regular Barbie pretty well.
The big challenge is finding yarn substitutes. The designer has used yarns from a Japanese company called Puppy which aren’t available here. There is a Kidsilk Haze equivalent, so that’s easily replaced, but otherwise, not so much. I used Knit Picks Palette for the fair isle cloak and it’s slightly too heavy – I got gauge but the garment is thicker and stiffer than would be ideal.
The best match so far for the Puppy 3-ply is old 3-ply Kroy Socks, so I’m rummaging in my odds and ends for more of that. It does looks as if Holst Garn Supersoft would be a good substitute for the 3-ply, and it comes in shade packs, with five small balls in coordinated colours. I’ll make a road trip to a LYS that stocks this yarn to see it. The 2-ply Puppy is a lace weight, so I’ll try those patterns with some odds and ends in my stash. Maybe I’ll get lucky and find a lace pack of many little skeins in different colours.
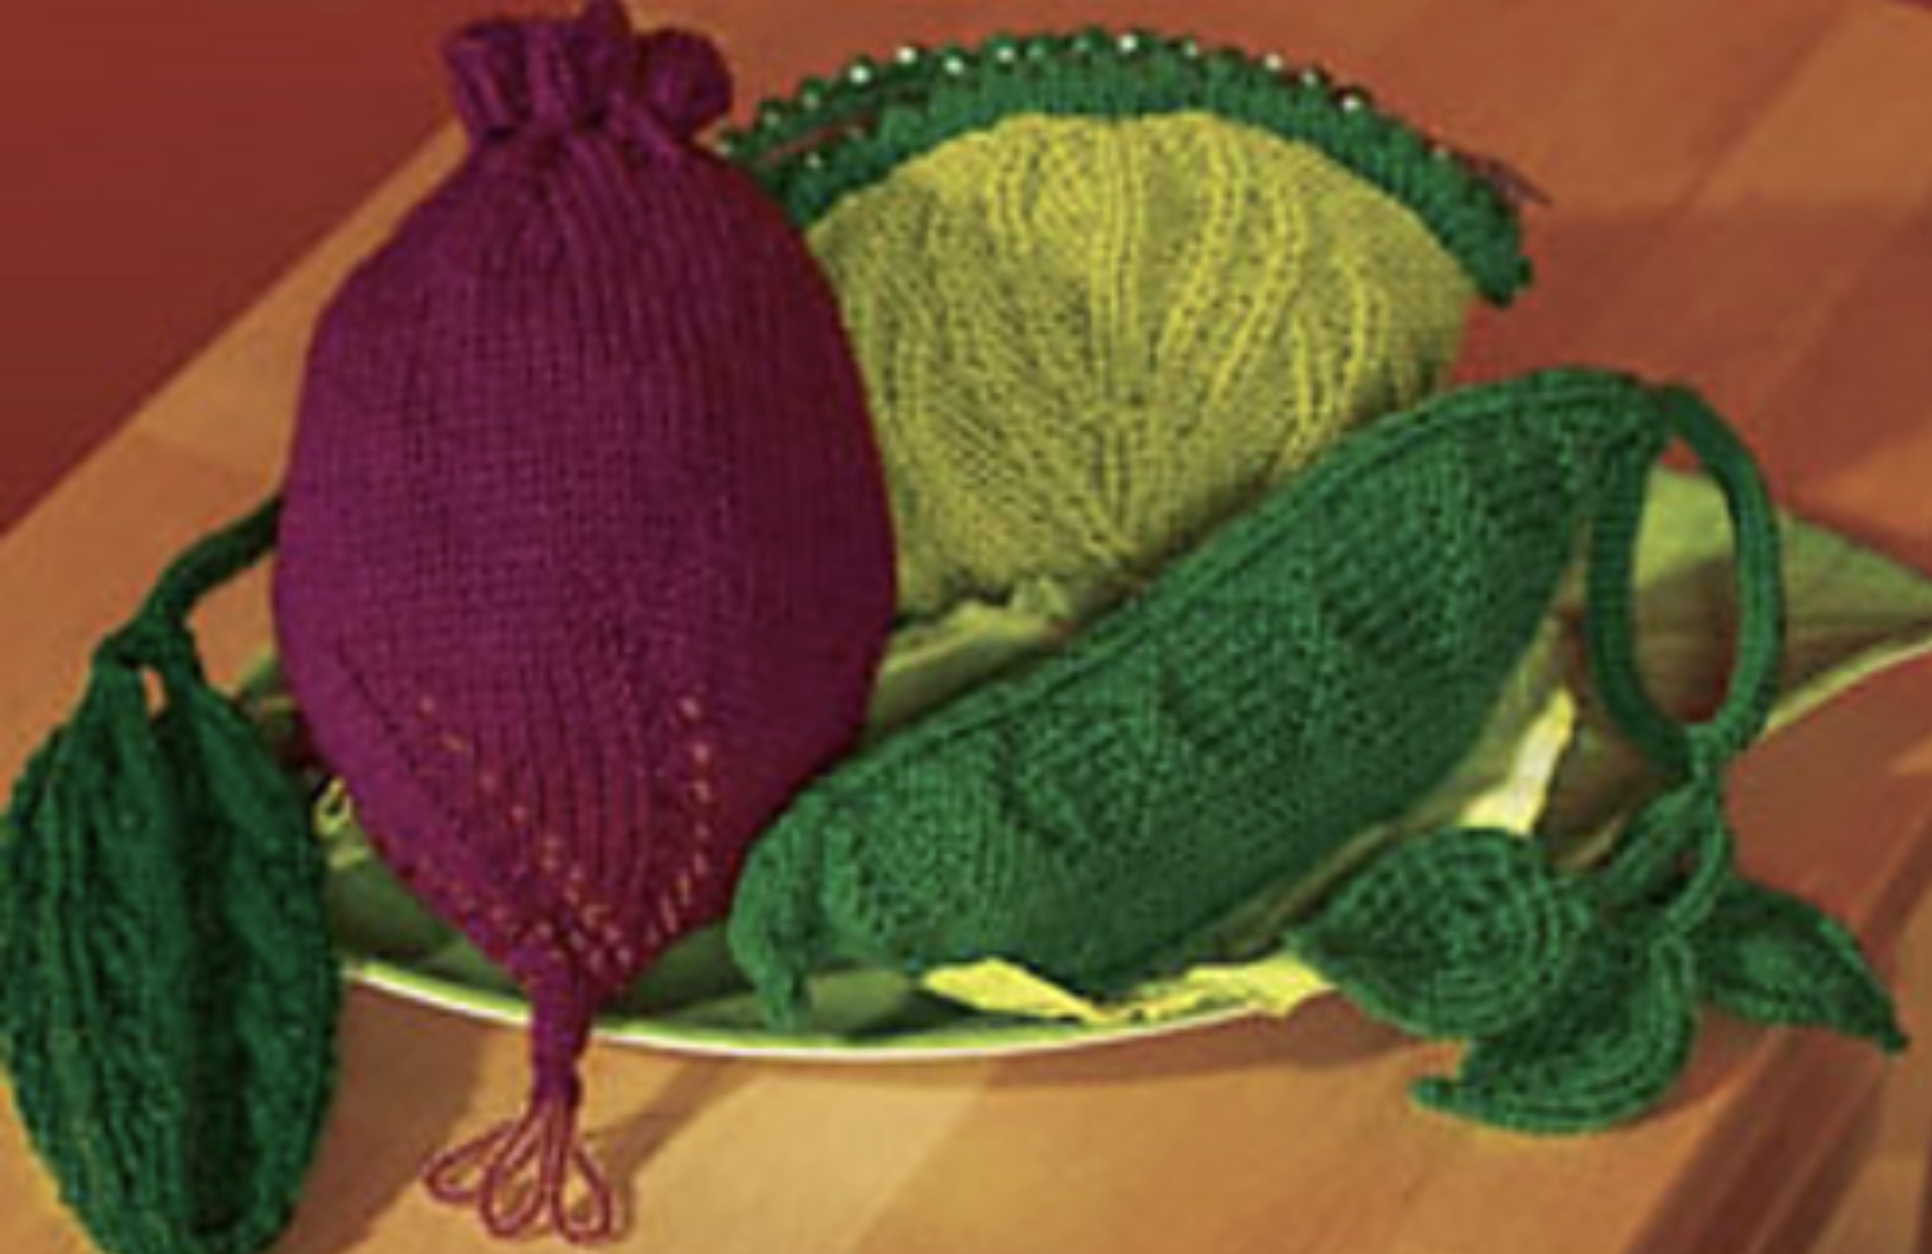
I also want to get out my crochet needle and try at least one of those adorable hats.
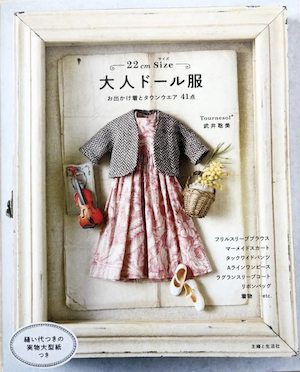
Next is a sewing book of doll clothes, also for 20 cm dolls including Blythe dolls. I think this is called Tournesol (which is French for sunflower). It’s by Satomi Takei, who can be found on IG right here. These have the usual aesthetic of Blythe doll patterns – lace and petticoats and tiny florals, straw bags and hats – although the fashions are shown on other dolls too. Again, the book is beautifully photographed.
I tried a few of the patterns and they more-or-less fit the MTM regular Barbies – the designs are more like little girl dresses and I’m not sure I like the look on my B girls. There is a pattern for a kimono, which is a tempting project.
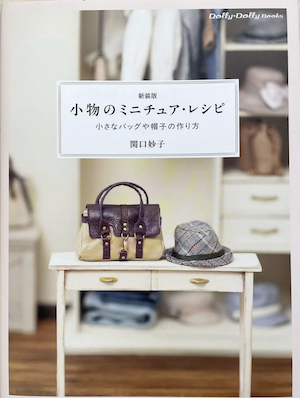
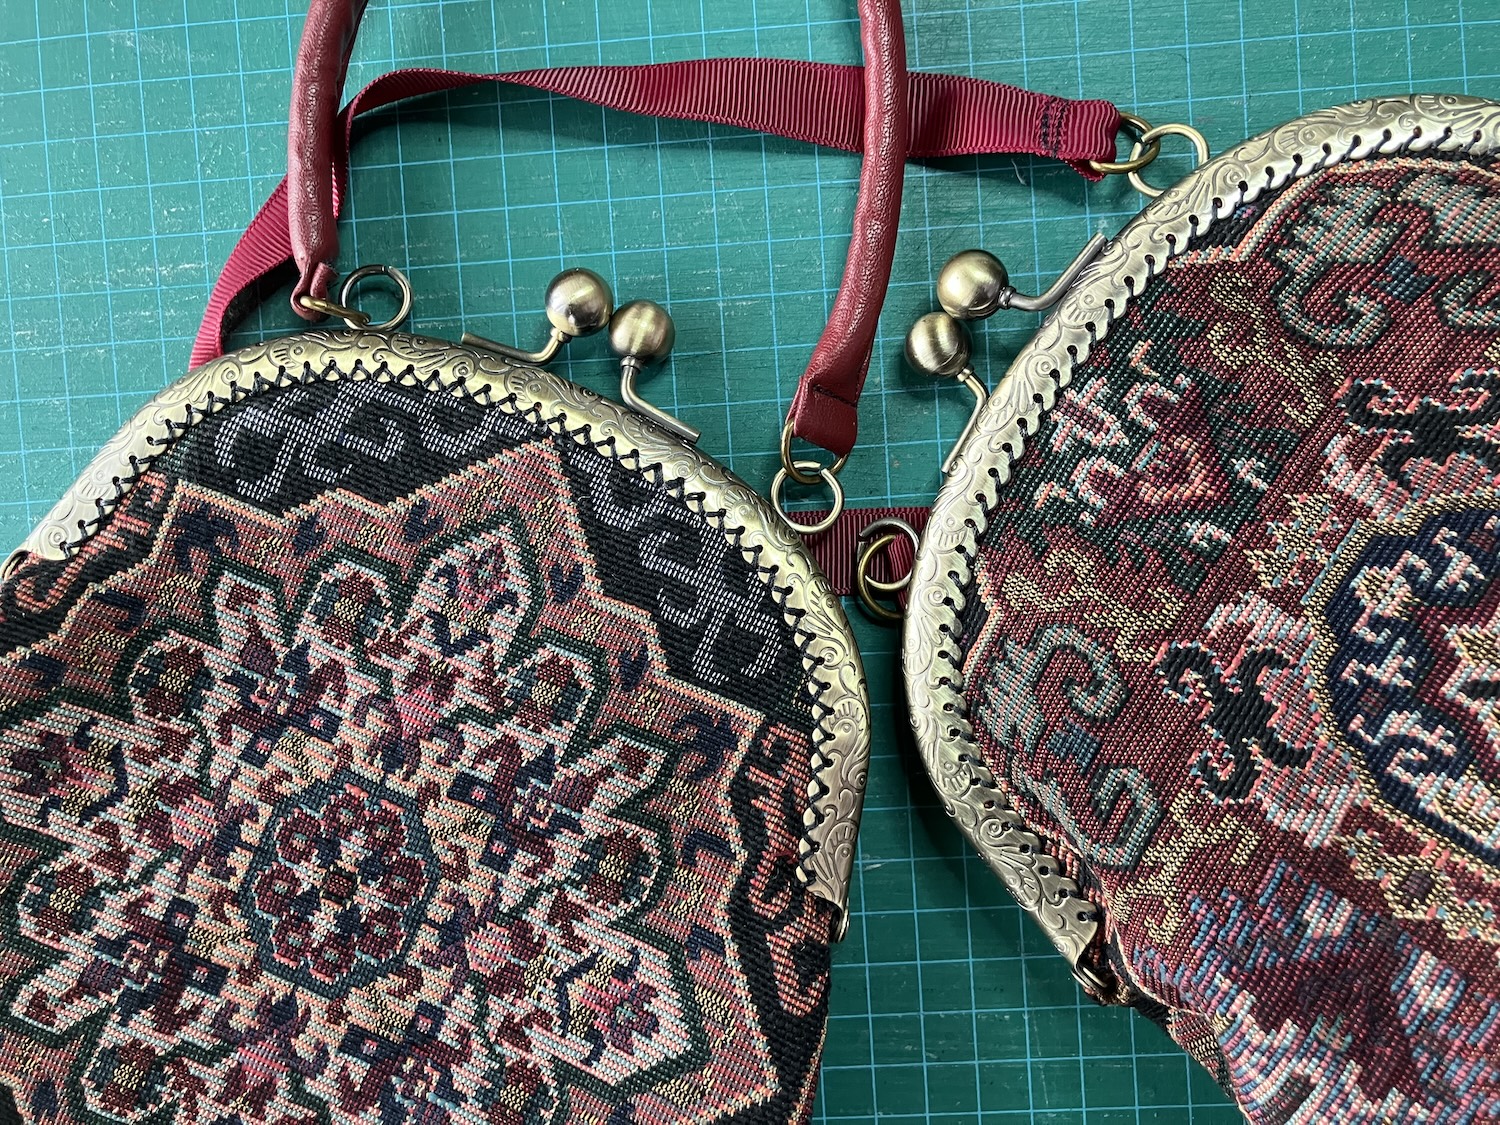
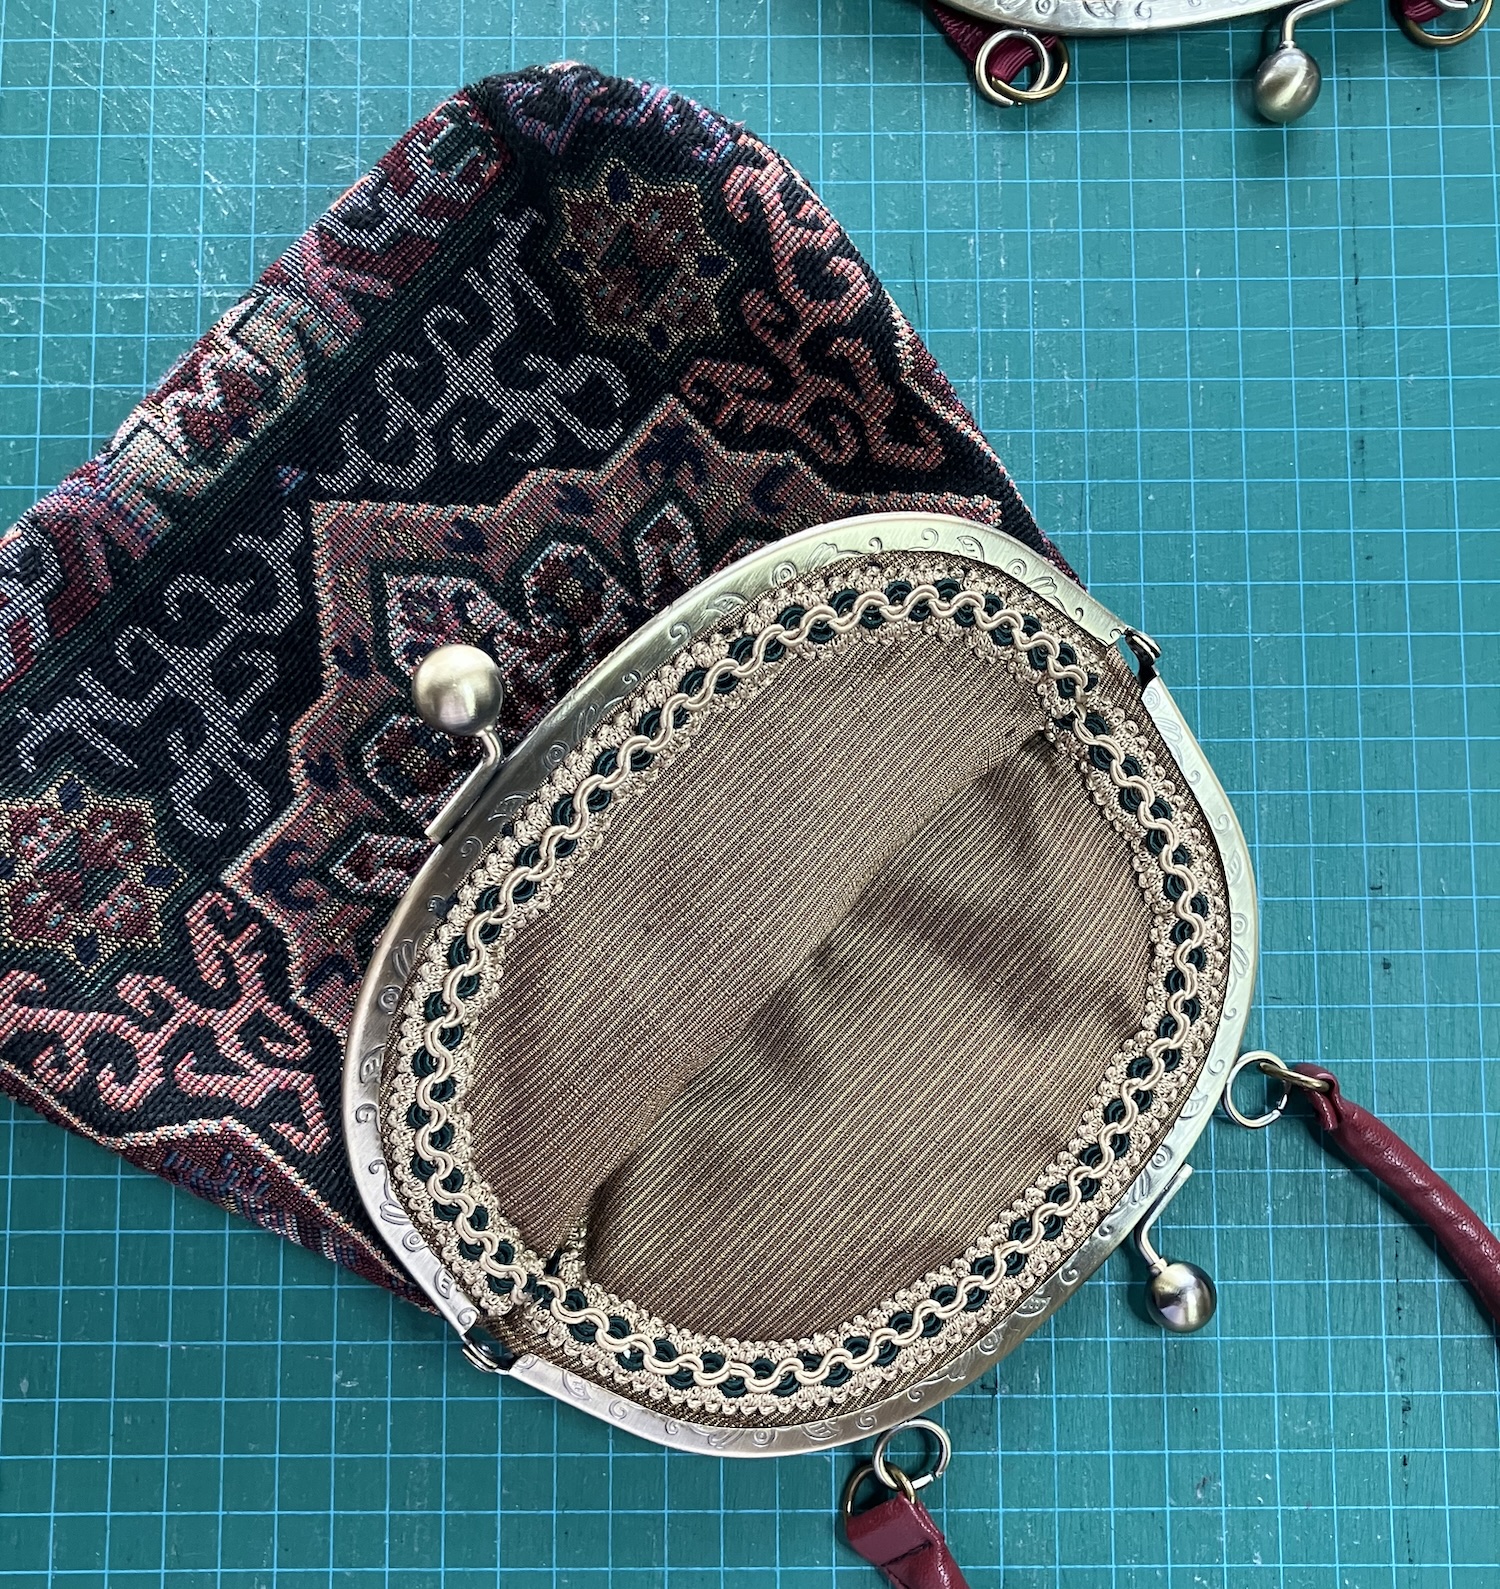
Finally, an accessories book from Dolly Dolly Books, although the other two books also have patterns for accessories.
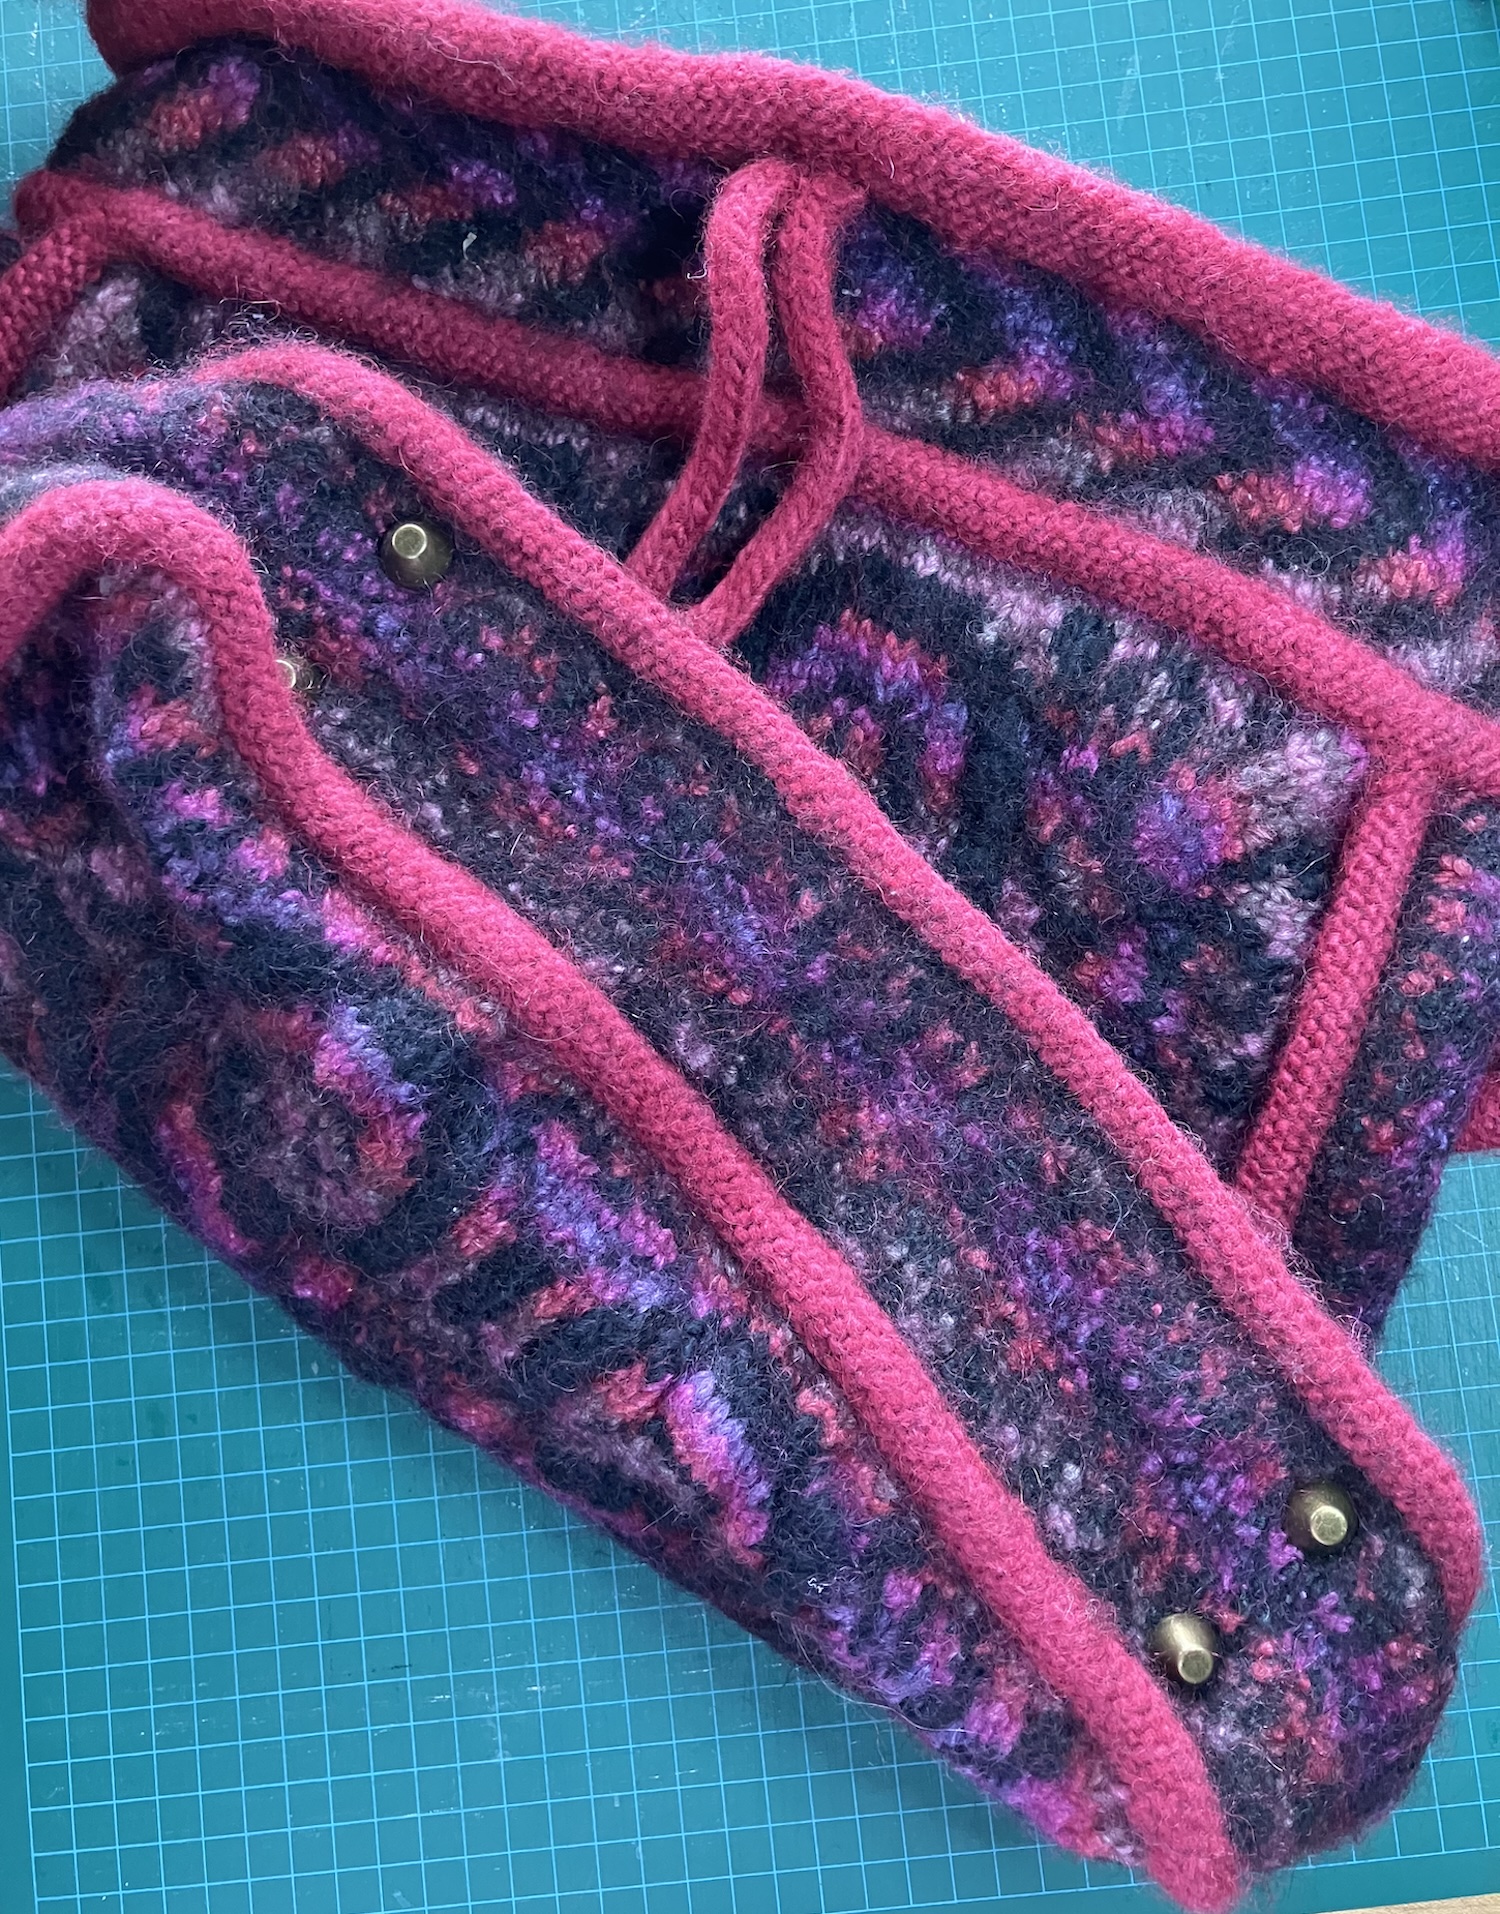
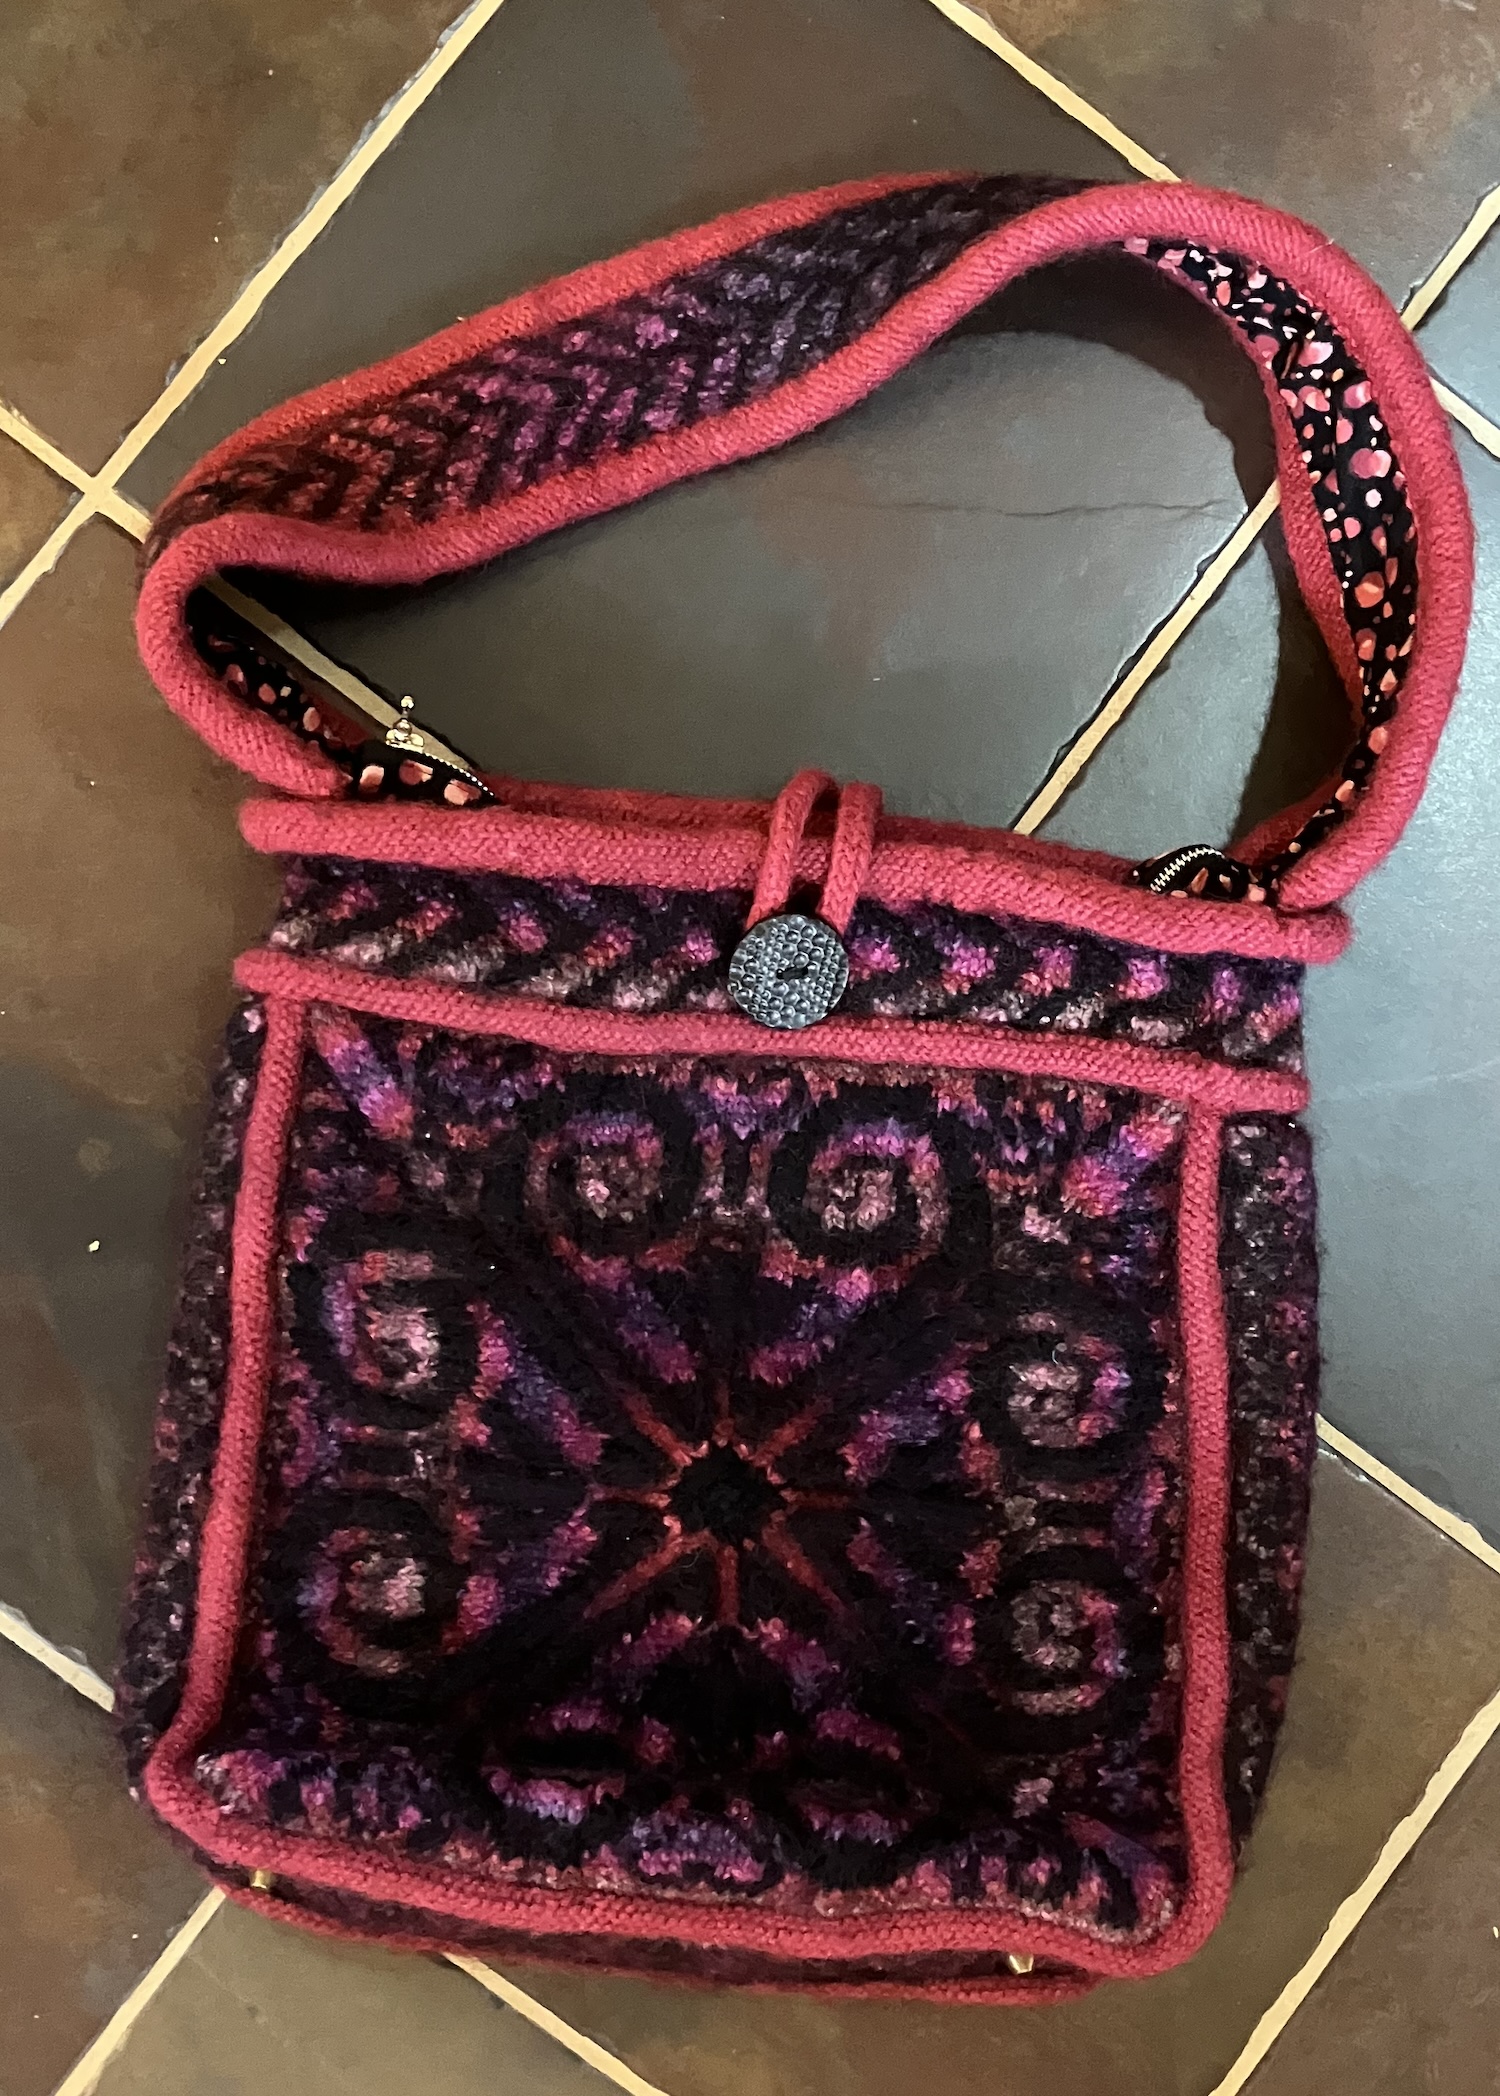
That purse on the cover is what sold me. The instructions for that bag cover seven pages and I’m determined to make one. The author is Taeko Sekiguchi, who has designed a lot of beautifully detailed clothing for dolls. It’s very inspiring to see the work of people who stretch higher.
I bought the books from Pomadour on Etsy. This shop ships promptly from Japan and packs the books extremely well.