
My Monster High and Ever After dolls are mostly thrift-store finds, which means they usualy come to me naked or close to it. I buy shoes for them online, but make clothes for them otherwise. I had written a post about a dress I made for my dolls from a free downloadable pattern – I also made a cloak to go with it that I figured out on my own. – but realized this week that I hadn’t published it. (I sent the dress and cloak to Astro Jen as a gift for her girls and didn’t want her to see them before they arrived – then I forgot to queue up the post. Gah. That’s why it published yesterday.) It’s right here. I need to finish the variations of that dress and cloak that I’d cut out for my own girls, but will show you both when they’re done.
Today, we’ll have a look at some tights I made for the girls last weekend.
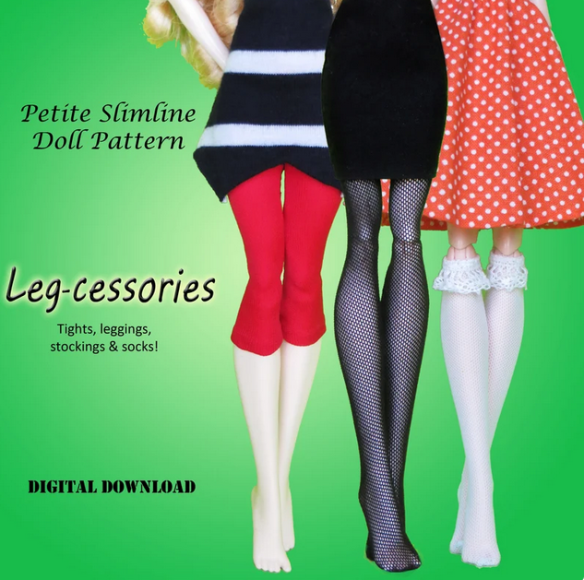
The pattern is Leg-cessories from DGRequiem – here’s the pattern on Etsy. It’s a PDF download that you print out.
Here’s the designer’s Etsy store, and here’s her website and store. She offers a lot (a lot, a LOT!) of cute patterns for different dolls.
So, yes, this is a paid pattern, but it offers many options. There are socks and stockings/pantihose, plus tights in four lengths. (I want to make knee socks with lace tops still. They’ll look great with those little knitted dresses.) Even better, the instructions are really good and filled with tips for getting good results. It includes instructions for both machine and hand-sewing, and also there’s a sizing chart for the dolls. I only made tights so far, but I think this pattern is a good deal.
These two pair are my favorites.

The girls seem to like them, too.
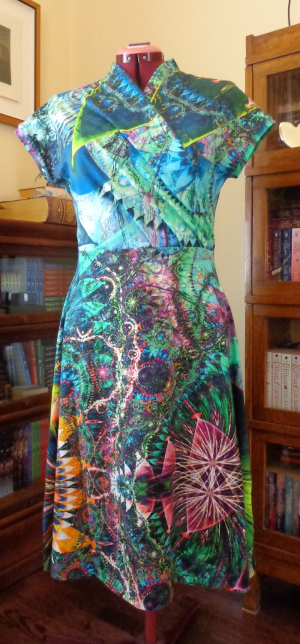
They’re both cut from scraps of a cotton knit with a really large-scale pattern and repeat, but lots of teensy detail. The repeat is about 45″ in length. Here’s the Mirri dress I made from this print (it’s also at left) and here’s the link to the product page of the online shop where I bought it. The product page is still live, even though the fabric is sold out. You can see better detail of the fabric there.
I did some strategic cutting from my scraps, to end up with two legs from the same area of the print. They don’t even look like they’re from the same fabric, and I could make a dozen more unique pair. (And, yes, I just might.) This was also the easiest fabric to sew. It’s a cotton with lycra and a bit thicker than the others.
Did you notice that the girls have cardigans, too? I’m writing out that pattern to share it with you as a free download. Frankie also has one of the purses from a 5-Surprise Mini Fashion by Zuru (That’s a Chapters link.) because yes, after Astro Jen sent me the two pink purses, I surrendered to temptation and bought a pair of surprises myself. This green bag was in one of them, and the homage Louis Vuitton tote that I was coveting was in the other, so that worked out well.
But back to those tights. Here are a few more pair that I made last weekend:

These are like potato chips: I can always go for one more pair. I could have fitted them tighter (there are instructions for that) but the girls like to share and the EverAfter High girls aren’t quite as thin as the Monster High ones. The pair on the left were fussy-cut from a knit with wide bands of patterned stripes. The repeat on it is about 18″ so it was possible to cut several (many!) pair, all of which came out differently. (My naked Skeleta is coveting these.) The purple pair were also fussy-cut from a large scale paisley print. (Clawdeen wants those.) The next two were the obvious choices, cut from small-scale prints that are closer to being in scale for the girls. (Although, again, the brown print has areas that are predominantly teal, which would give a different look.) The last pair were also fussy-cut – that starry pattern has a lot of variation over the repeat and some “suns” that could fill half a piece. I chose places with smaller stars and similarly coloured background. Lots of tights for the girls!
And they have a space to keep them, too. Look at those empty clothes racks.

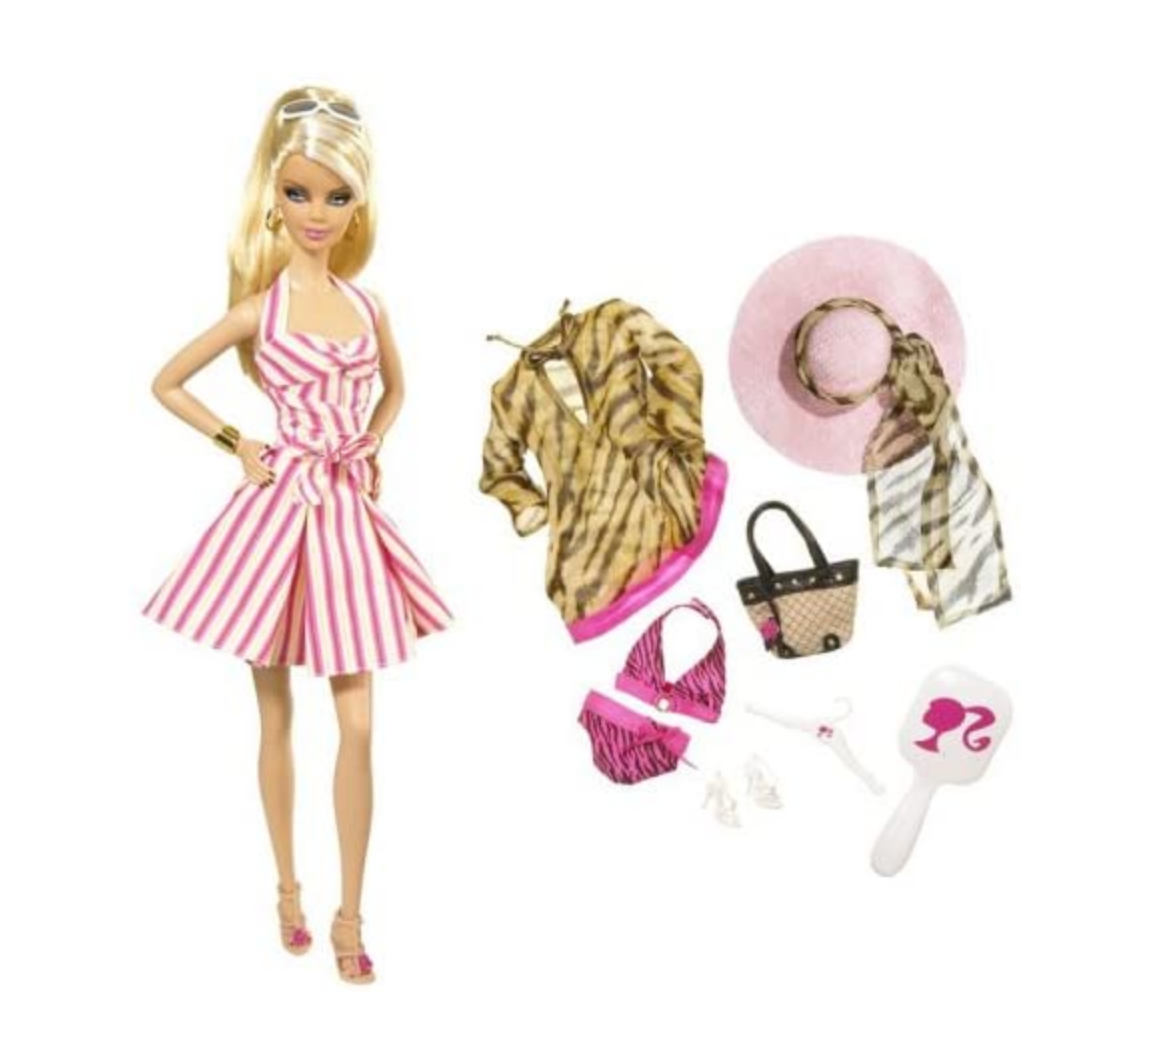
This is another of my DIY wardrobes for dolls. (That link is to my first one, for Barbie.) I used a paper box with magnets on the lid flap, and stood it on end. The back wall of the wardrobe should be the bottom, and the box top lifts. Now it drops down to be the dressing room floor. This box has a floral print on the outside and gold foil on the inside, which I like a lot. For this one, I made a U-shaped insert of bookbinders’ board and “wallpapered” it with a pretty print paper. It’s held in the U shape by the two clothing rods, which are bamboo skewers glued in place. They have bamboo beads at each end as escutcheons and all the bamboo was coloured black with a Sharpie marker. There are some hooks on the right wall, too, made of bent headpins. The mirror is a bevelled one from Michaels, framed with beads and backed with gold paper. The dresser is a make-up organizer from the dollar store. The rugs are screenshots of carpets printed on cardstock and cut out. (The front one is glued down.) I didn’t make a handle for this one and might not bother. (I’ll be busy sewing more clothes.)
Back to the leggings pattern review – this is a good pattern with lots of customizable options, clearly written with great instructions. I’ve bought several more patterns from this designer and will show you the results soon. (The girls are excited.)


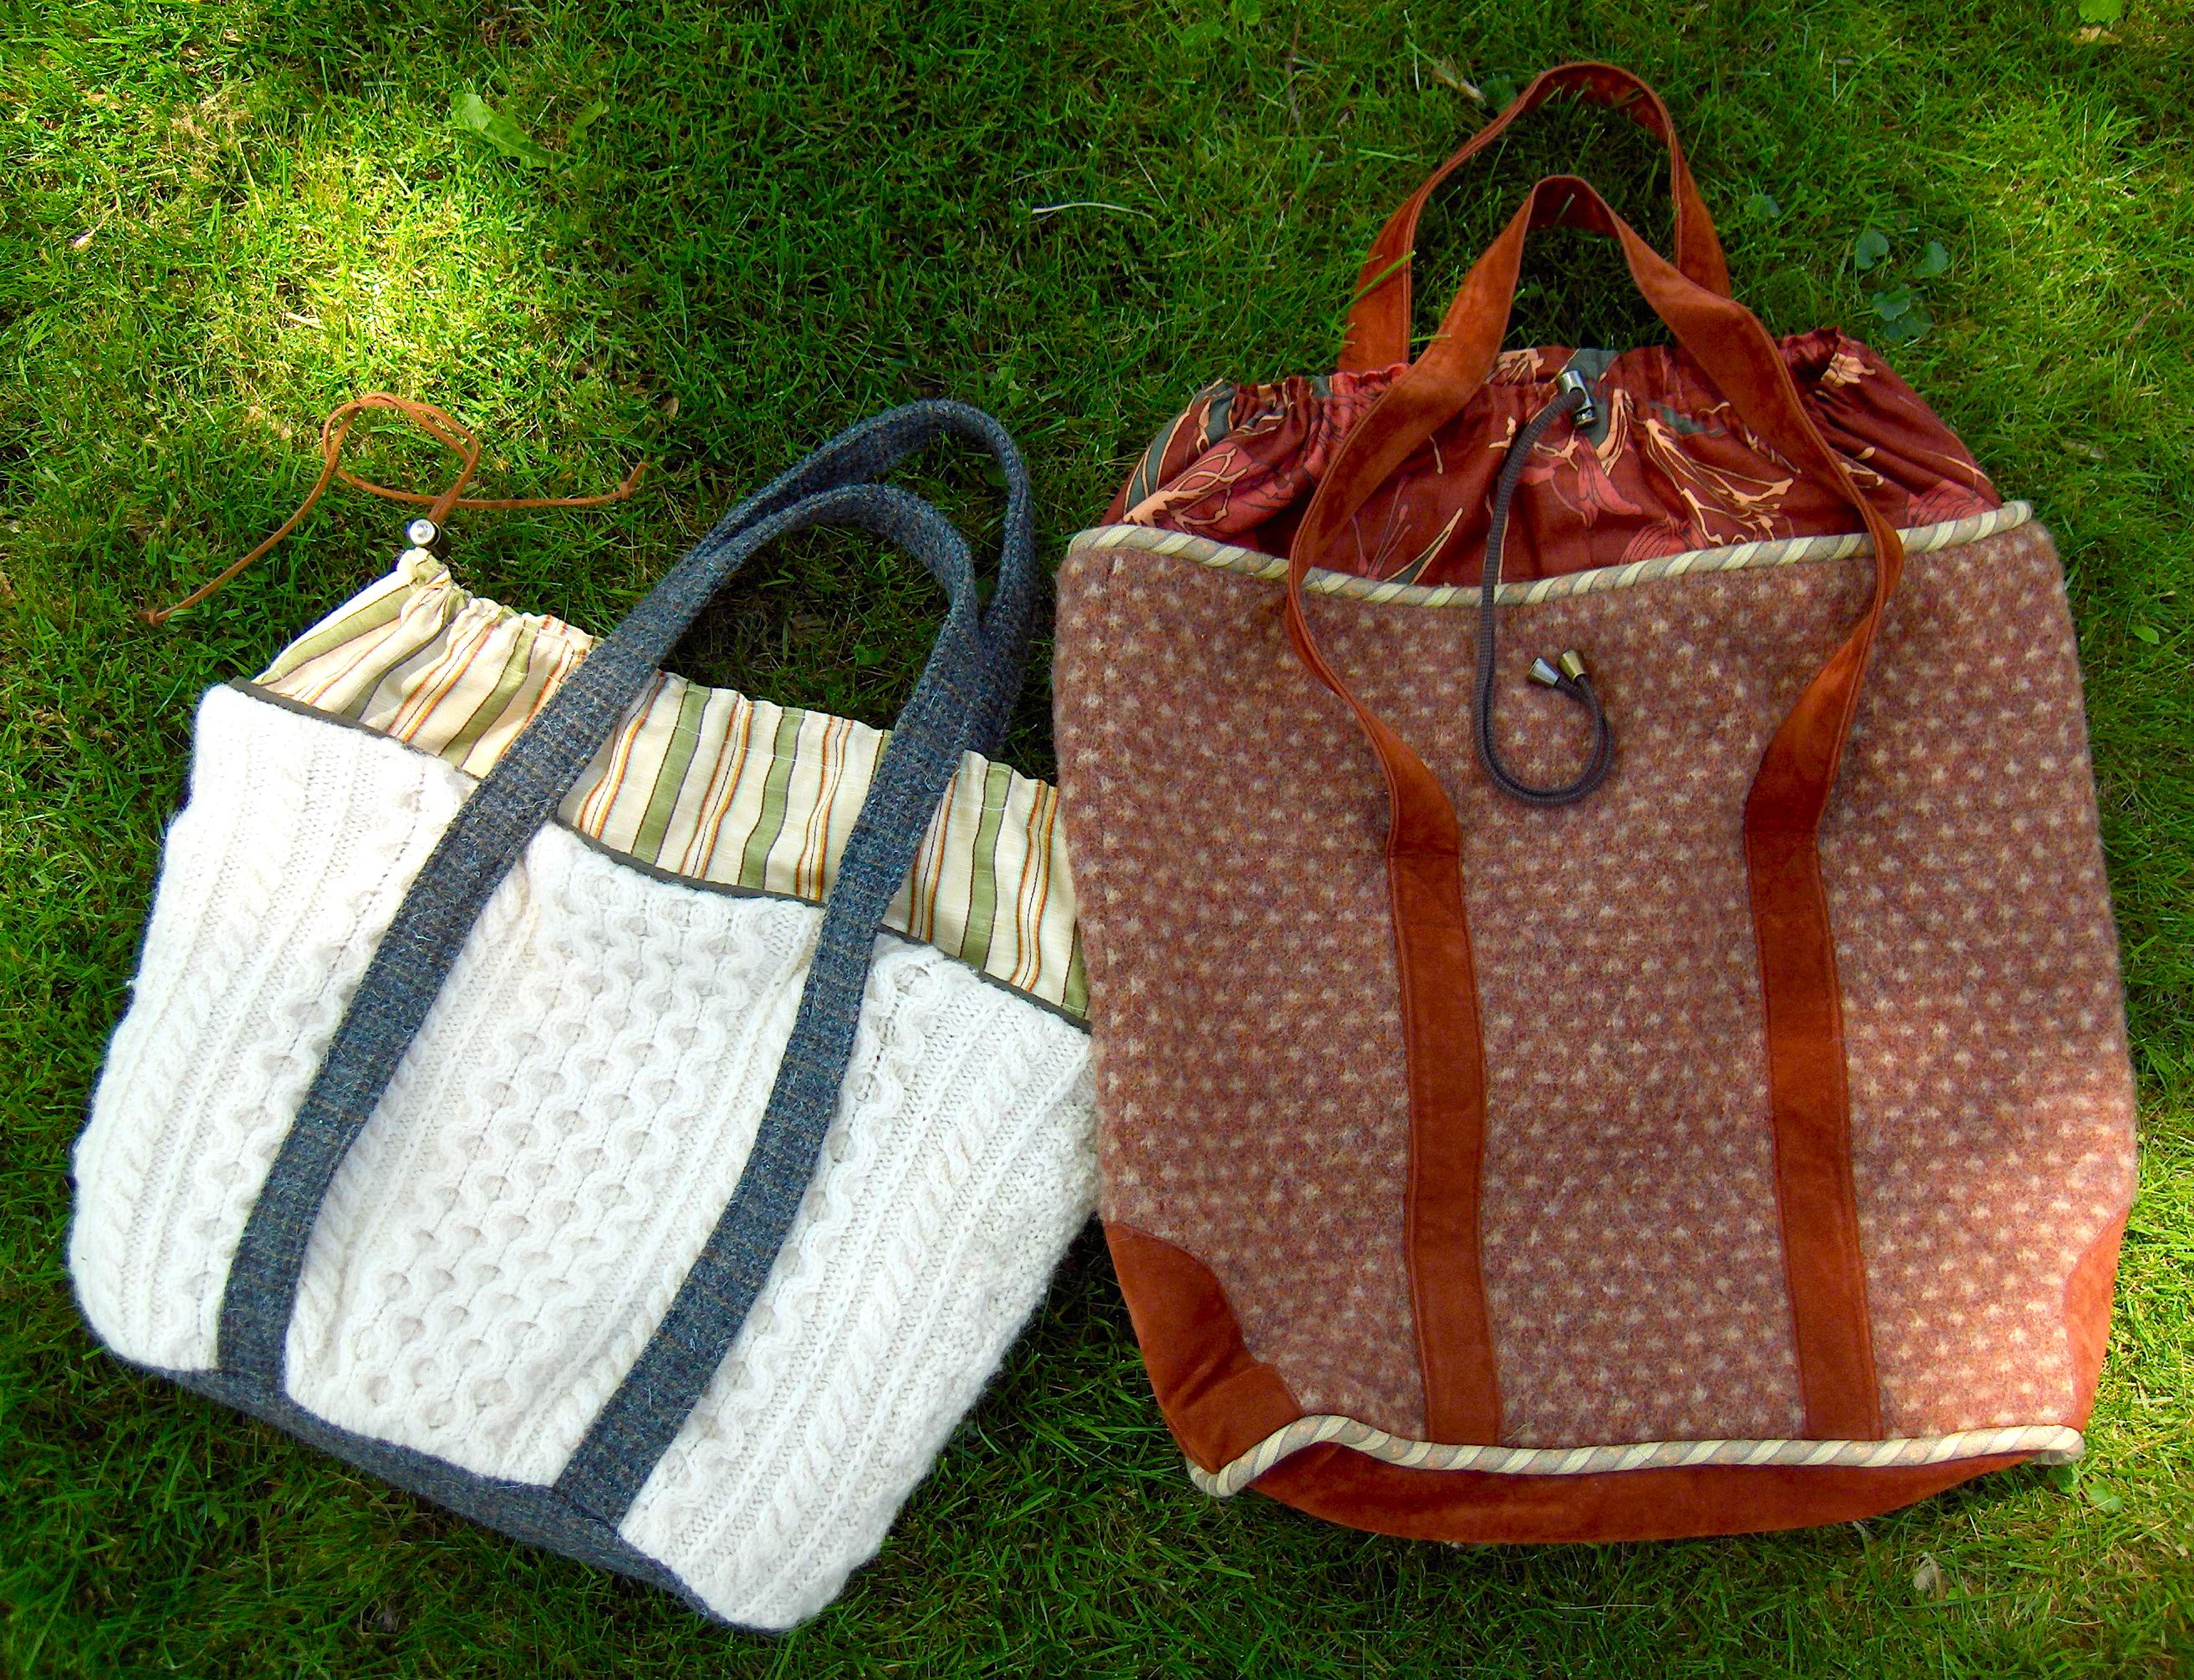 Those patches on the brown bag to the right cover the armholes and also a few holes. I felted that man’s sweater and used it upside down – the waist ribbing is at the top. The left one didn’t felt (probably a superwash wool) and the grey fabric is from the scraps left when the tailor made a jacket for the mister from the Harris Tweed we bought directly from the weaver in Scotland.
  This one is a Gap sweater that was felted at the thrift store already. I felted it a bit more. It had a raglan sleeve. I cut straight across the front for the bag front, and the flap is the back up to the neckline. I gave this one away, but found another just like it at the thrift store. Same issue. (Apparently people who buy wool sweaters at the Gap are inclined to toss them into the washing machine rather than read the instructions.) I like the colours, but haven’t done anything with the second one yet.
 As you can see, I ended up cutting the pieces smaller—I think there are quarters of leg sections—to make all the patches work together. I love this bag, even though it’s a bit lumpy. (I used a zigzag stitch to join the pieces. It might be smoother if they were serged.) There are pink squares with a bit of purple which are clearly not Noro anything – that was a sock yarn that felted the very first time I washed the socks. Also a pretty color. Also annoyed me. (I don’t wash knit socks by hand. They go in the washer on a gentle cycle then are hung to dry. The label said that was okay for this yarn but the label lied.)