This is Jalie’s 3881 Rose sewing pattern. It’s a sleeveless shirt with a collar, back pleat and shirt tail hem. You can buy the pattern directly from Jalie here. I have several ready-made sleeveless shirts that I’ve loved to death and thought that it would be a great idea to make some new ones.
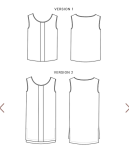
The description says the pattern is A-line and it looks slightly so in the schematic.
This pattern has a huge range of sizes (28), from a girls’ size 2 to womans 24. What’s interesting is the grading – the front of the smallest size is just barely A-line, but by the time it’s a woman’s blouse, it looks closer to a swing top. The back doesn’t show the same change: it remains pretty straight.
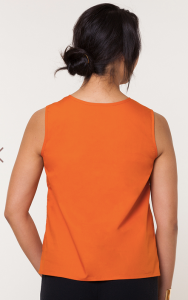
Since the line drawing on the pattern envelope might not be giving a good indication of results for larger sizes, I searched online for more info. This blog post is a comparison between two button-down shirt patterns, Jalie Rose and Grainline Alder. Scroll down to the image of Bonnie wearing both completed shirts. The purple one on the right is Jalie Rose and you can see that it’s closer to a swing top for her than an A-line shirt.
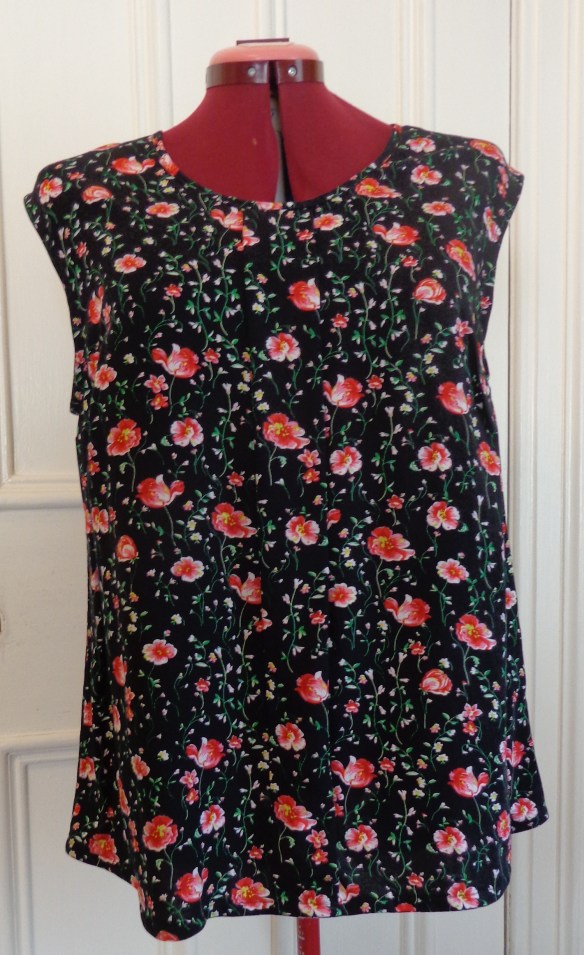
I suspect this shirt in the women’s sizes might offer a better fit to women who are more buxom than me. Those side seams might have to come in for me to be happy. The question is “how much?” I decided to cut my first test version of this shirt in a lightweight cotton just as it is, in the hope that I’ll still like it and wear it. And here’s the finished shirt:
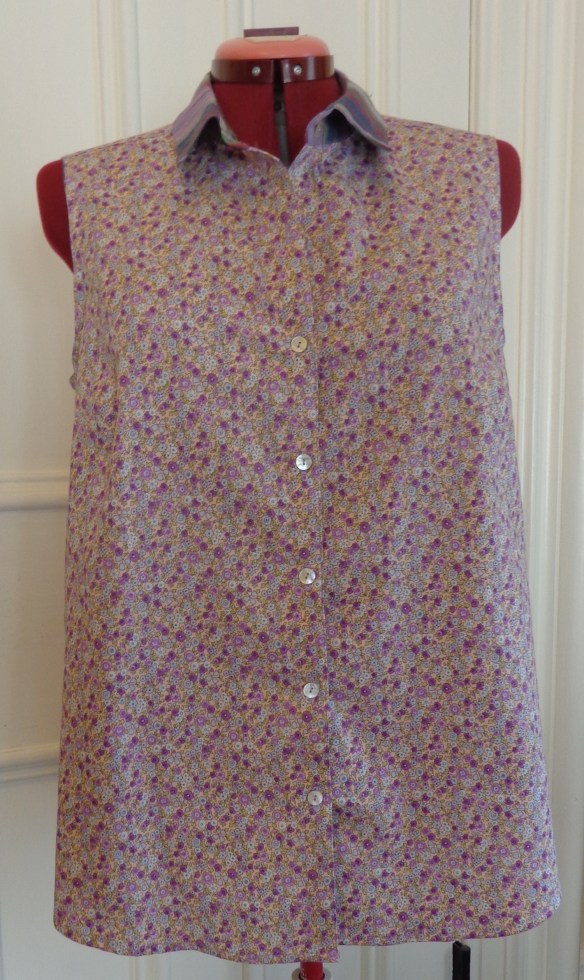 I do like it! The instructions for this shirt are great, very clear and quite clever in places. I don’t think I’ve ever had a two-piece collar go in so easily and come out so perfectly. The way they instruct you to put in the yoke is brilliant. The garment ends up being beautifully finished, too. The sleeves are finished with bias binding. I felled the side seams, as well. The hem is a shirt-tail but only gently curved, so it’s easy to press it up and double-fold it for the hem. It’s odd to have to space your own buttons, but it worked out just fine.
It is definitely a loose A-line shirt, but I’ll wear it.
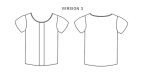
The one disappointing thing is that the pattern offers no option with sleeves.
I cut another in a Kaffe Fassett yarn-dyed stripe from my stash. I photographed it flat, rather than on Nellie, so you could see how wide it is in the hips:
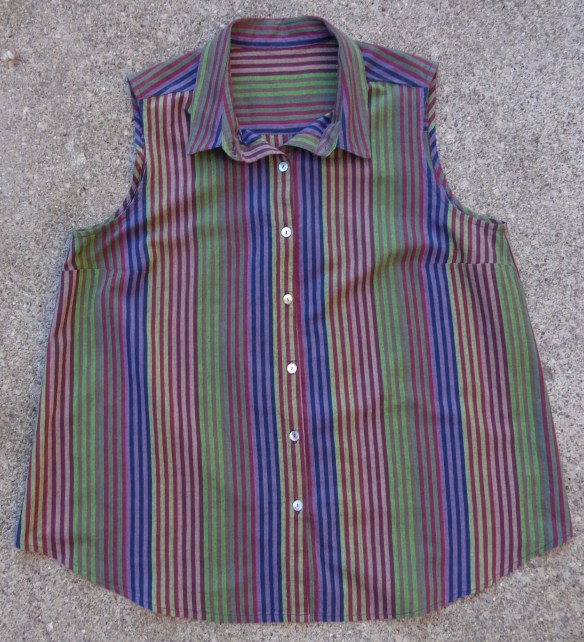 I am pretty much a 14 by the Jalie measurements, so I cut the Y in this shirt.
I like this one, too, but if I cut more (next summer) I’ll take in that front side seam and go for a trimmer silhouette. This is fun and comfortable, a good hot weather shirt, but it does veer a little close to the maternity-top-look for me. I might cut one in rayon first, just to see how it drapes. Hmm.
What do you think? Do you have a favorite sleeveless shirt pattern?

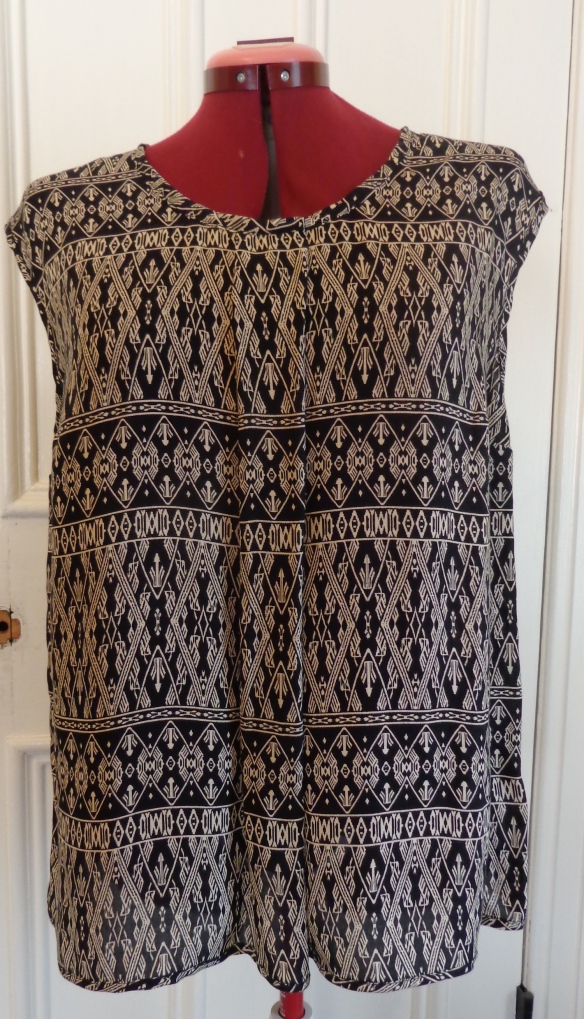
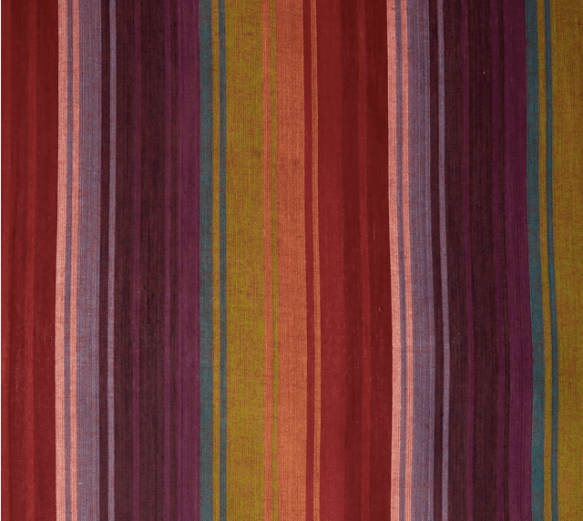
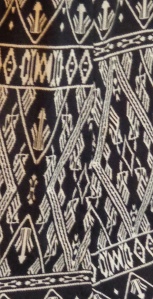 This is a top of many errors – I was sure the print wasn’t a one-way design but I was only looking at the wider stripes. Look how the narrow ones between those wider ones alternate. Oops. It IS a one-way design, but I had to invert the back to cut it out of the remnant.
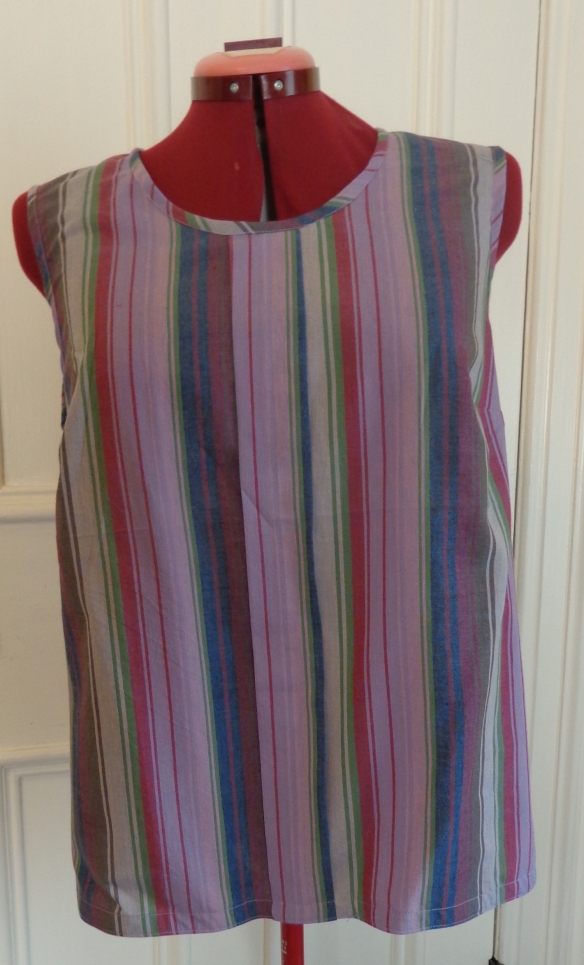 I went back to my pattern and modified it. I cut an inch off the hem, cut 3/4″ off the center back of the back pattern piece, and re-angled the side seams so that they’re 3/8″ wider at the hem. The additions to the side seams make up the 1.5″ taken out of the center-back so the hem is the same finished width.
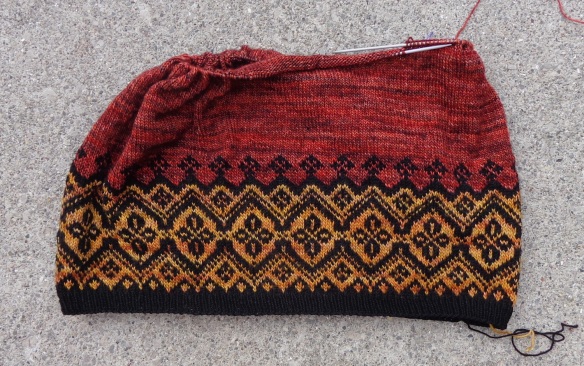
 That Simmer Pot is really something and the photograph doesn’t do it justice. I bought it on a whim.
 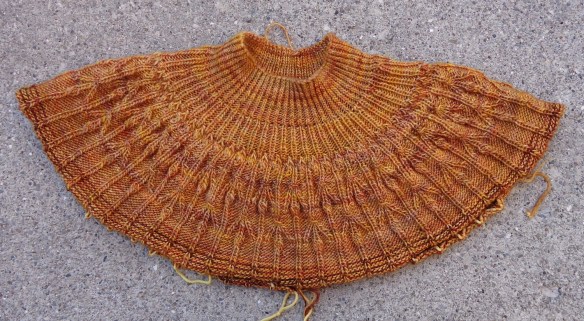 It seems that this sweater is supposed to tug down, to make a scoop neck. When I tried it on at this point, it seems too soon to split for the sleeves as it’s challenging to tug it down enough for it to reach my underarms. My gauge is spot-on. On Ravelry, people have commented on how stretchy it is and how well it fits. Hmm. I’m small in the shoulders, so this should work. Hmm. I decided to knit a litte more before splitting for the underarms, since I prefer more of a round neck and I dislike tight sweaters. I ended up knitting another 3/4″.
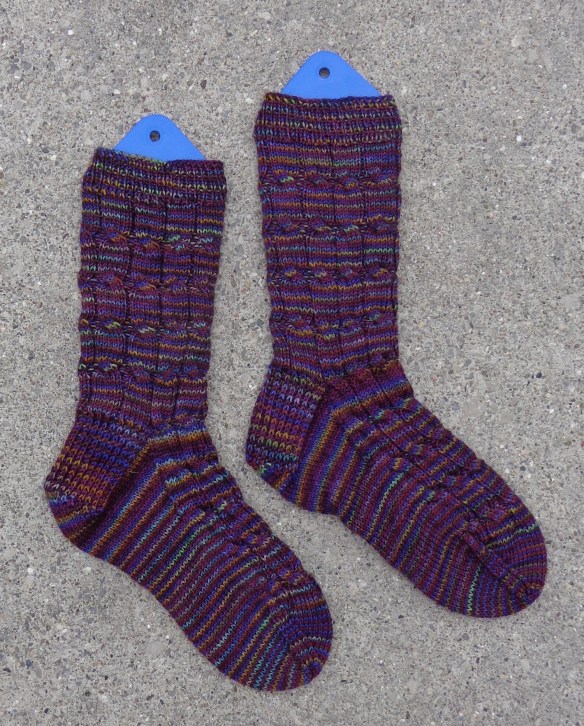 I used my usual memorized pattern for these, casting on 72 stitches, working the ribbing for a while (12R of 1×1 in this case), then looser ribbing to the heel for 72R total. I did 6×2 ribbing this time, and worked a cable twist every 12R, which made counting the rows easier. It does make the socks a little more snug to pull on. I have 12g of yarn left, which will probably make one mitred square for my leftover-sock-yarn afghan.
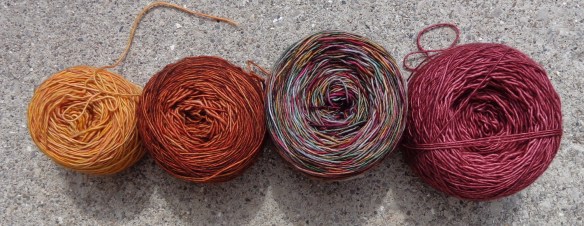
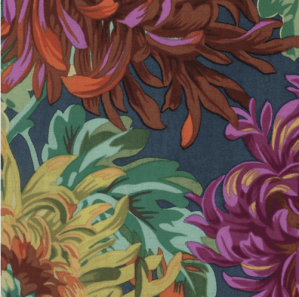
 It’s so gorgeous that I had to snap it up. I’ve had it in my stash for years but haven’t wanted to cut it. Here’s my first batch of squares in progress:
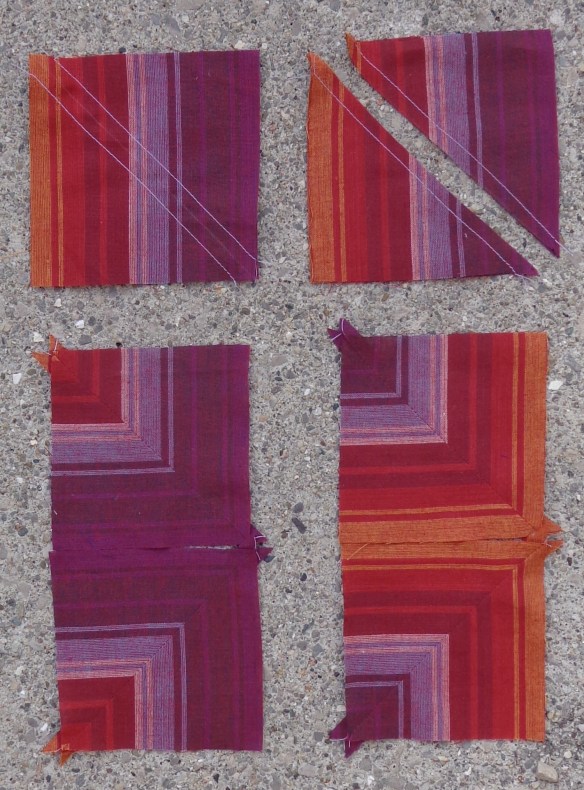


 I knit them toe-up because I wanted to use up all the yarn in the gradient. This time I used the
  I’m just doing my usual sock thing, casting on 72 stitches, working 72 rows, turning the heel etc. This time I did 6×2 ribbing and added a cable twist every 12th row. It makes the counting easier to the heel, although I hadn’t planned it that way. I just wanted to mix it up a bit.
 The cables made these a more interesting knit than they would have been otherwise, and I liked the finished hats.
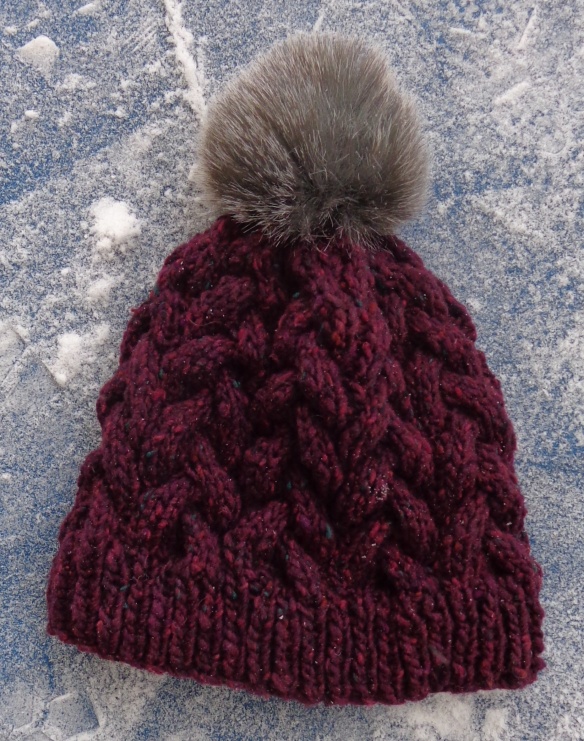
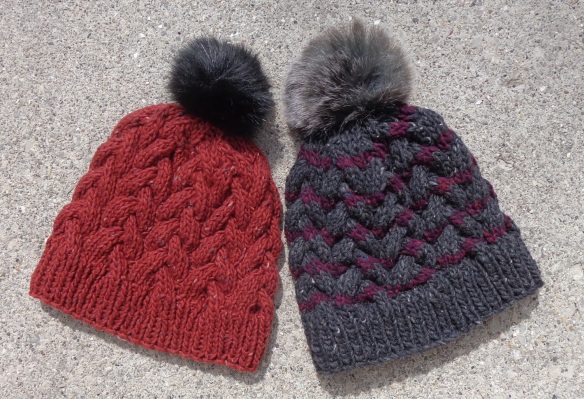
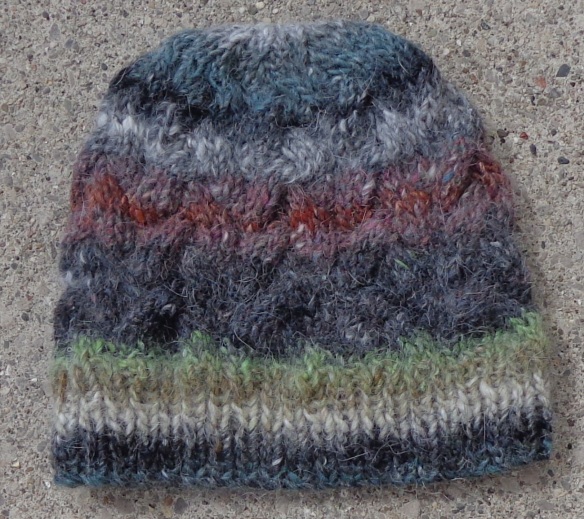 This one is a little smaller, because I forgot to do the increases after the ribbing. I was too worried about matching the stripes – I had a lot of bits and ends to use up for this hat. It fits more like a watchcap, but the mister likes it that way, so all is good.
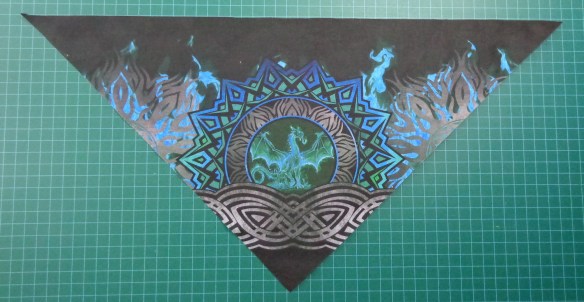
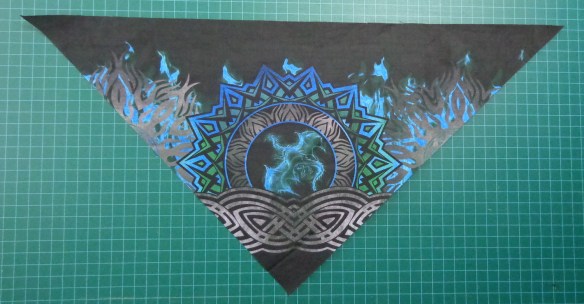
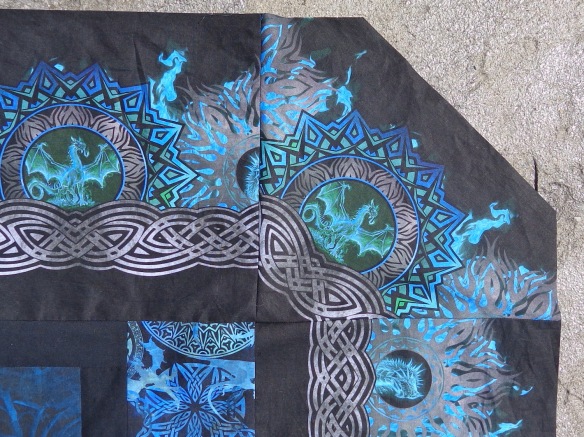
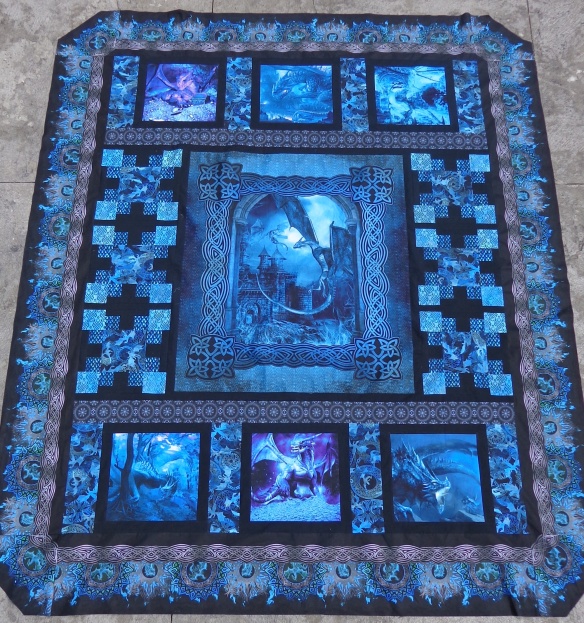
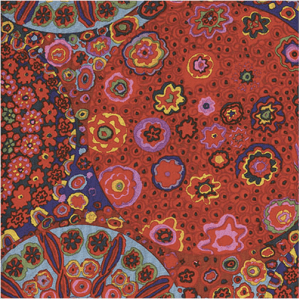
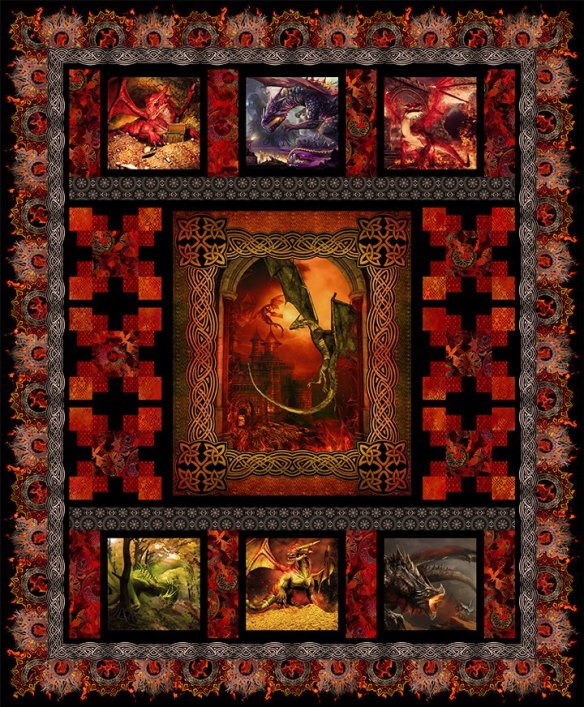 The instructions say to center a dragon circle on the width of the quilt and a dragon in flames on the lengthwise edges. The quilter who made this orange quilt did that, which is why we’re looking at this image this week. (The one who made the blue quilt didn’t.) The corners are mitered, and you can see that with this positioning, you get mirrored corners which is all good, but they each have a slice of dragon circle in them. I don’t love that, so I wanted to explore alternatives.