I know far too many people who are battling cancer right now, and recently offered to make some chemo hats. I expected this to be an easy project, but it was a challenge instead. When I found a yarn I liked (soft and squishy), I couldn’t find a pattern for it (or even its gauge) that I also liked. In the end, I merged some patterns together and came up with my own.
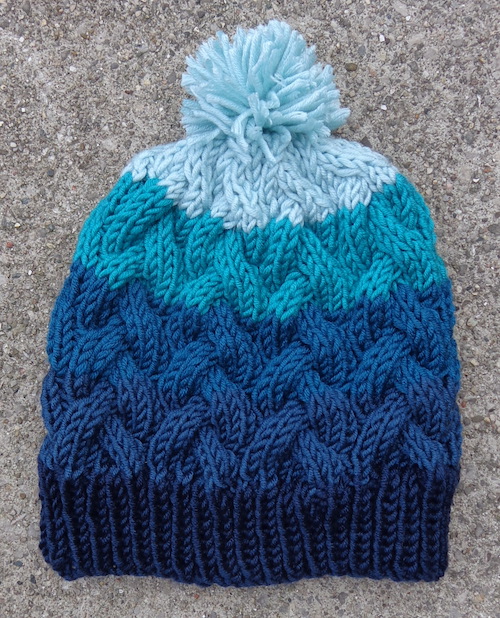
Here’s one, for an aran weight yarn.
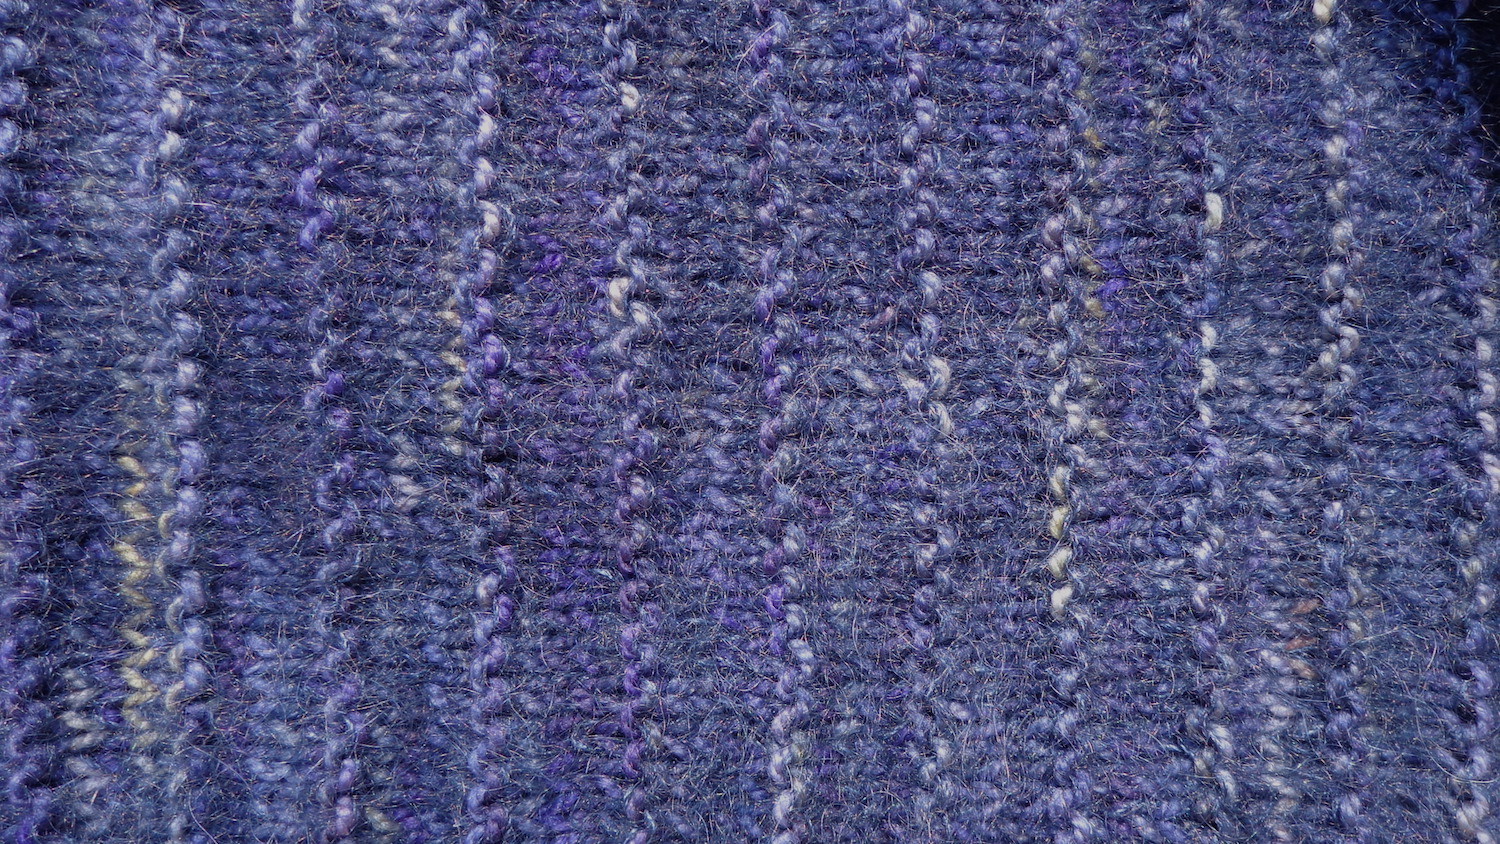
This yarn is Lionbrand Landscapes, a 100% acrylic yarn that comes in wonderful graduated colours. (That link will take you to the Lionbrand website product page.) I used a colourway called Blue Lagoon for this first one, and bought the yarn at Michaels. One thing with this yarn is that it’s a loosely spun single ply, so be careful not to split the strand when knitting. I ended up making more of a scoop motion than usual to catch the entire ply and that worked really well.
This hat is knit from the top down. Many of the ones that were knit cuff-up ended up having too tight of a cast-on edge, so I preferred this method. You might prefer it inside out as the knit side of the stockinette is smoother. Check with the recipient before you sew in the ends as you’ll want them on the wrong side, whichever side that’s going to be.
You’ll need:
• one skein of Lionbrand Landscape yarn (I used .7 of a ball in Blue Lagoon for the hat with the ribbed cuff, and .85 of a ball in Wildflower for the version with the rolled hem.)
• 6.0mm needles, a set of DPNs and (if you prefer) a 40cm circular
• 5.5mm needles, either a set of DPNs or a 40cm circular (for the ribbing)
• stitch markers (optional) You’ll need one to mark the beginning of the row, and five more (in a different colour) to mark the repeats.
• a needle to sew in the ends.
Gauge: 18 stitches and 22 rows = 4 inches, in stockinette on 6.0mm needles
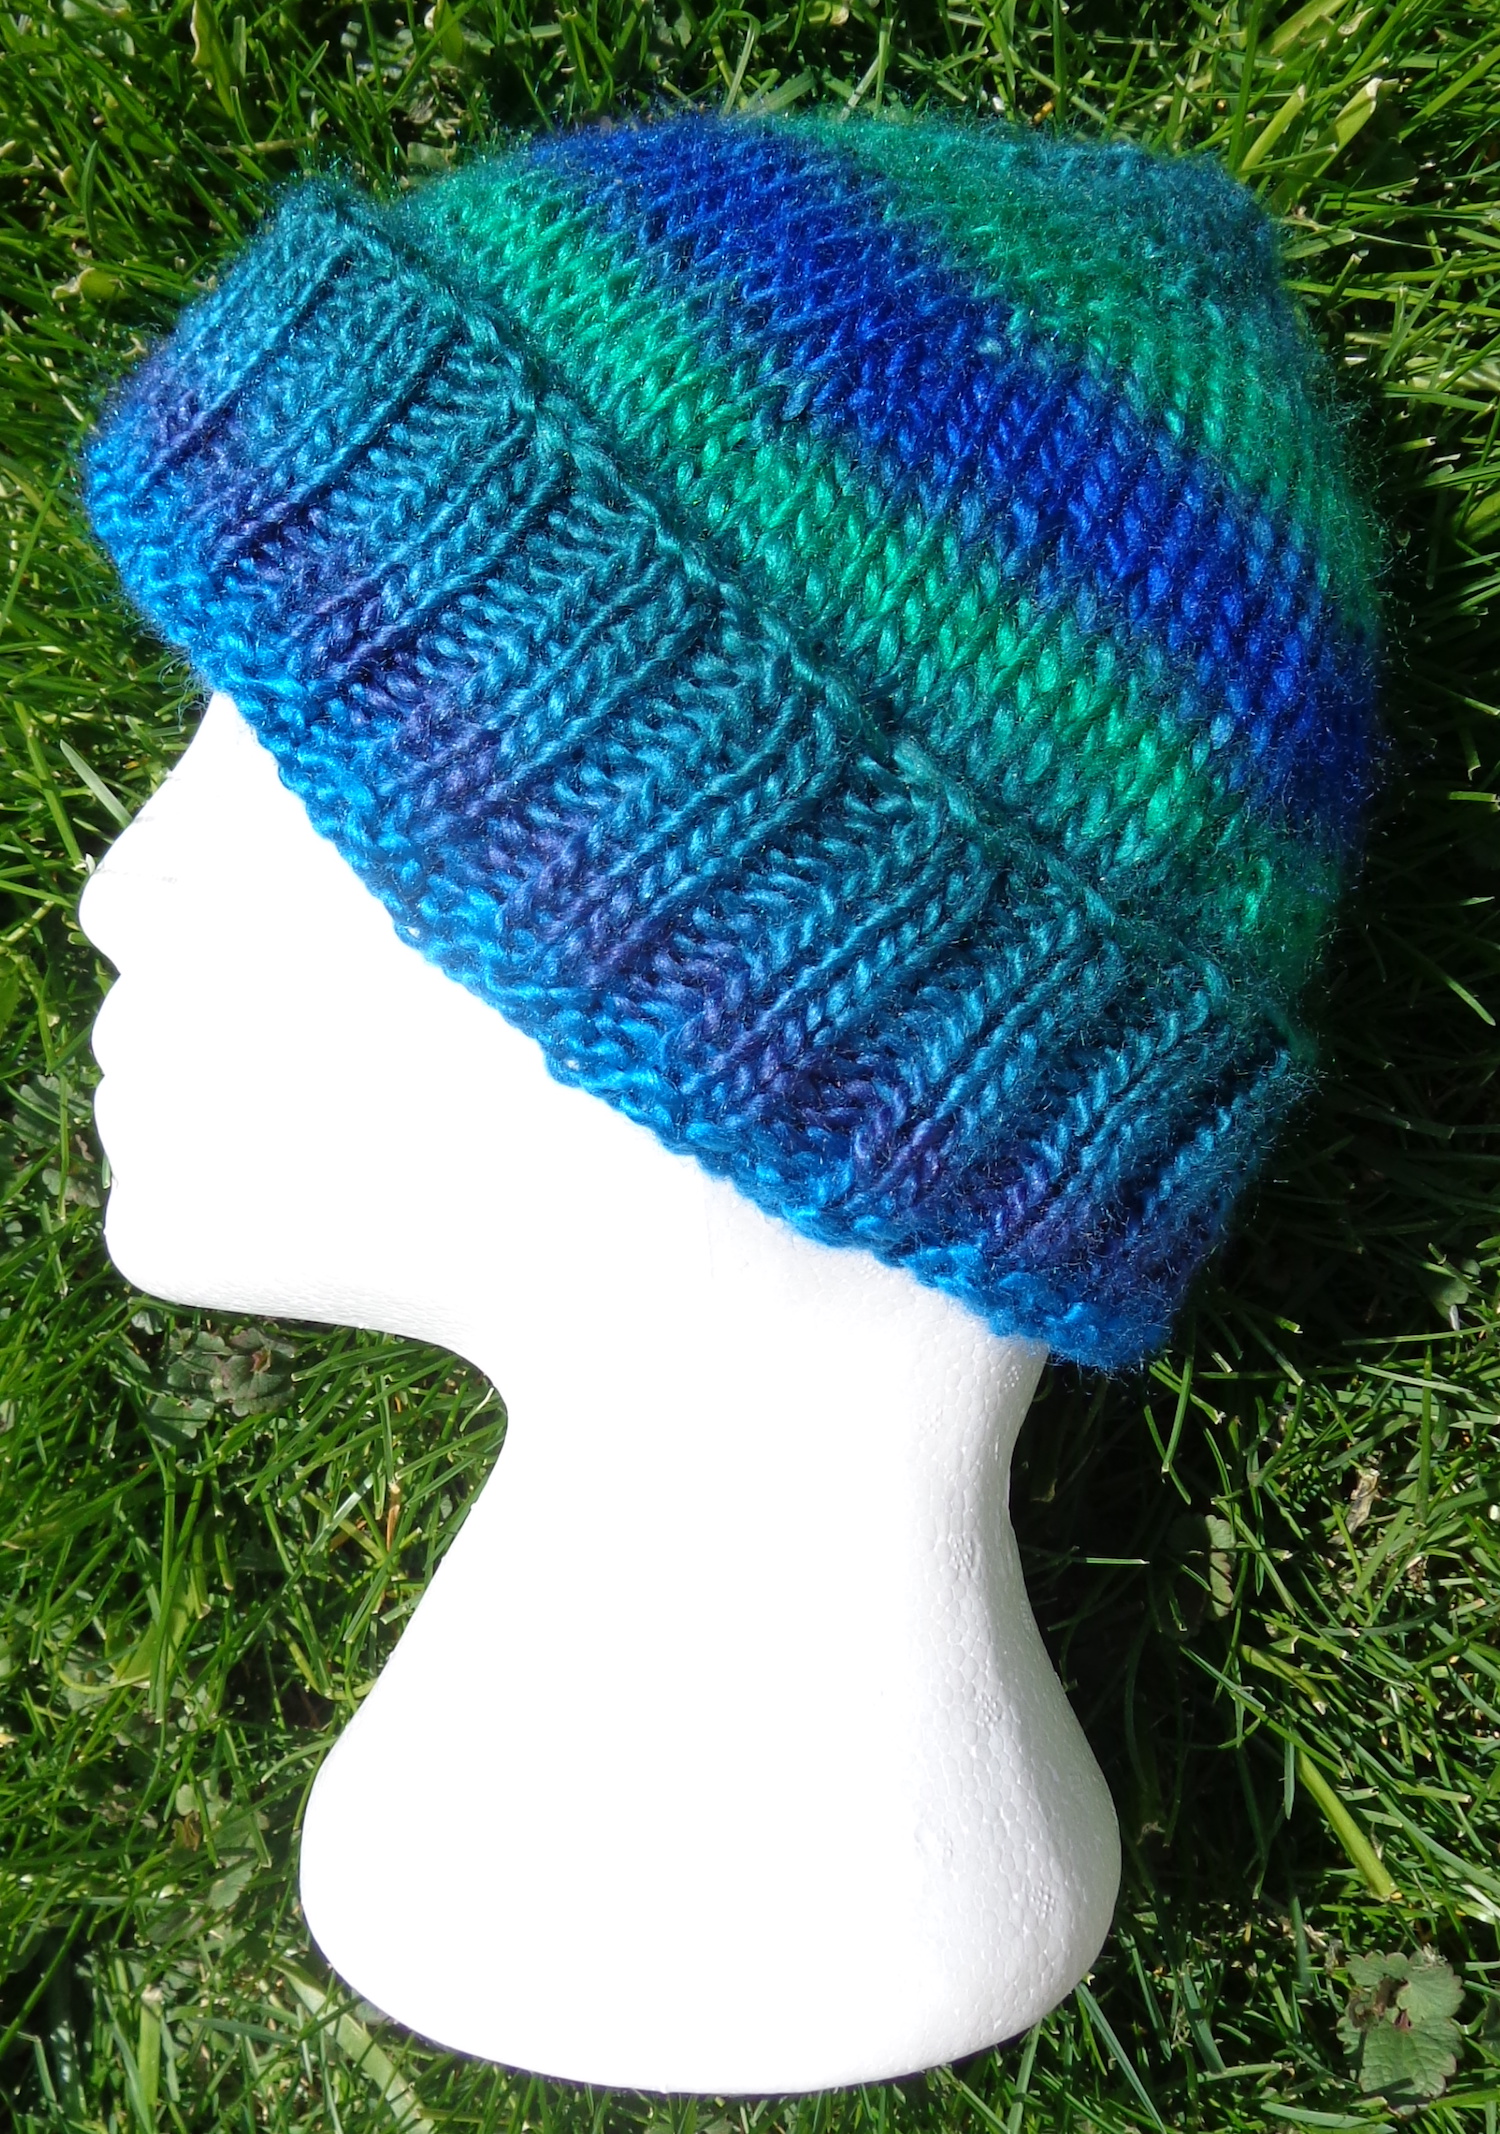
There are instructions for two sizes for the finished hat is 21″ (regular) and 23″ (large) around. If the recipient has a much smaller head (or you aren’t sure) the version with the ribbed cuff is more likely to stay put.
Instructions:
Cast on 6 stitches on a 6.0mm DPN and arrange them over three needles (2 stitches on each). Join in the round and place a marker at the beginning of the round.
Round 1: KFB in each stitch (12)
Round 2: Knit
Round 3: *K1, KFB, place marker. Repeat from * to end of round. (18)
Round 4: Knit
Round 5: *K to one stitch before marker, KFB. Repeat from * to end of round. (24)
Repeat rows 4 and 5 until you have 78 (for regular) or 90 (for large) stitches. Change to the circular needle when you have enough stitches, if that’s what you prefer.
Knit the next round, removing the markers after each wedge and leaving only the marker at the end of the round. Continue to knit for 3″ after the last increase.
Work next row in K1 P1 ribbing, changing to 5.5mm needles as you work the row. Continue in ribbing on the smaller needles for 2.5″ (In my case, that was 13 rows.) Cast off in ribbing.
Sew in ends and you’re done!
Variations:
• I wanted 2/2 ribbing on the blue hat, so I knit two stitches together halfway through the first row of ribbing and again at the end of the round. That gave me 88 stitches instead of 90, which is divisible by 4.
• you can also make a variation with a rolled brim. I made one with the colourway Wildflower but forgot to take a picture before sending it away. Instead of changing to ribbing, just keep knitting in stockinette to at least 8″ from the cast-on edge. I made mine with 6″ of stockinette after the last increase, then cast off loosely. This used more of the ball but had a nice rolled cuff.
Abbreviations:
K: Knit
P: Purl
KFB: Knit front and back. This increases one stitch, making one stitch into two. You could substitute any other increase you prefer, like M1 (make one) or YO (yarn over).