
This project is actually the one I cast on before the shrugs but finished later. Why? Because it’s fiddly.

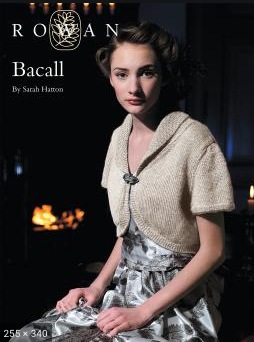
Here’s the book the last time Jen tempted me to knit for dolls. 🙂 It’s called Knits for Barbie and is by Nicky Epstein. It’s out of print, so that’s a Ravelry link. There are a lot of cute patterns here, and they’re styled nicely for inspiration.
The specified yarns are often tapestry yarns, but many people on Ravelry use sock yarn. What’s distinct about these patterns to me is that they’re made exactly like sweaters for people from traditional patterns. No top-down seamless stuff here. I’ve never been so glad to finish a project as these two sweaters – and the process definitely made me appreciate the seamless shrug pattern I shared with you last week.
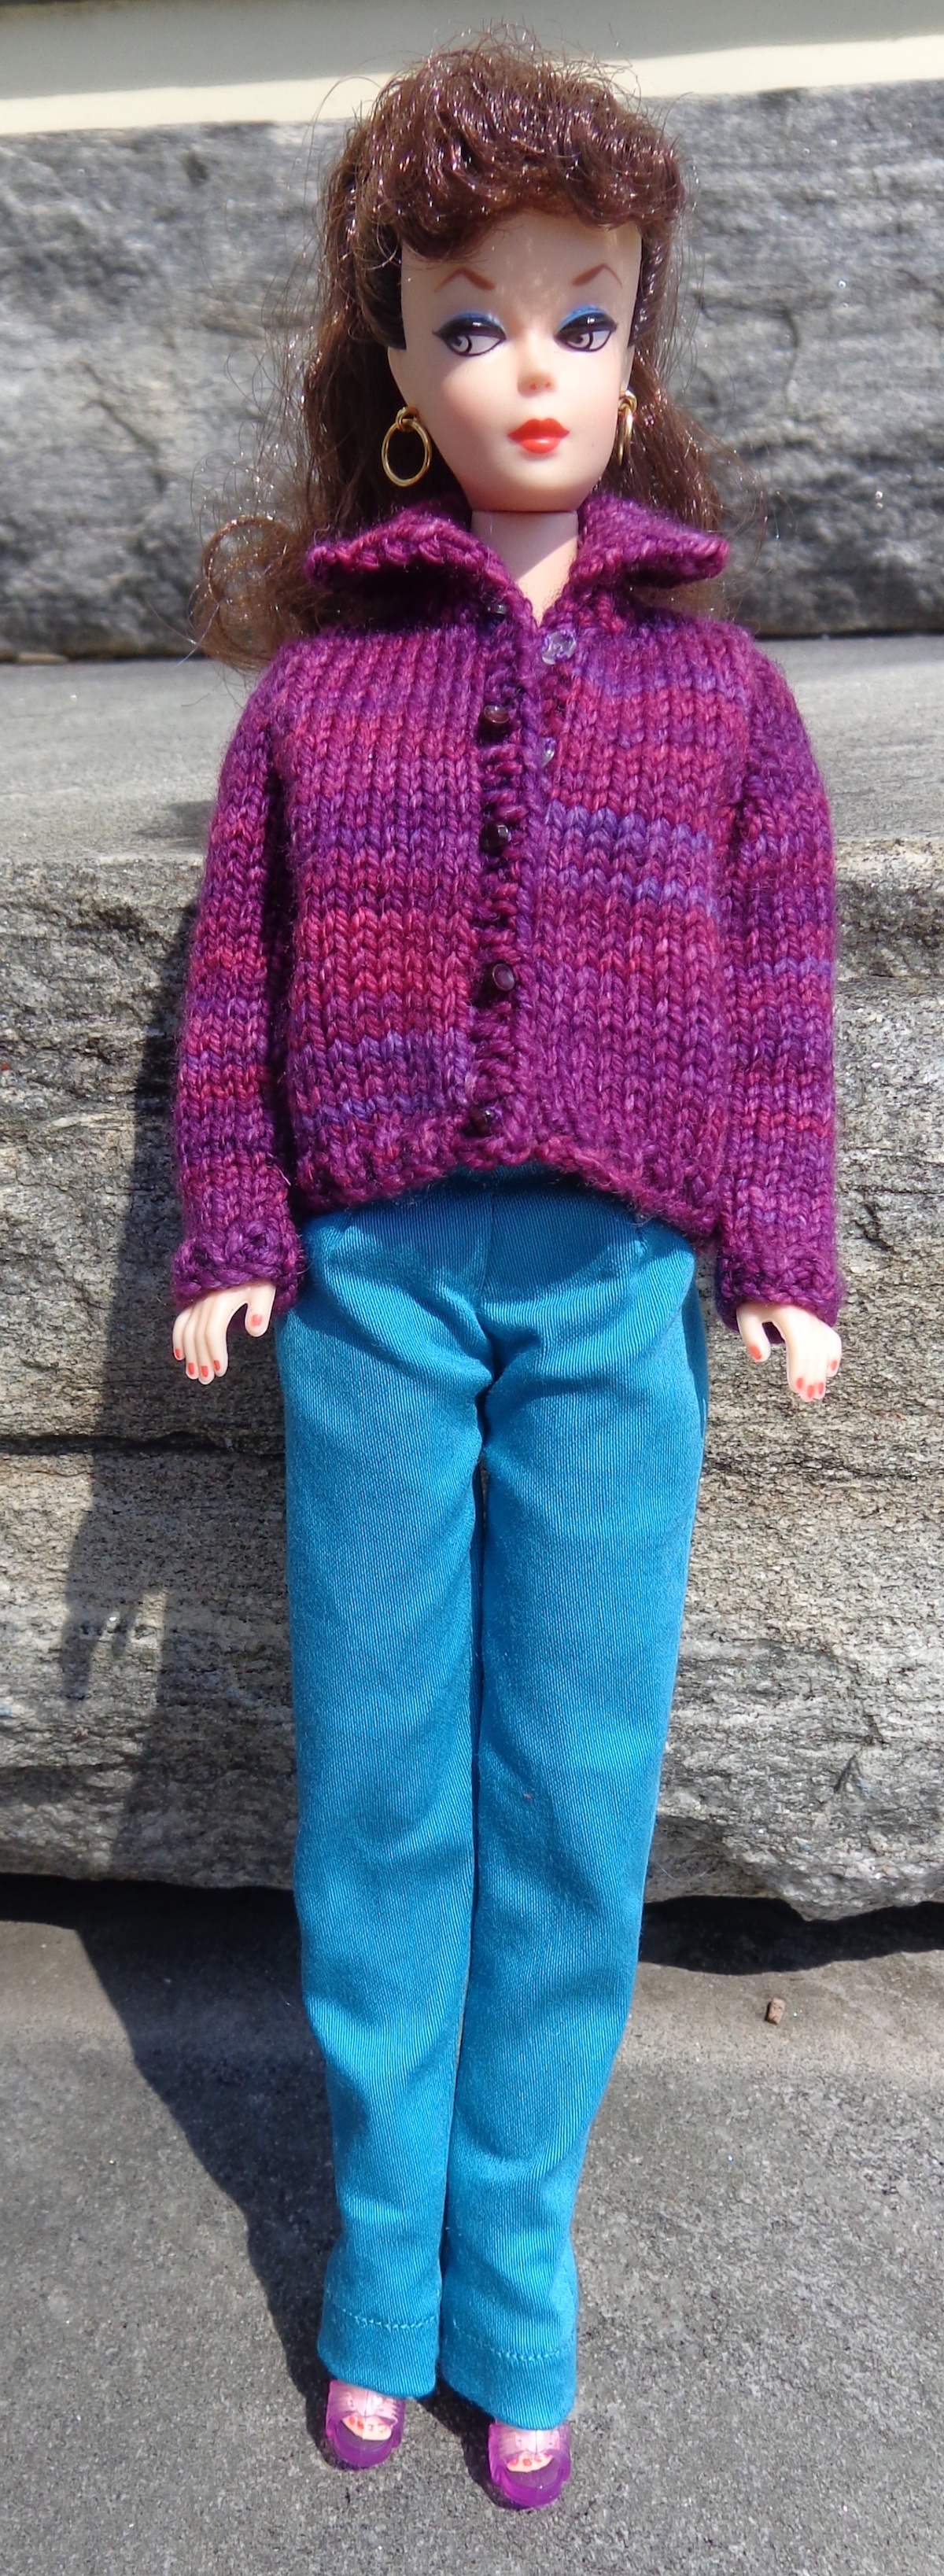
But let’s talk about the cardigans. I decided to make the Timely Twin Set, (another Ravelry link there) which is a cardigan and sleeveless shell. For my first attempt, I used some leftover Madeline Tosh Twist Light in Lepidoptra. This is kind of kettle-dyed and so it didn’t make stripes even on a small garment. I knit the back, the two fronts, the two sleeves, sewed it all together, then picked up the button bands on each front, and finally knit the collar. Just like a big sweater, but teeny teeny tiny!
One thing I learned quickly is that no matter how small the stitches, Barbie fingers are smaller. It’s much easier to try these sweaters on Barbie if she has a pair of mittens on. (Barbie “gloves” are actually mittens as the fingers aren’t separated.) If you don’t have any, you could wrap a piece of cloth or the corner of a sandwich bag over her hand to put on the sweater. My vintage doll has a gap between her pinkie and the other fingers, as well as between fingers and thumb, and it was that pinkie that gave the trouble.
This cardigan pattern has no buttonholes, just buttons on the left, so the sweater is always worn open. I used teeny tiny snaps (five of them) and sewed the buttons on the right front instead. These are 3mm clear snaps that I ordered online. They’re very tiny, which I like, but they’re hard to fasten. I wouldn’t recommend them for little fingers. I might (gah) take them off and sew on plain old metal snaps.

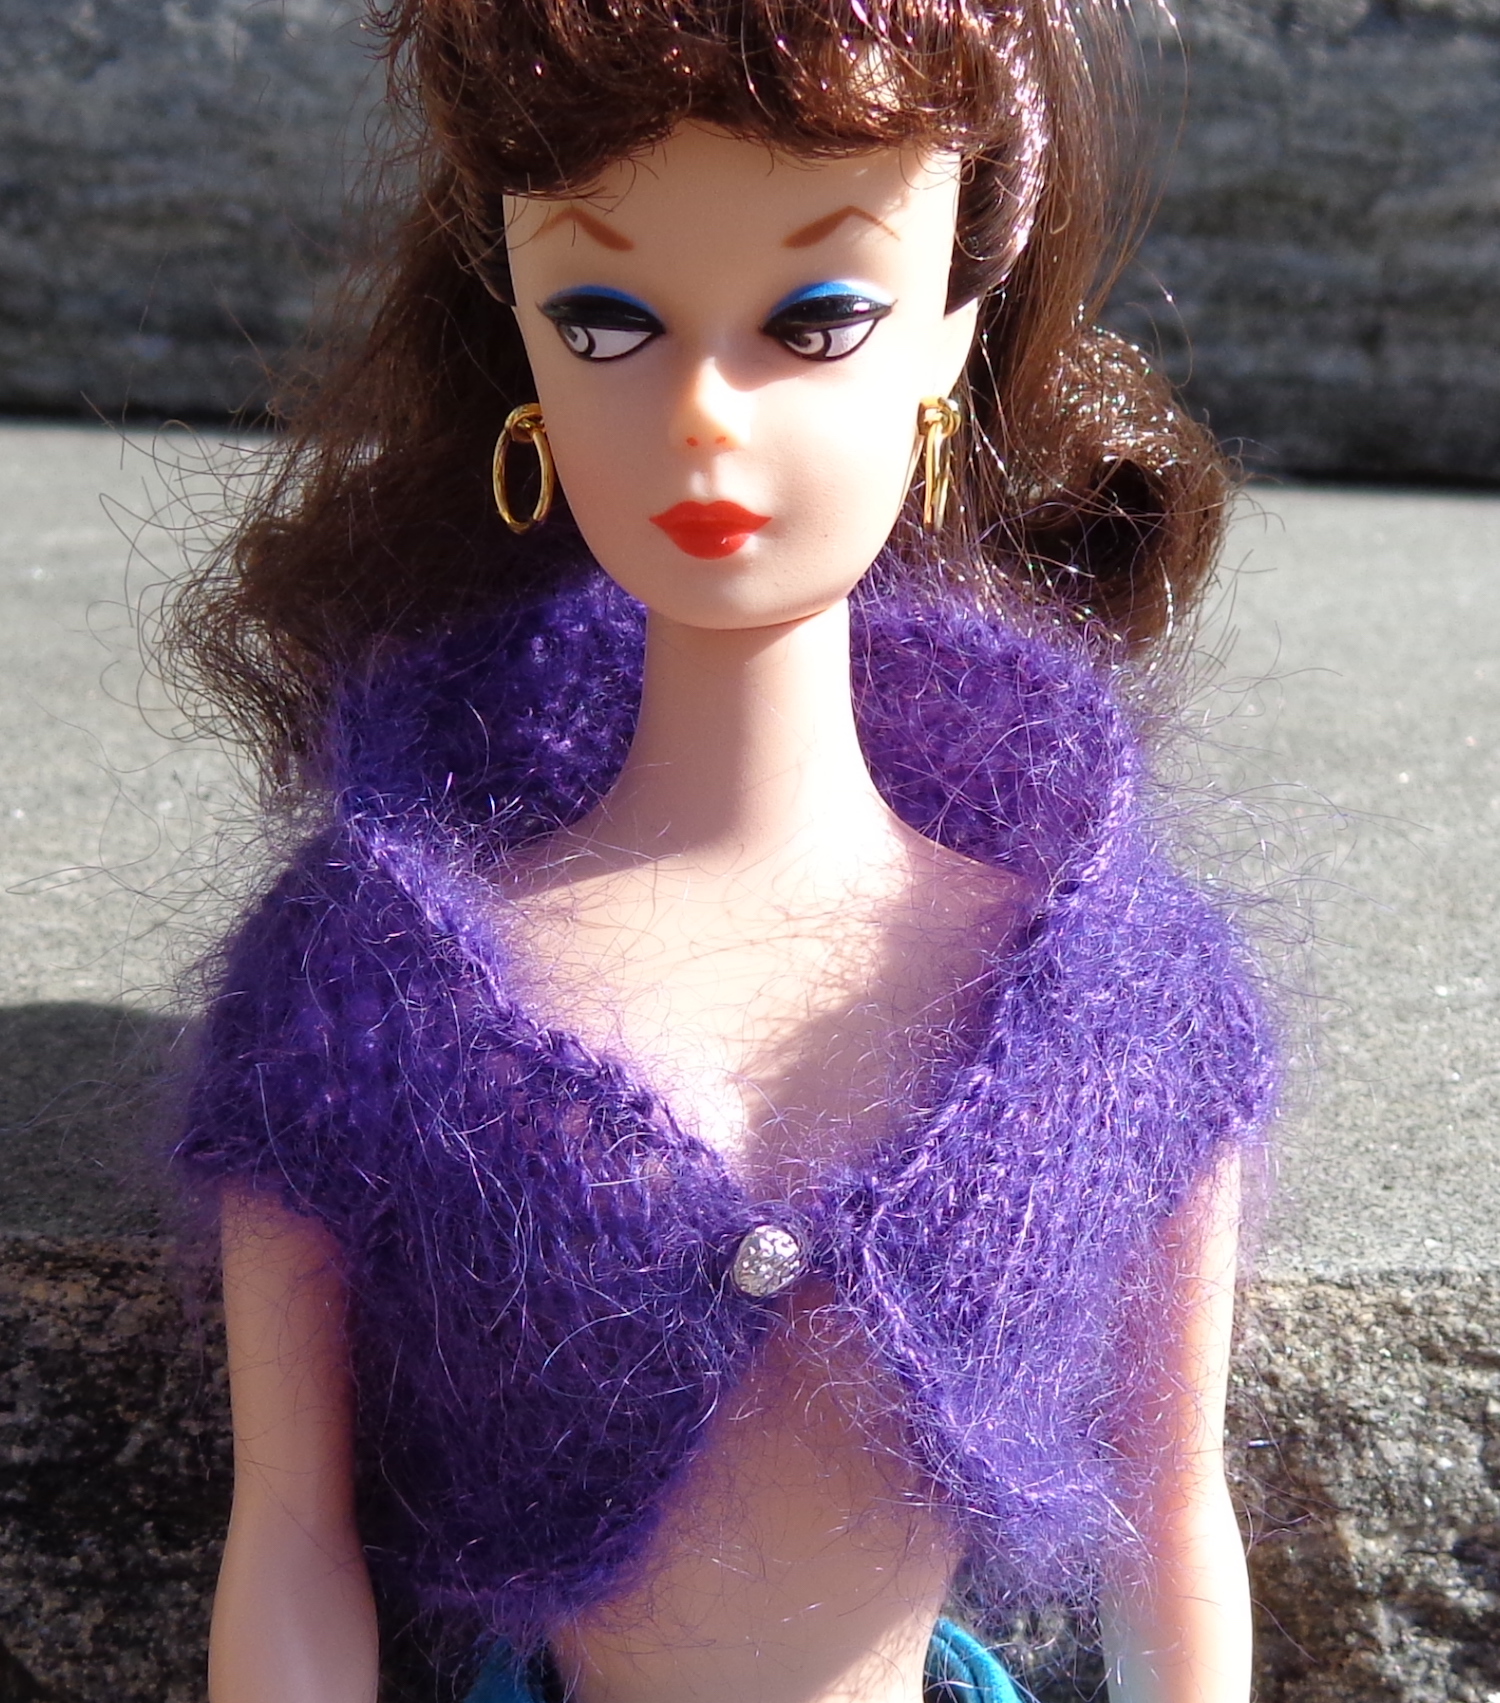
Here’s the finished cardigan from the side:
Barbie is wearing a pair of pants I made for her of cotton twill. They’re a bit too long for her, but we both like the color.
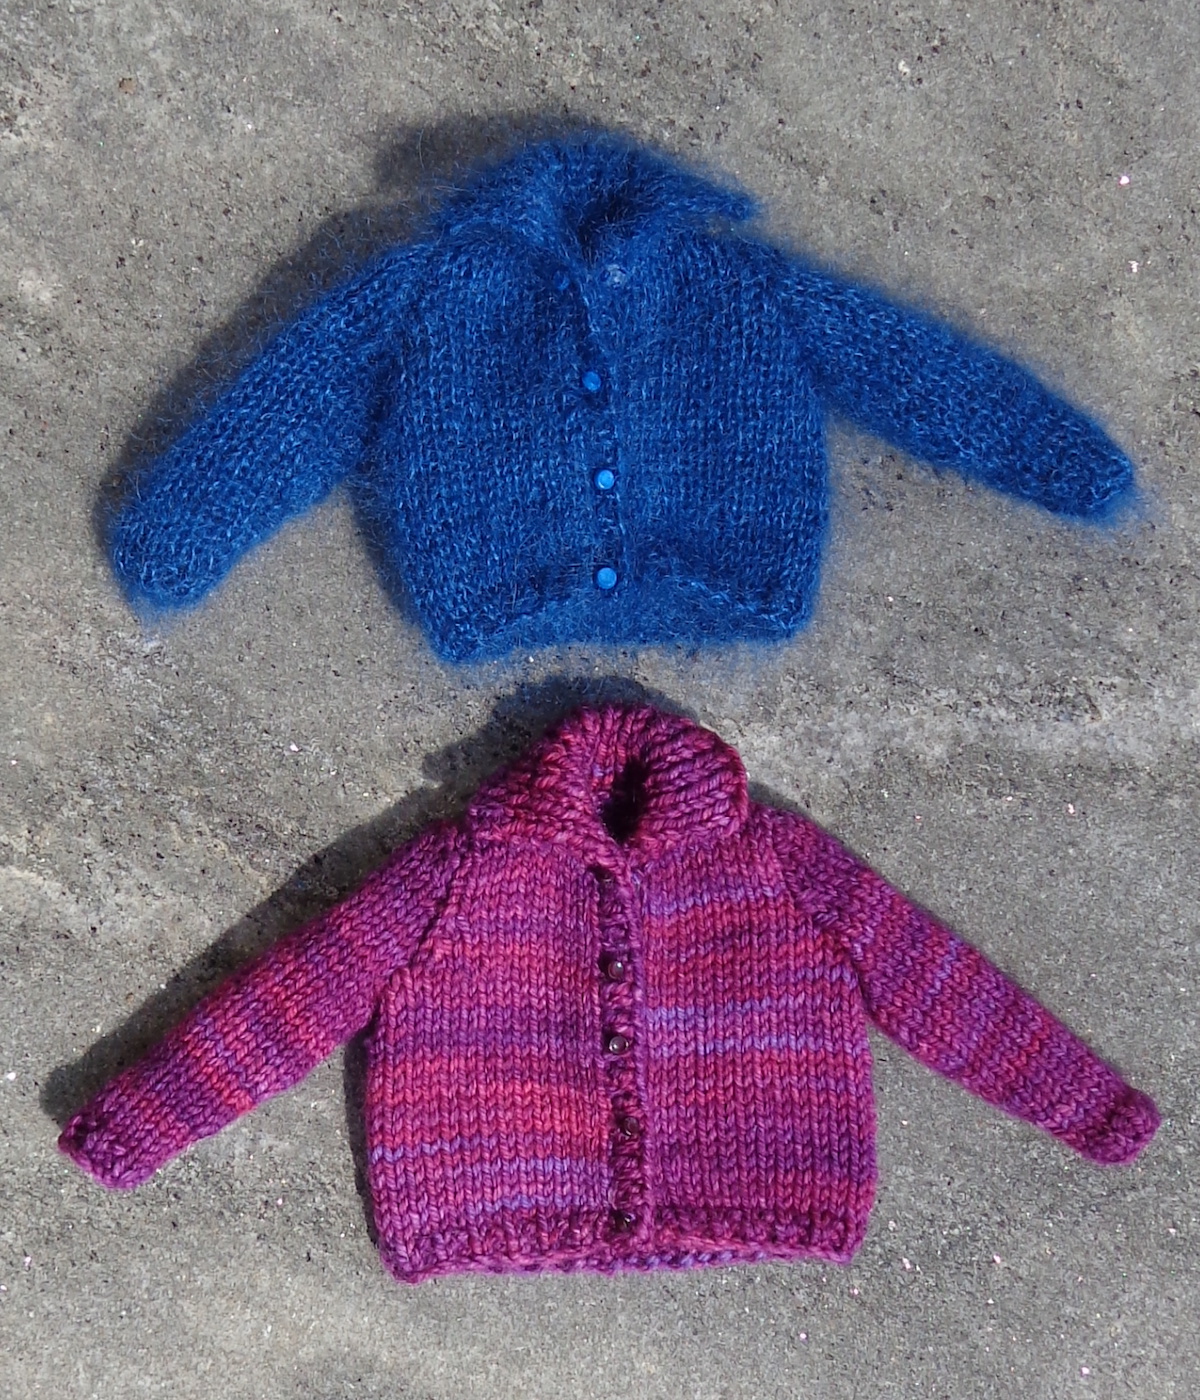
The cardigan is pretty bulky for Barbie – I think it looks better in the pictures than IRL – so I didn’t knit the shell to go with it. Instead, I tried an experiment and knit the cardigan again, this time in Elann Silken Kydd (which is like Rowan Kidsilk Haze).
This time, I eliminated the side seams and knit the body to the underarms, then divided it. I still knit the sleeves separately and did the button bands etc. I did the five snaps and buttons again, and here’s the result:

It’s still pretty fluffy, even though this one came out smaller in the thinner yarn. (Same needles.) It reminds me of a mohair sweater I have myself – it’s exactly the sweater I want when the power goes out, but not so much otherwise. It’s really fluffy and warm, but not flattering at all. It’s knit of that thick mohair that used to be prevalent. I want Barbie to be glamourous not practical!
Here are the two sweaters beside each other, so you can see the difference just by changing the yarn:
So, I’ll try a variation, a top-down cardigan with a lot fewer seams. Stay tuned for that!


 More dragon quilt!
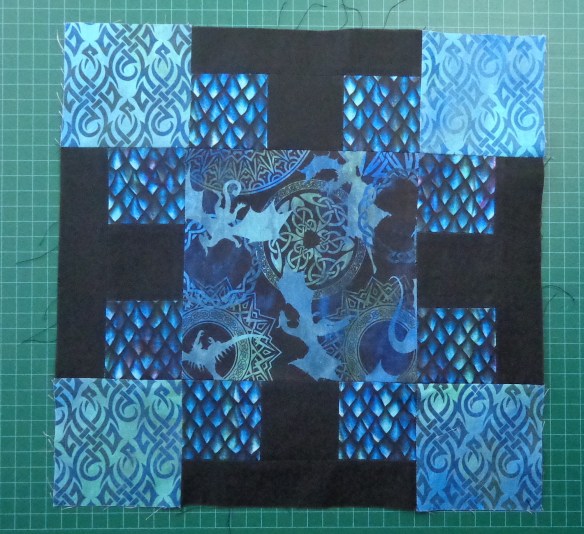
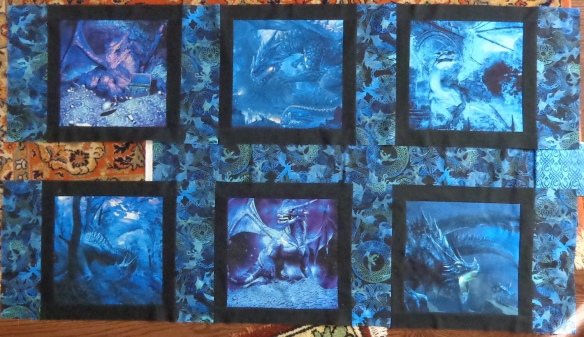 I put some of the leftover fabric between the rows—it ran out at the left, because these bands are 58″ or so wide—and put a little bit of the flames at the right. I like it better with the background all the same colour, but even one panel of these six-dragon-panels would make a fun quilt.
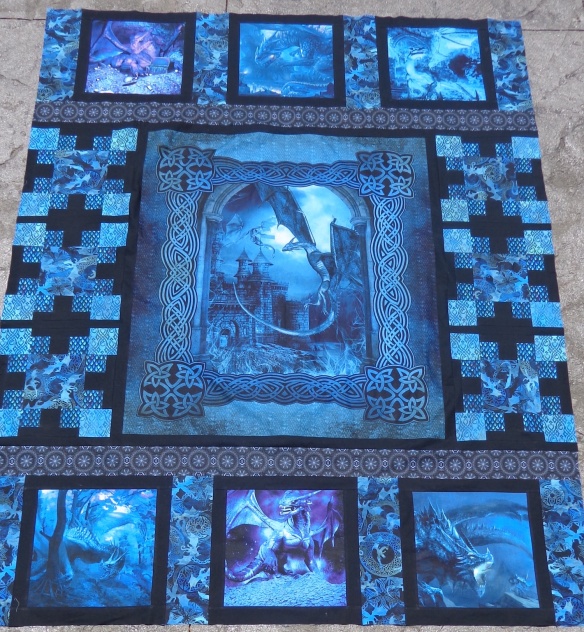

 But then, here’s the cool bit. You pull the piece together a bit, turning those strips into loops, and link them together to make a braid down the middle of the cowl. Here it is after it’s braided:
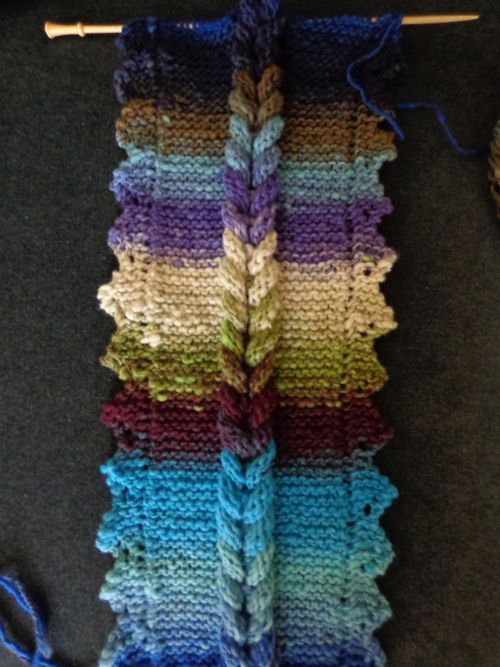 Isn’t that brilliant? I keep braiding it and unbraiding it, just to see the magic happen.
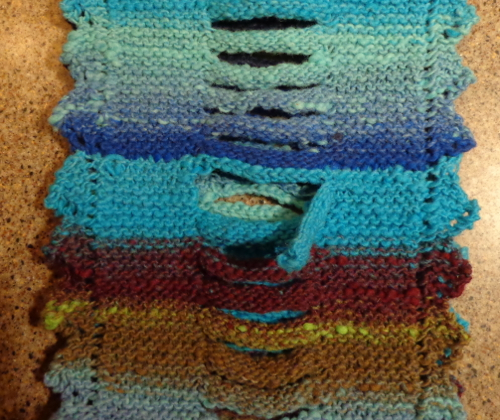 This is the cowl grafted together – you can see that the colours didn’t match up. (Boo. I had a knot in the ball, otherwise it might have come out perfectly.) I ended with the bright turquoise and had started with the ultramarine blue. The line where they meet is the line of the graft. The first loop, then, is turquoise on the bottom half and ultramarine on the top half. The loop before that, though, is broken. I did this by casting on the stitches in Row 5 of the pattern, then turning, leaving the last 15 stitches of that row on the other needle, unworked. I worked on the front part of the row through Row 11, then left it on the right needle after the cast-on stitches. I worked the intervening rows on those left stitches that had been waiting on me, then finished Row 11. At the end of that repeat (Row 12) I grafted the two edges together.
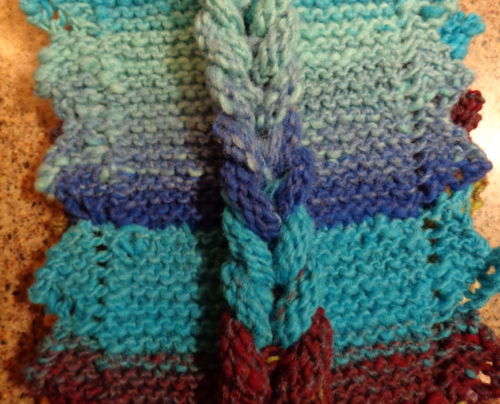 No one can ever unbraid it again. 🙂


