
I seem to be making a lot of bags lately, but this one will finish me for a while. My favourite thing about it is that it’s done!
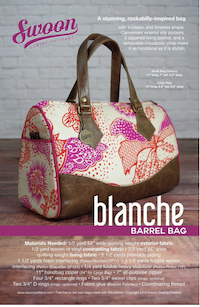
The pattern is the Blanche Barrel Bag from Swoon Patterns. I bought a paper pattern from Emmeline Bags because I was buying some hardware from them anyway. It’s also available as a PDF. (The first link is to the designer’s website.)
The pattern includes the bag in two sizes. I made the larger one. My plan is to make the smaller one as well, but not just yet.
My main challenge with this bag was self-inflicted. I chose vinyl for the handles, base and accent, and this did not bring joy to my sewing machine. I should have borrowed access to my friend’s industrial machine for sewing those thick bits.
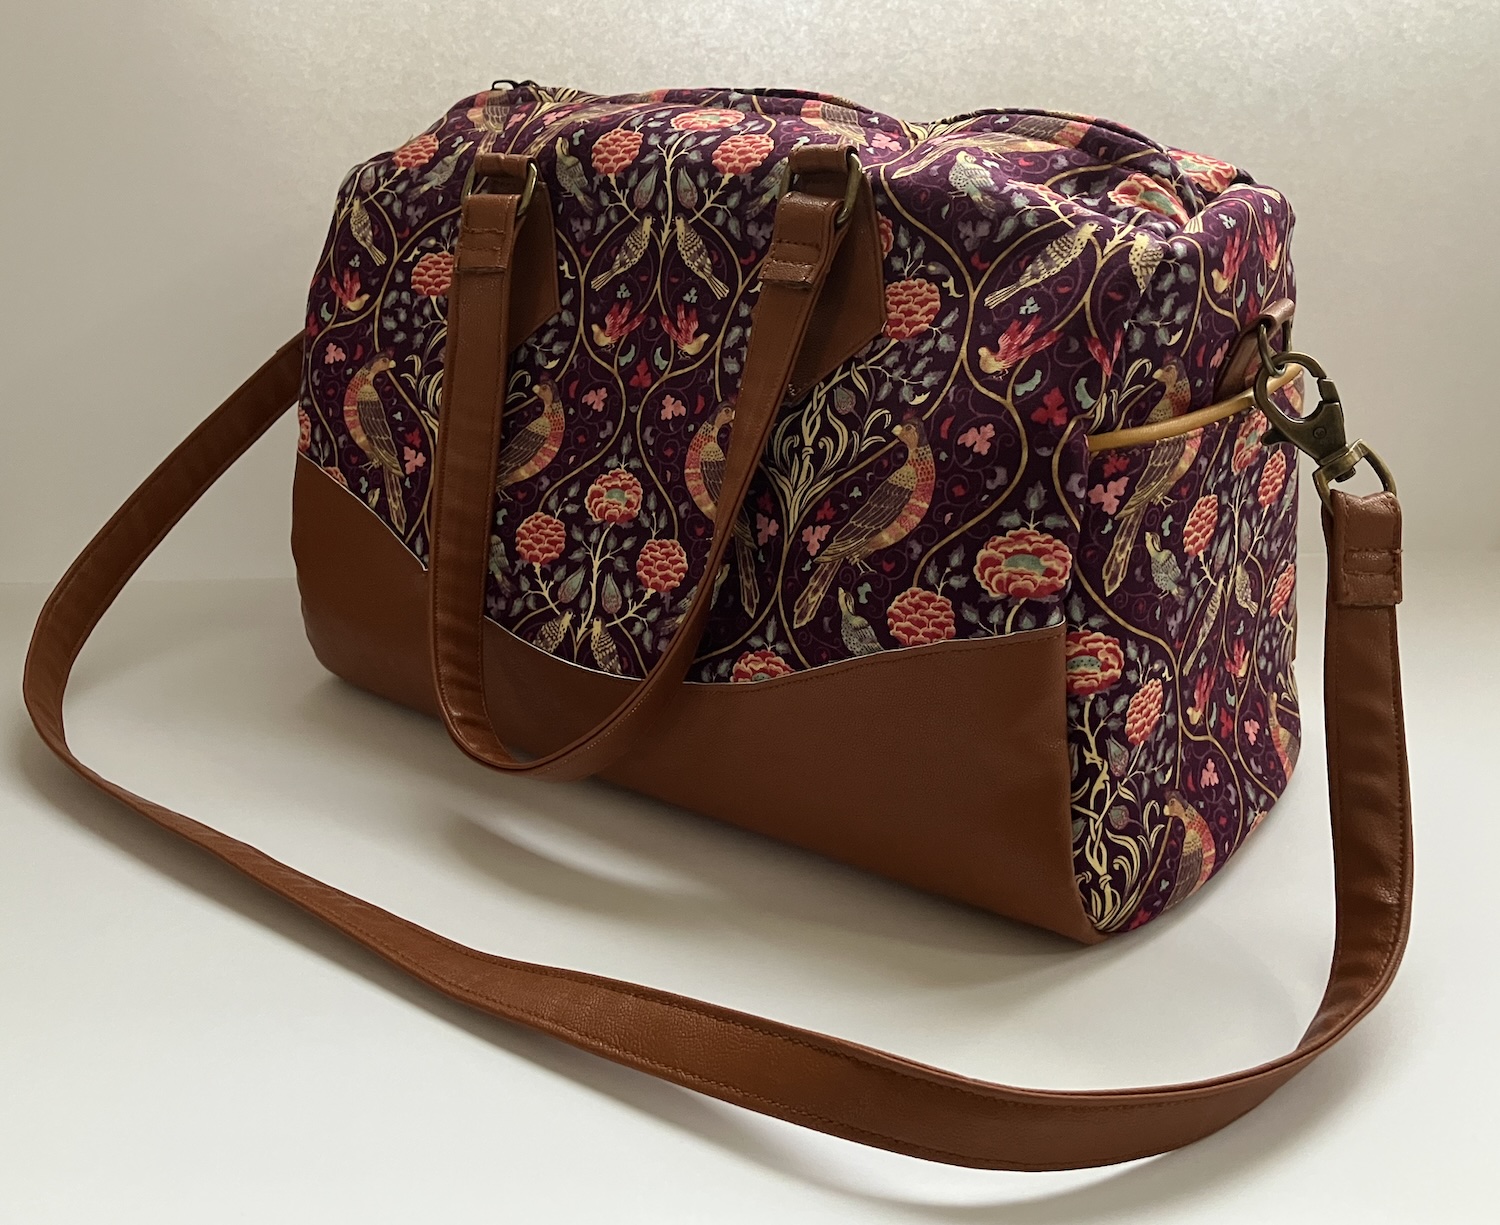
Still, it came out pretty well:
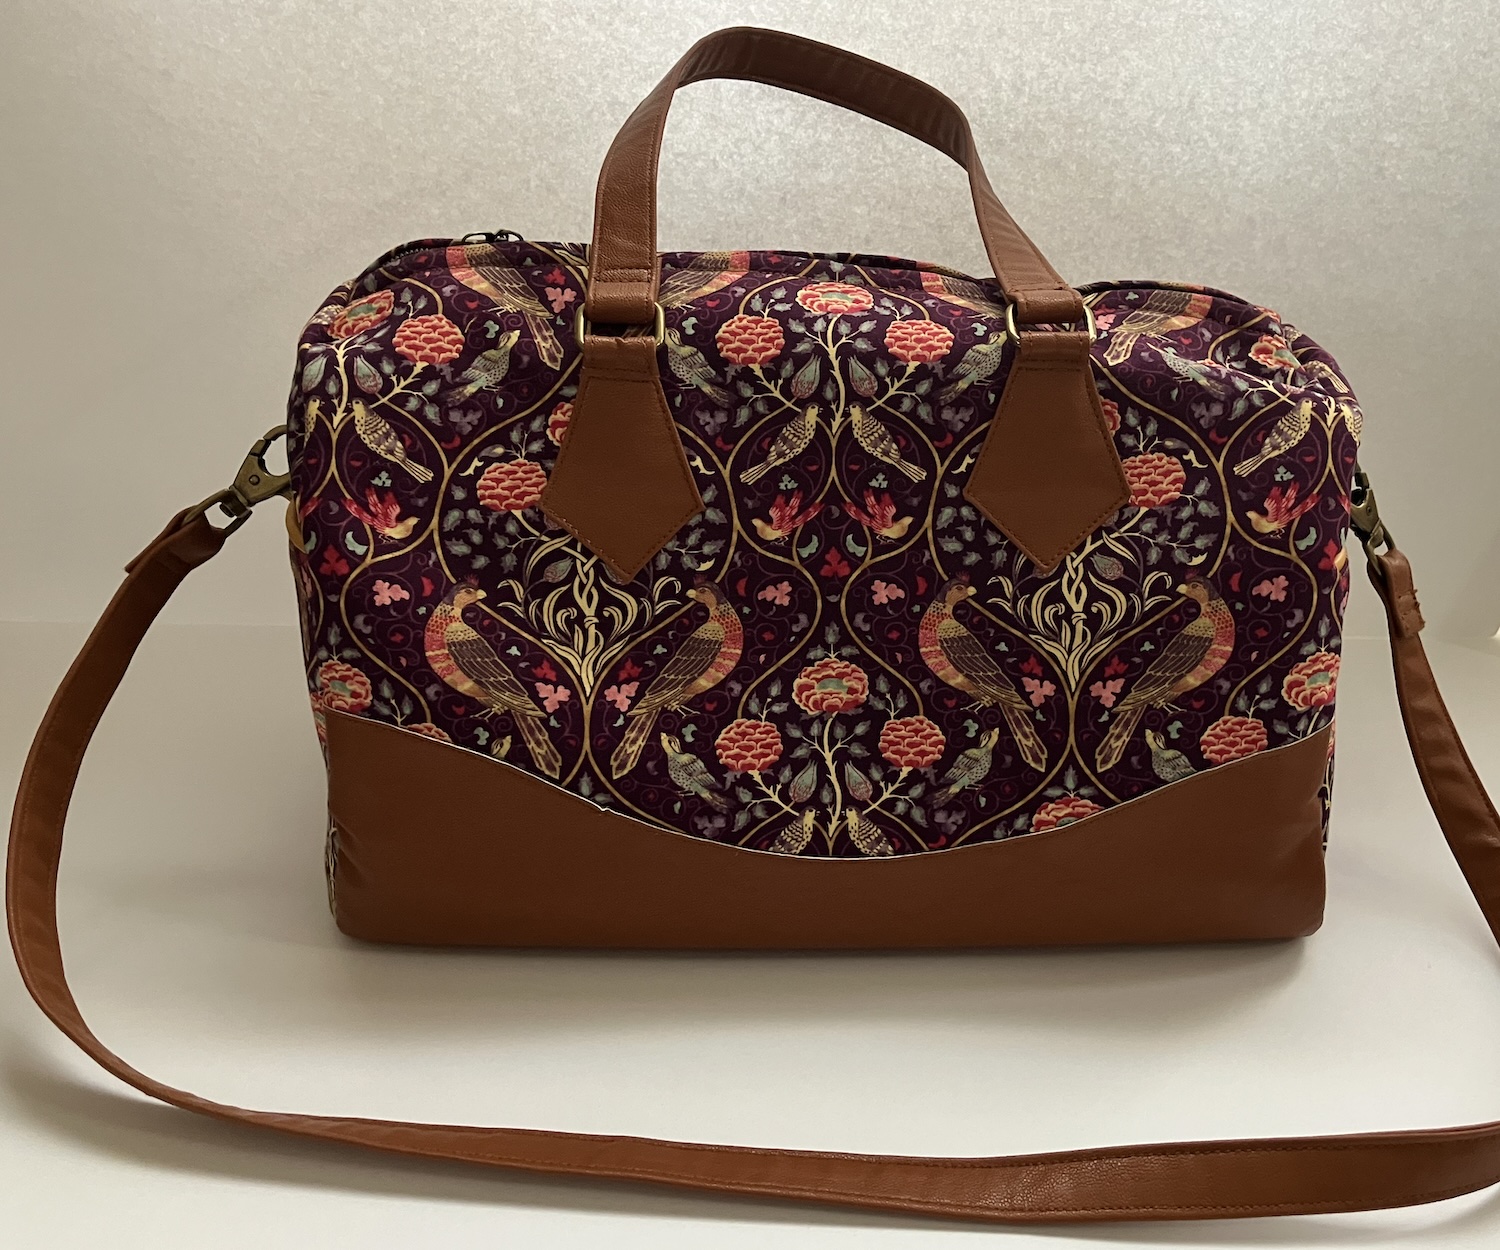
You can’t be surprised that I got all matchy-matchy with the birds.
I made a couple of modifications. Originally, I had made piping with the light caramel vinyl and sewn it around the ends. I wasn’t happy with the appearance of it – as with the Weekender overnight bag, I had a hard time sewing up flush to the piping in some areas. This time, I just took out the piping. It means the piping on the top of the end pockets is kind of a solitary feature, but (luckily) the colour matches the fabric I chose for the lining. It ends up looking like a plan. 🙂
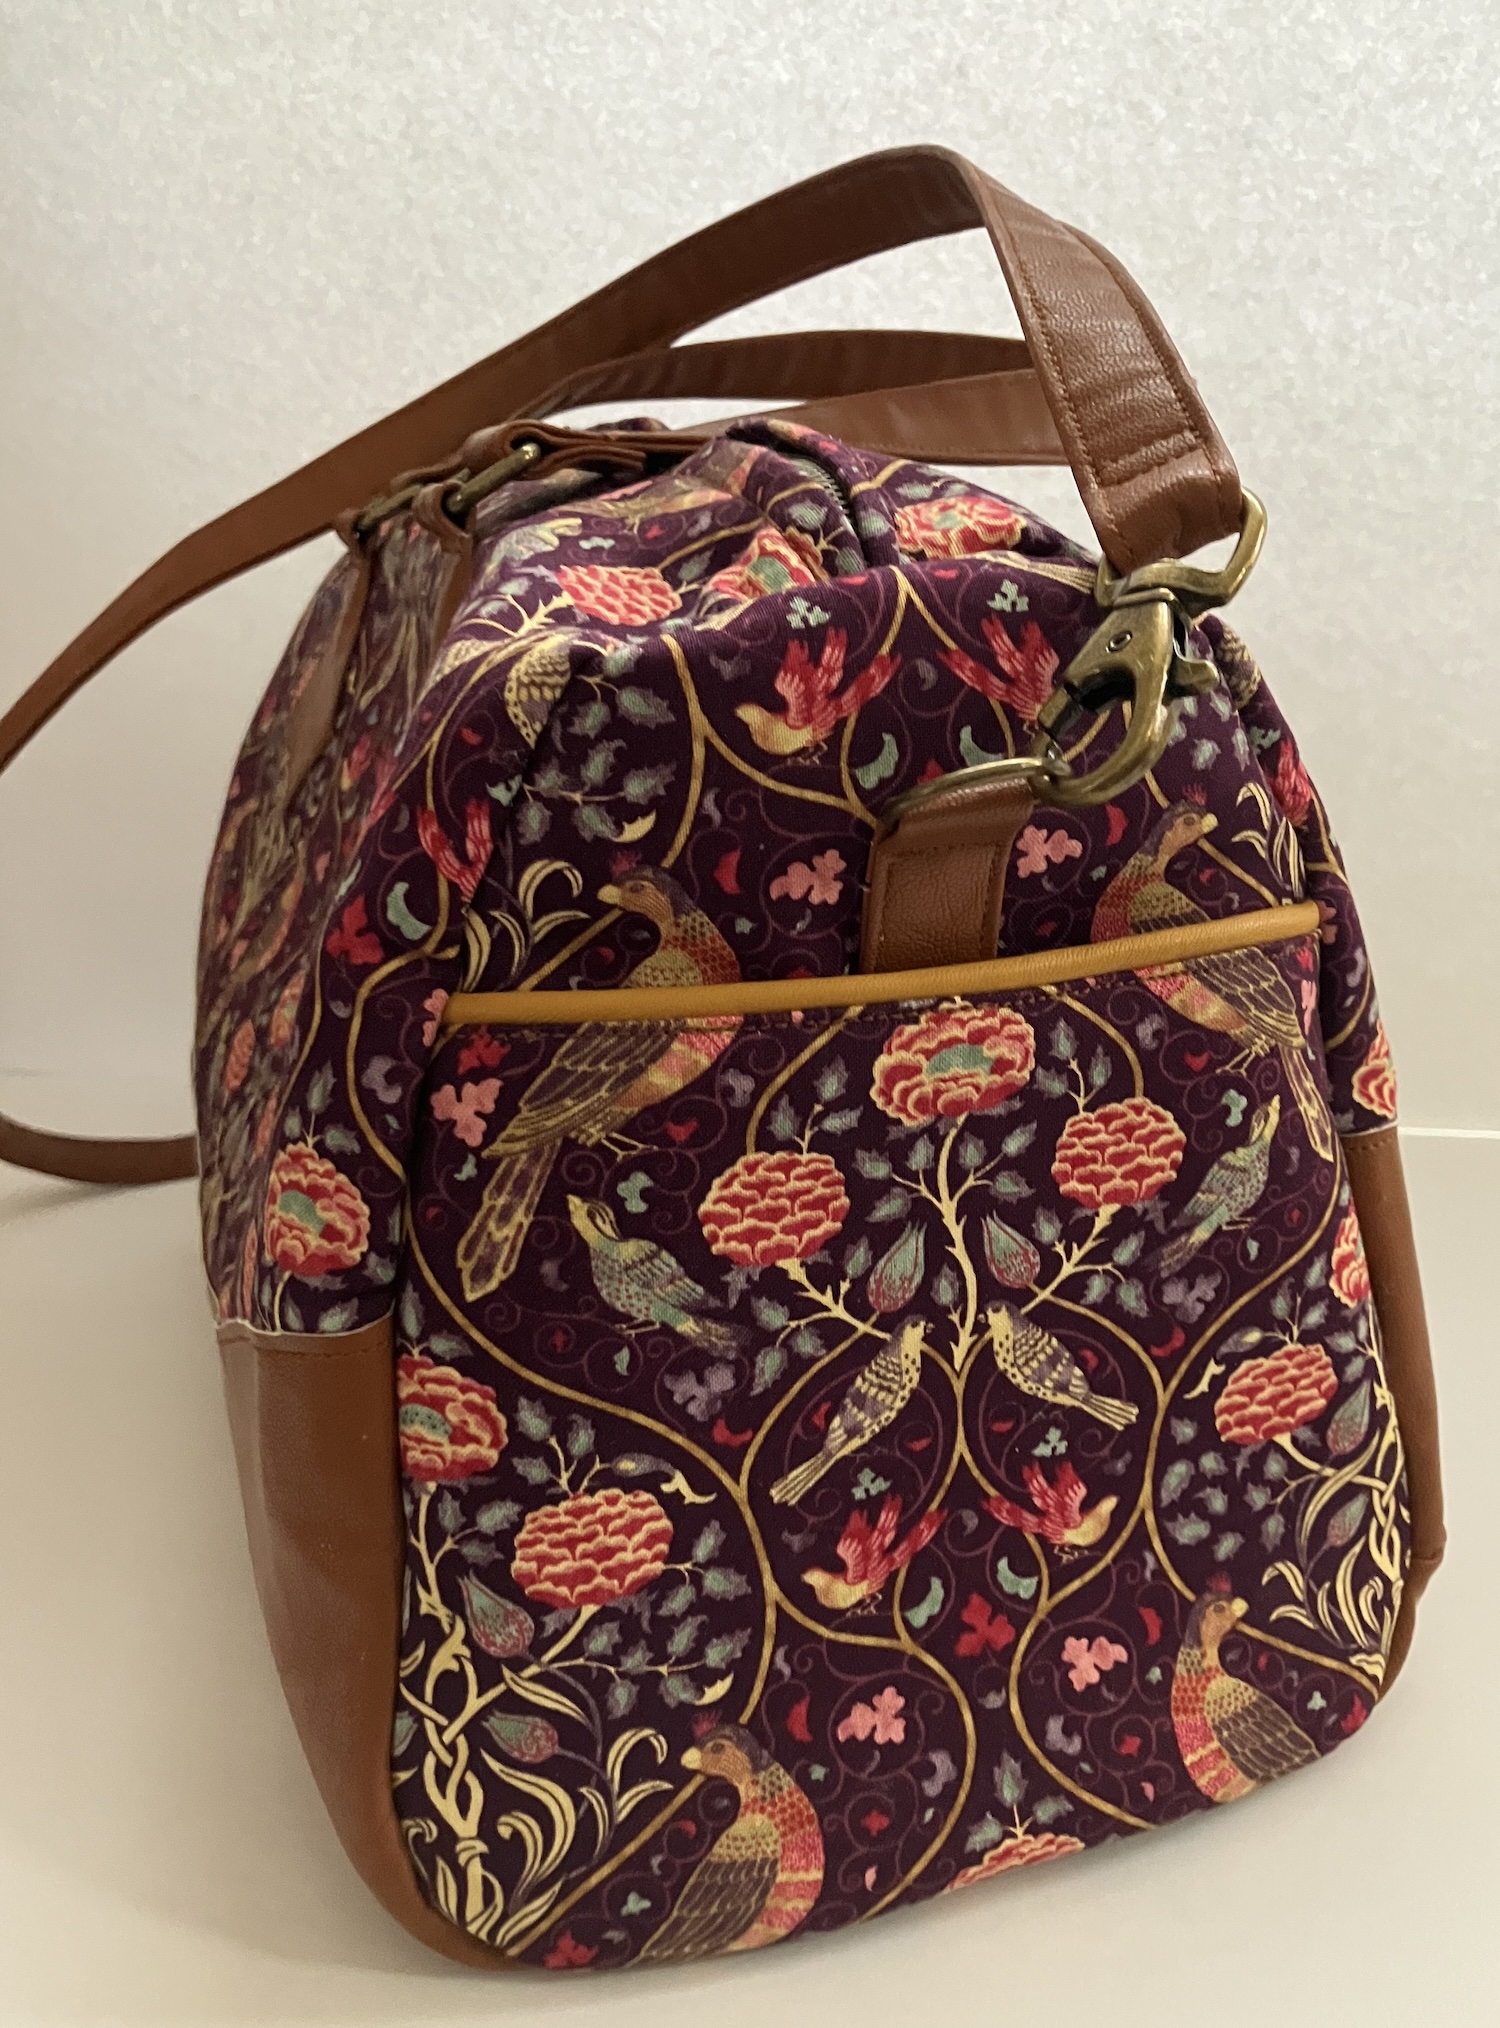
I also added one of those Ikea thin cutting boards into the base of the bag, and some bag feet. And I added an open pocket into the other side of the bag lining – this was partly to use up a piece of fabric that was cut the wrong way. The pattern seems to assume that your fabric doesn’t have a directional print. Mine did – both the birds on the outside and the lining inside, which has little flower buds – and I cut the pocket lining in the wrong direction. I cut it again, then (ha) ended up putting it in upside down. I have drunk birds inside the zipped pocket in my lining. (My guess is that few people will know or notice.) So, my pattern has a bunch of notes on it for future reference since I do like directional prints.
Finally, I sewed the lining to the inside of the zipper by hand, instead of by machine. This is the same modification I made with the Weekender bag, as I just couldn’t fit all that under the arm of my sewing machine.
The other thing I did on the vinyl was colour the cut edges with a Sharpie marker. Vinyl often has a white backing, so when you cut it, the edges look bright. A matching Sharpie marker squares that away. I should have done that on the edge of the contrast piece on the base of each side of the bag before sewing it to the main fabric. I’m thinking that if I do it now, I’d likely get the Sharpie on the bird fabric, which wouldn’t be cool.
Once upon a time, I had a purse that was this shape and loved it to pieces. This one is a bit big for a purse – it’s looking like a knitting bag to me right now – so I will make the smaller version, but my sewing machine and I need a little break first.
The girls are also certain they need some new clothes. 🙂
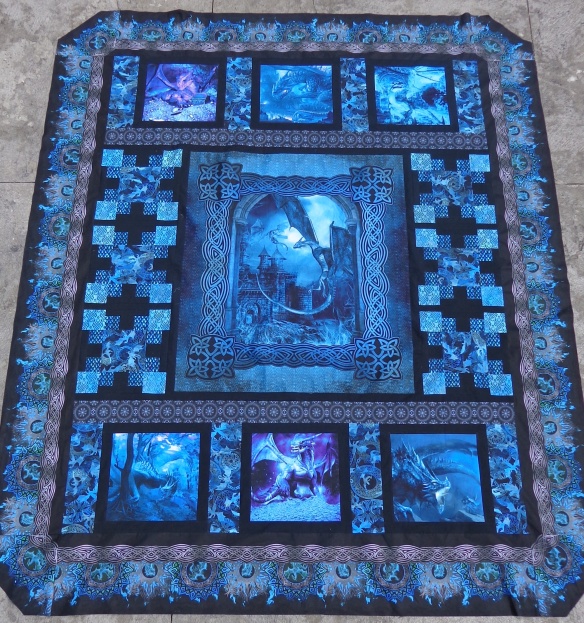
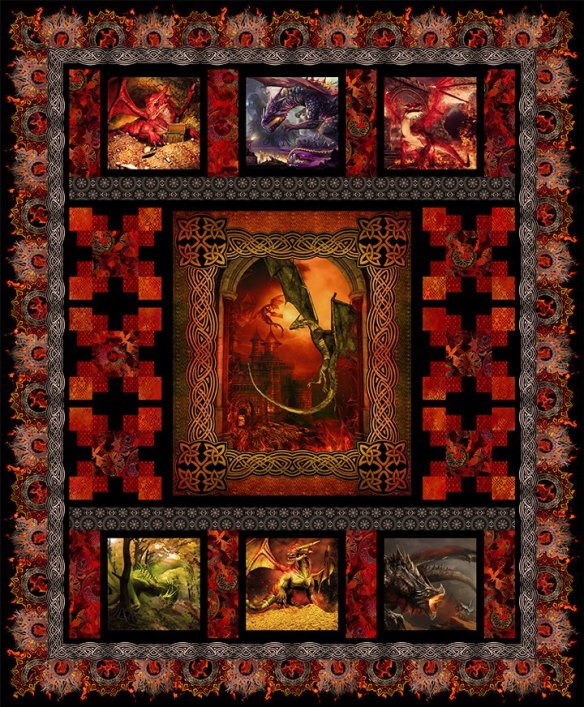 The instructions say to center a dragon circle on the width of the quilt and a dragon in flames on the lengthwise edges. The quilter who made this orange quilt did that, which is why we’re looking at this image this week. (The one who made the blue quilt didn’t.) The corners are mitered, and you can see that with this positioning, you get mirrored corners which is all good, but they each have a slice of dragon circle in them. I don’t love that, so I wanted to explore alternatives.
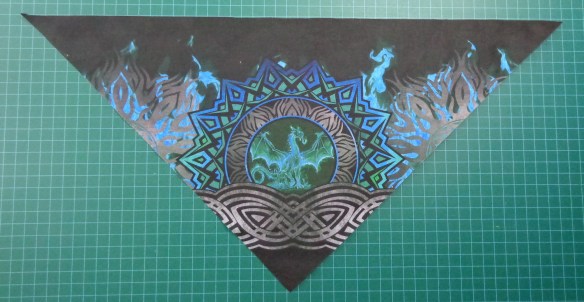
 I told you
 When I started to piece the other blocks, things got interesting. The scale print is a one-way design: the scales are shaded at one end and not at the other. It seems to me that I’d want them all to be in the same direction. To my relief, the person who made the sample quilt thought the same thing, because they are aligned that way. At right is a close-up of the side panel from the image on the kit: you can see that the scales are all aligned. I apologize that it’s not really crisp but I wanted it big enough that you could see the scales.
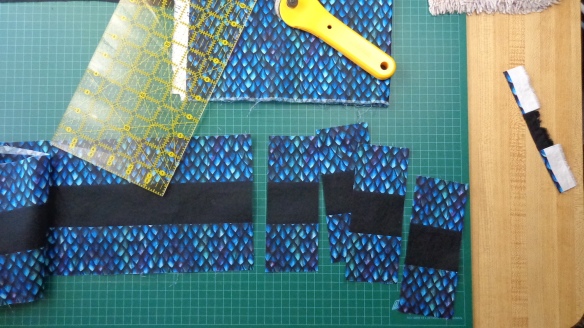
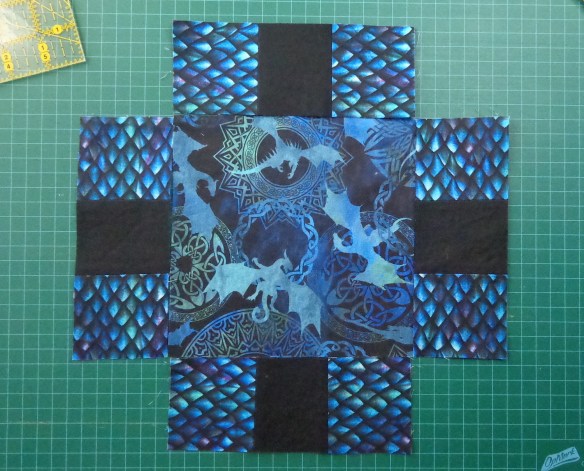
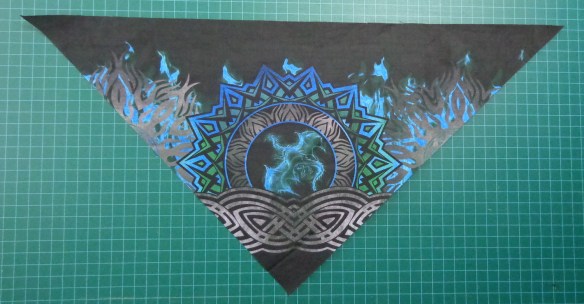
 Similarly, when I piece the units for the horizontal scales, I’ll put the black rectangle on the top of six of them and on the bottom of the other six. That got a bit more complicated, didn’t it?
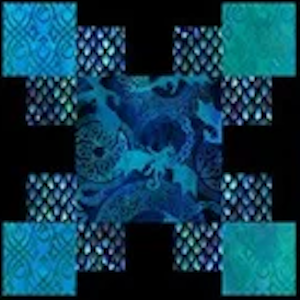
 I’m thinking I might notice the similarities, particularly between the two on the left and also on the two in the middle. Those light-coloured dragons draw my eye! I rotated the blocks before sewing on the pieces with the scales:
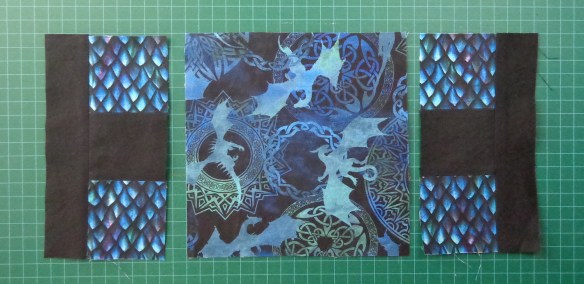
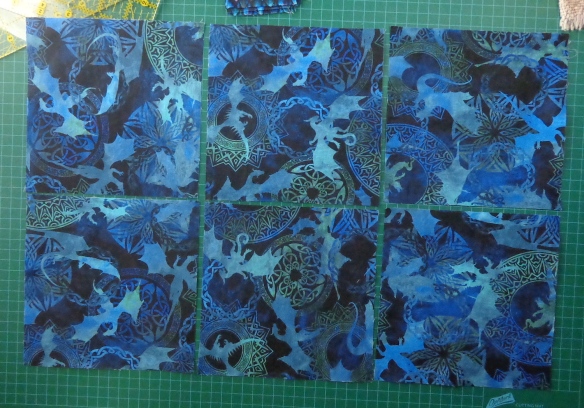 The similarities are less obvious this way. Now, I’m ready to piece those six blocks!
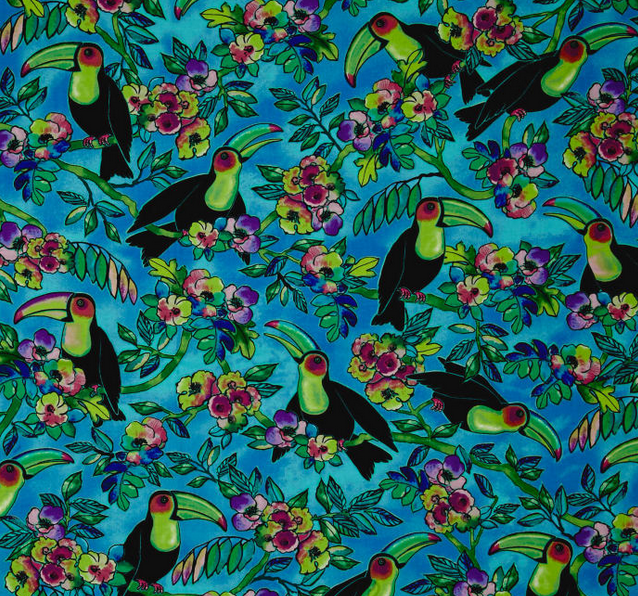 IRL, the print is a bit brighter. It’s called Toucan Do It, designed by June Bee for Ink and Arrow Fabrics. This shows an 18″ square of the fabric.
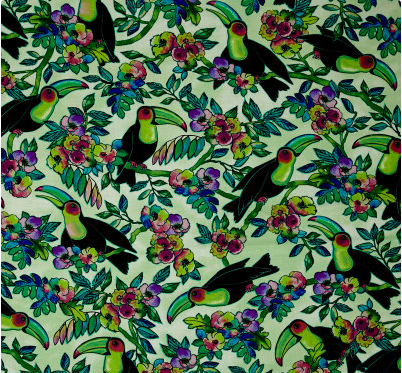
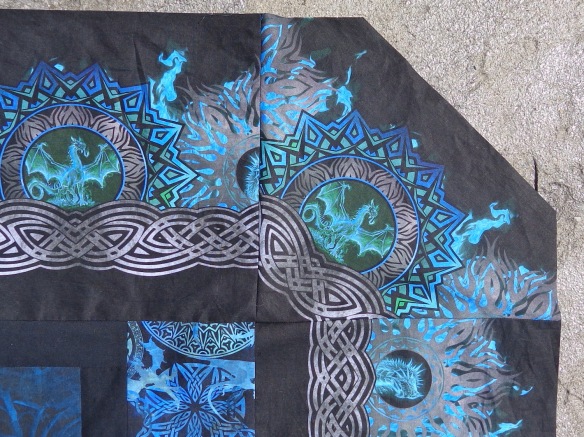
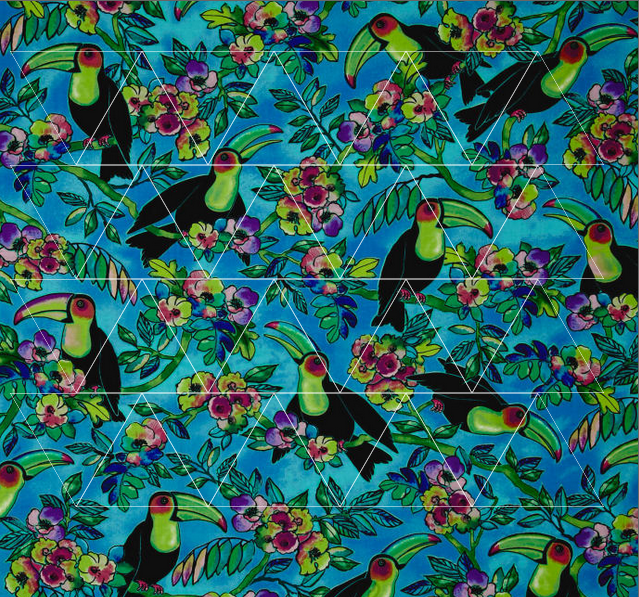 I uploaded the screen shot of the turquoise toucans and here was the result:
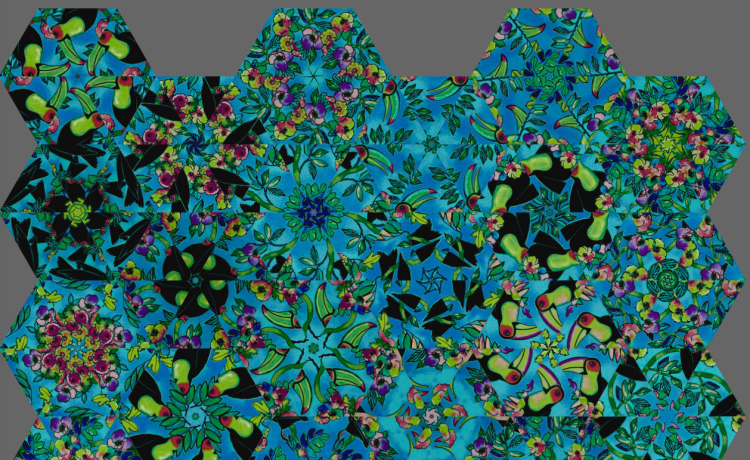
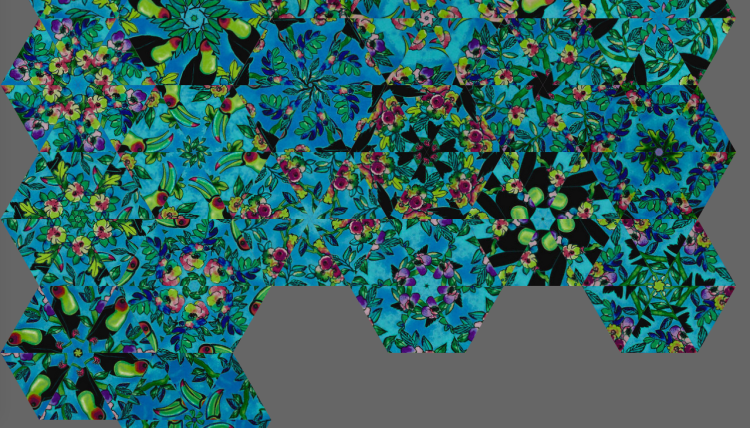 I had to take the screenshot in two images, but it gives you a good idea of the possibilities. You can rearrange them, rotate the triangles, change the block size, and have all sorts of fun without sewing a thing.
 This is kind of addictive piecing. Have you ever made a one-block wonder quilt? What do you think of my toucans?