There is something about Noro yarn that speaks to my knitter’s soul. I love the colour variegations in these yarns, and – unlike many knitters – I love the texture of the yarn. I love that it’s a single ply, spun loosely, that it runs thick and thin, and that it’s a “yarn that remembers the barn”. I don’t mind sticks in my string.
Earlier this summer, I started a jacket in Noro Silk Garden. Here’s the first post about it. I could call it a cardigan, but the shaping is so structural and the finished fabric so firm that it feels more like a jacket to me. I’ve almost finished the knitting now and love it even more.
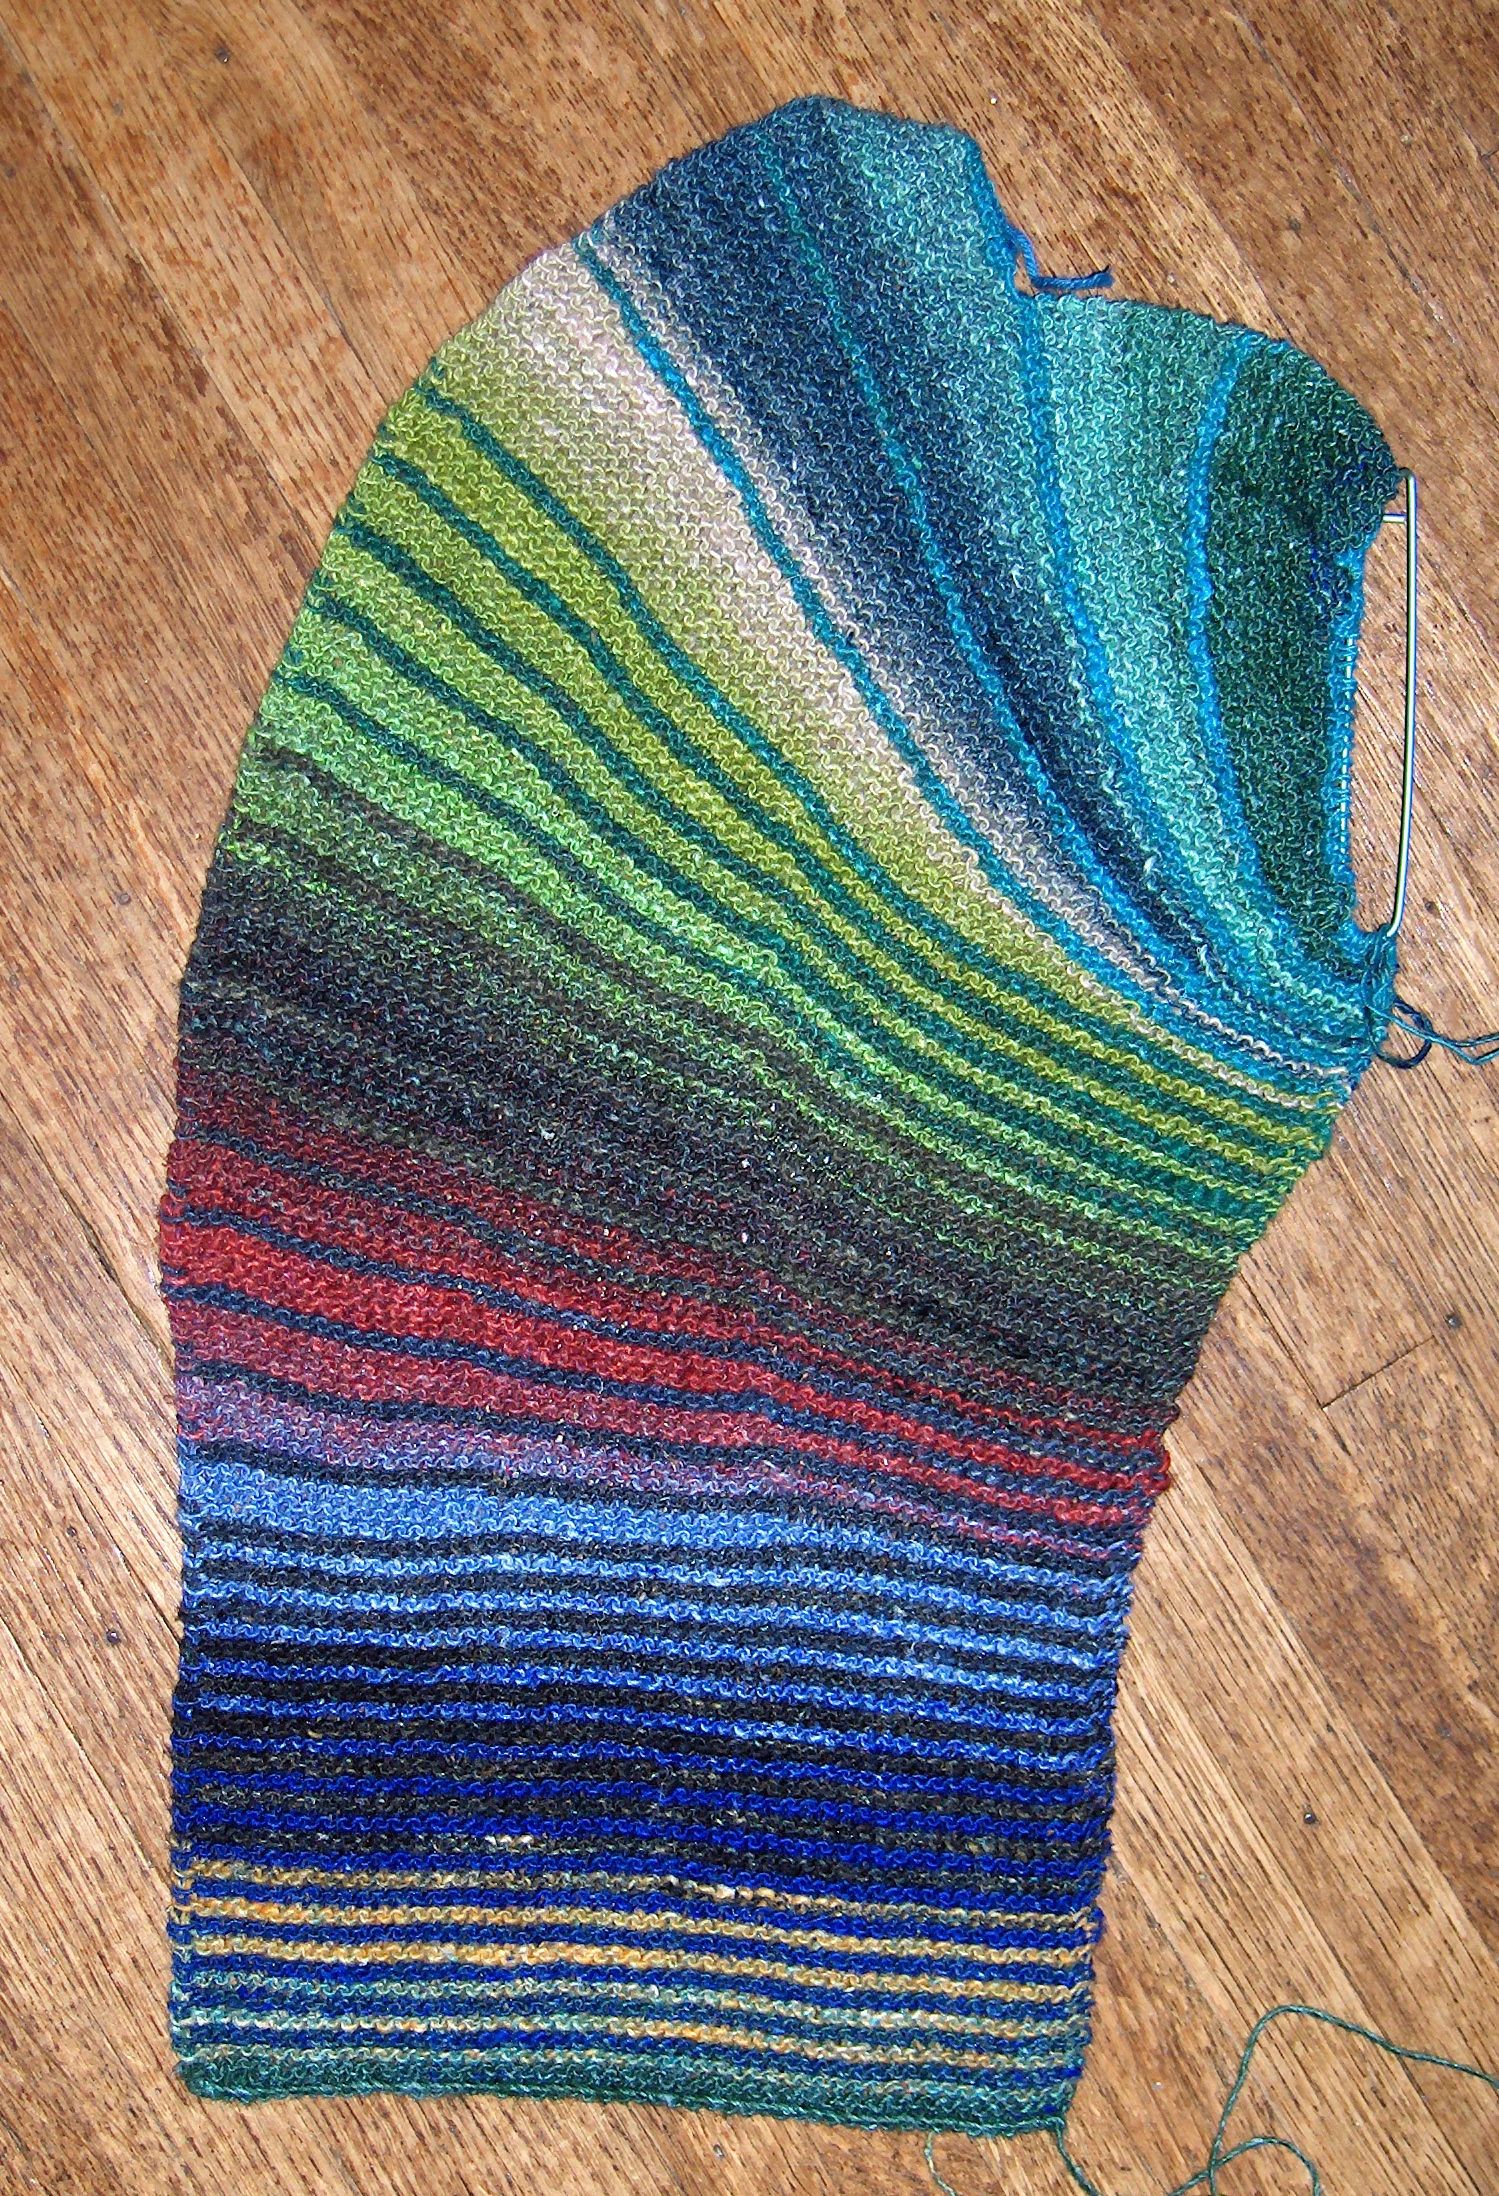
Here it is, with one sleeve not quite done: That’s the back of the sweater at the top, with the back hem at the very top. Sleeves on either side, fronts at the bottom. (And my foot! That sock is knit in Lorna’s Laces, btw.) The shoulder seams are still open and the notched bits are the collar, which will be joined. Then the whole thing will be folded down the length of the sleeve, so I can seam the sleeves and each front to one side of the back.
Although I was very matchy-matchy, I don’t think the mirroring will be perfect. Oh well. You can see on the back, for example, that I didn’t have a second run of that black through gold bit, so I had to fake it. The sleeves are slightly different from each other – the one still on the needles will probably end before it gets to the bit of green at the cuff of the other one.
 It’s funny how the blue looks so prevalent in the picture. In real life, it looks very green.
I did make a few modifications to the pattern:
1/ I left the stitches live instead of binding them off when instructed, and used a provisional cast-on where there would ultimately be a seam. That means my seams will be grafted instead of sewn. The shoulders have no seam at all – I just picked up stitches and kept knitting. I’m curious to see whether this affects how stretchy the finished garment is – it might well be that the sleeves get droopy without that seam.
2/ I rewound the yarn multiple times to try to keep the colour variegation consistent. I did do one goofy thing. When starting the first sleeve, I misread the colour progress from the front and inverted the order of colours on the sleeve. Instead of the shoulder of the sleeve beginning with that beige, it should have started with the deep and ultramarine blues.
3/ I slipped the first stitch on each row while knitting the fronts and the backs to keep the edge neater. I really didn’t need to slip the first stitch on the edge of the fronts that goes into the side seam, but it was easier to slip every row and not think about it.
4/ I think there is an error in the instructions for the larger size, because the two wedges at the top of the sleeve aren’t centred over the sleeve if you follow the directions. I recalculated and centred them. I made a mistake on the first sleeve and didn’t start the decreases right away after finishing the wedges – those instructions that give lots of details for striping or whatever, then say “at the same time…” get me every time! – but began them after the third repeat of the 6 rows A and 2 rows B stripe. I decided this might work out better for ease in the underarm, so just carried on and did the same on the other sleeve.
Now I have to wash it, block it and sew up the seams. I’ll show it to you again next week, once all that nitty gritty work is done. I do love it, though. It’s amazing how all those colours blend into a coherent whole. Here’s my Ravelry project page, btw.
What do you think?