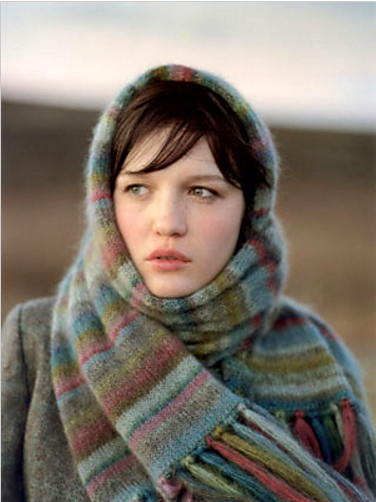
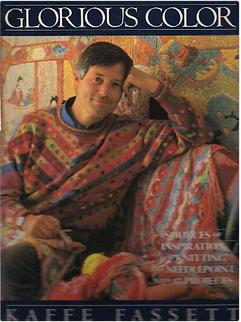
 The Earth Stripe Wrap is striped shawl designed by Kaffe Fassett and knit in ten shades of Rowan Kidsilk Haze. It was published in Rowan magazine #42 (Autumn/Winter 2007/2008). The image to the right is from the original magazine – I found it online but the copyright on the image belongs to Rowan.
Given my love for KSH and my admiration for Fassett’s use of colour, I’ve always wanted to knit this piece. This week, I finally cast on.
The biggest challenge with this piece is that some of the colours of KSH specified in the pattern have been discontinued and are no longer available. (Whenever a knitter is DISO (desperately in search of) KSH in Jacob, you can make a good guess that he or she plans to knit the Earth Stripe Wrap.) Rowan has published an updated version of it as a free download on their website, which substitutes new colours, but I wasn’t that crazy about all of their changes. Let’s have a closer look.
The original pattern specifies the following colours:
A – Hurricane #632 – available
B – Jacob #631 – discontinued
C – Elegance #577 – discontinued
D – Drab #588 – discontinued
E – Candygirl #606 – available
F – Meadow #581 – discontinued
G – Majestic #589 – available
H – Trance #582 – available
I – Jelly #597 – available
J – Blushes #583 – available
This wrap is knit with two colours held together in a stripe pattern that repeats over 186 rows. The way the colours are combined changes the appearance of each colour in each stripe, which is part of Kaffe’s magic.
The discontinued colours aren’t shown on the Rowan website anymore, and here’s where Ravelry completely rocks. Knitters photograph their stash yarns and post the pictures to Ravelry. Even given the inevitable differences in lighting, over 50 images of the same yarn, you can get a good idea of its colour. You’ll need to log in to Ravelry to follow these links, but it’s free to set up a Ravelry account. Here’s the Rav link for stashes of Meadow, for example, which proves to be a pale silvery green. (There are 600 pix, but you don’t need to look at them all!) Three of the discontinued colours – Jacob, Elegance and Drab – are muddy browns or greens. Elegance might be called bronze. Drab is a medium greyed brown. Jacob is a bit elusive, as it seems to be particularly changeable in various lighting. (That’s probably what KF liked about it.) It’s similar to Drab but also a greyed brown, maybe a little warmer in tone.
 In the new version of the pattern, Rowan has made these substitutions:
B – Anthracite #639, which is a medium cool grey
C – Bark #674, a medium to dark brown
D – Drab #611 (apparently reintroduced with a new shade number, which suggests that the colour is slightly different. I don’t actually know.)
F – Ghost #642, which is a pale silver.
You can see the current shades of Kidsilk Haze on the Rowan site, right here.
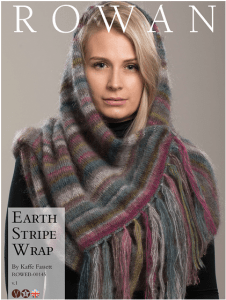
Anthracite and Ghost are unexpected suggestions, to my thinking. To use cool greys instead of a mucky warm brown and a green is going to change the overall hue of the wrap. The newly photographed version does look more cool in colour. It’s still pretty, but it doesn’t have that “moors in the mist” look of the original to my eye.
So, I dug in the stash.
It turns out that I had some Elegance in my stash, which was a complete bonus. I didn’t have any Drab, but I had some Putty, which looks pretty similar to me. I couldn’t quite envision the green of Meadow with the other colours, so I used another company’s silk/mohair blend: Elann’s Silken Kydd in Aloe, which is a silvery green but more green than silver. I had a chat with a yarn store owner about Jacob and she remembered it well, suggesting Bark as the closest substitute.
So, my colour combination is:
A – Hurricane
B – Bark
C – Elegance
D – Putty
E – Candygirl
F – Aloe
G – Majestic
H – Trance
I – Jelly
J – Blushes
A quick peek through the projects on Ravelry also revealed that many people needed an additional ball of Majestic, using three balls instead of the specified two. Since I had to buy this colour, that was good to know in advance.
I put each colour of yarn in its own ziplock with one corner snipped off the bottom and the end of the yarn fed through that gap. Each ziplock is labelled with the letter of the colour, so I don’t have to try and figure out which mucky brown I should be using. In bright light, I can see the differences, but I often knit in the evening, so this works better. I think it’s imperative with a project like this to have a system for dealing with ends as you go. Weaving them all in at the end would be a nightmare (and for me, a job that just wouldn’t happen). I’m weaving mine in as I go, but some Ravellers used Russian Joins as they went. I find that a join makes KSH a bit stiff, so would rather weave them in as the soft fluidity of the finished piece is part of what I like so much about knitting with KSH. That’s a personal choice.
The wrap is designed to be knit entirely in stockinette stitch, then a round of double crochet is worked all around the perimeter. This is probably to keep it from curling. There’s also a lavish fringe added to each end. I’m not much for fringes and don’t want to do the crochet round. I decided instead to work the first three rows in moss stitch, as well as the first three and last three stitches on each row. And to give the shawl edges some weight, I’m adding beads. These are Rowan/Swarovski beads in the turquoise that matches Trance.
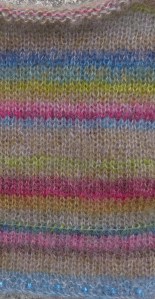
Here’s my progress so far.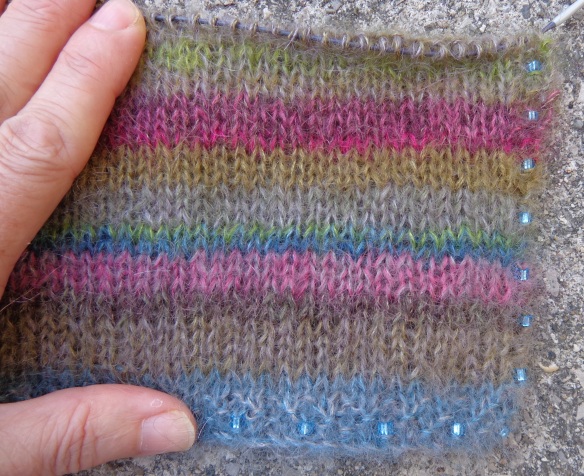
What’s fun here is that you can see the blending that results from using two colours at once. The lowest pink stripe is Blushes with Majestic, a rose with the blue-grey. The next pink stripe has two combinations – there’s one row of the bright pink, Candygirl, with the dark brown, Bark, then three rows of Blushes with Bark. The two three-row bands with Blushes are different pinks, because of the second colour used with it. It’s fascinating. There are two combinations with Jelly, which is a vivid apple green – in the lowest one, it’s knit with Trance for a single row, which is a light teal (right above a single row with Trance and Hurricane, a darker blue). Right below the needles, Jelly is knit with Elegance for two rows–that’s one of those golden browns. Again, we get two very different shades of green. I’m finding this an addictive knit because it’s so fascinating to watch the colour combinations develop.
What do you think?


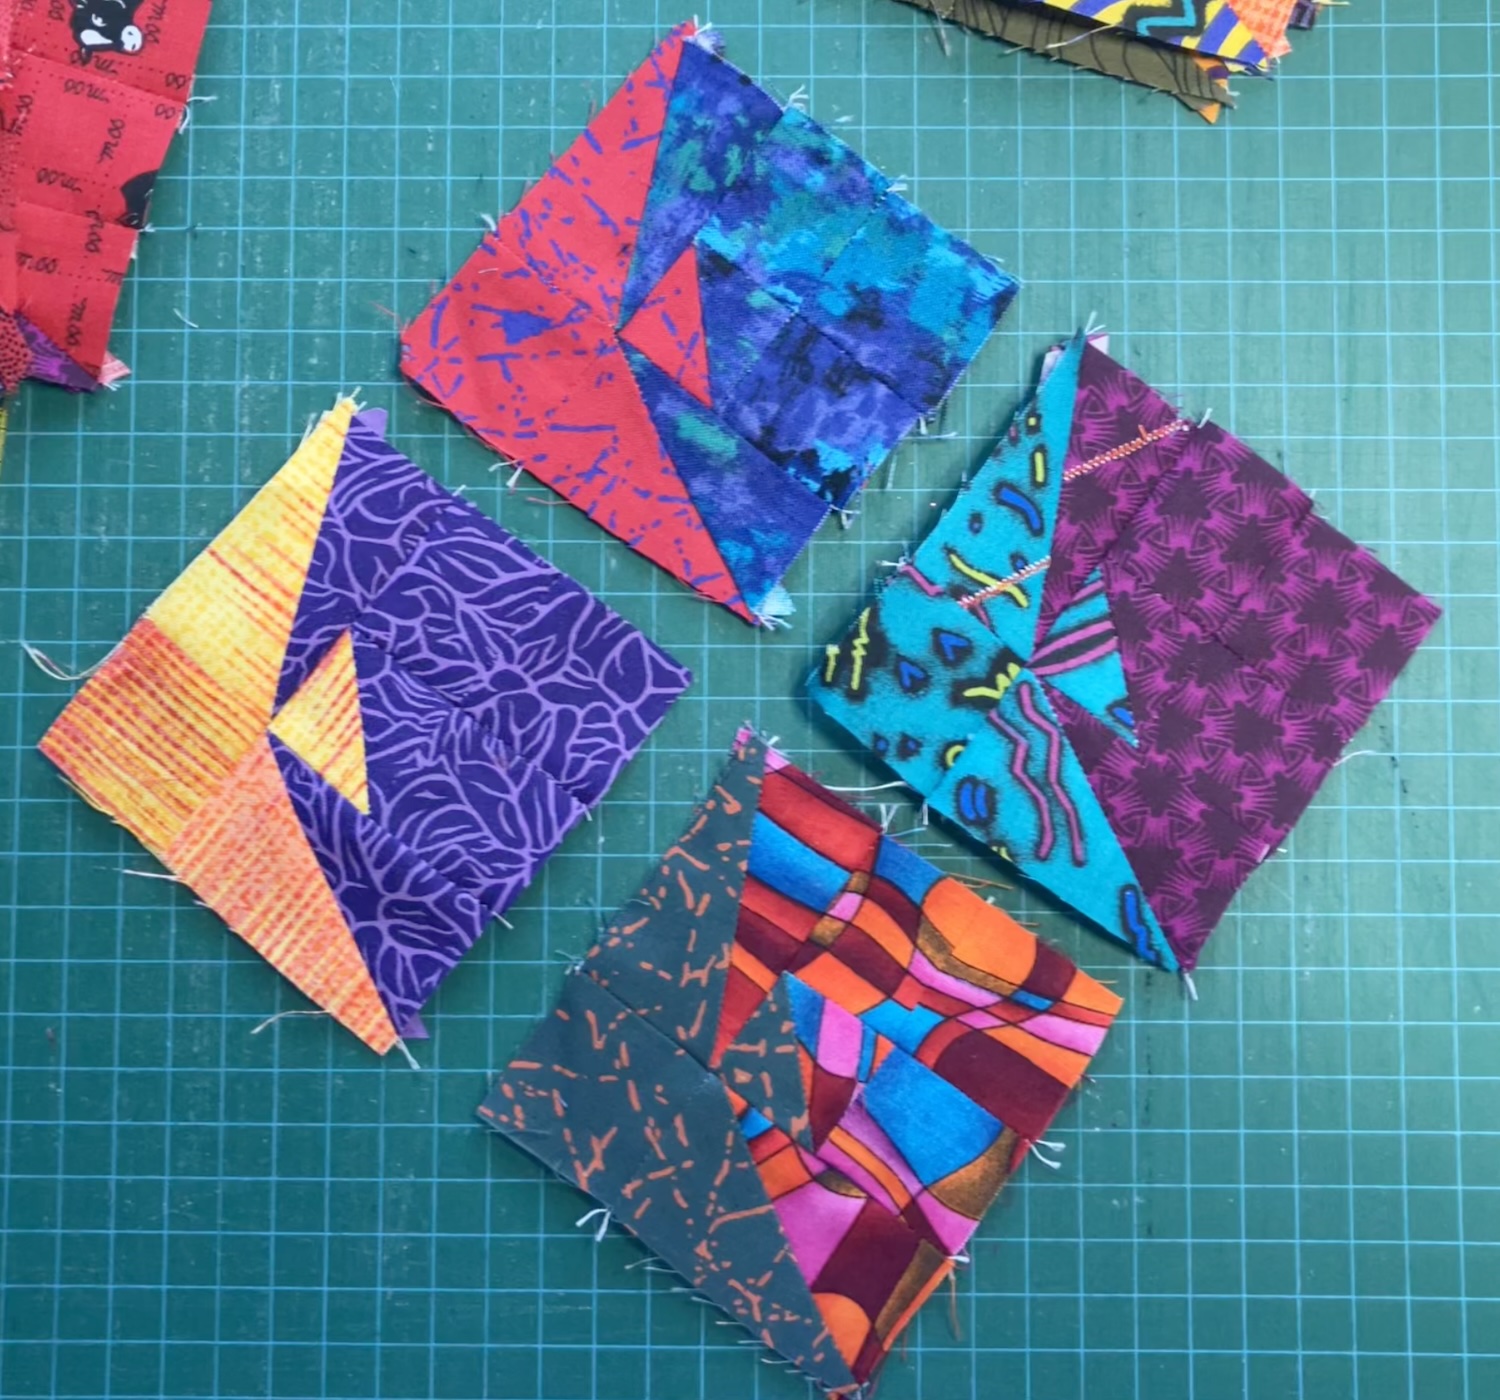


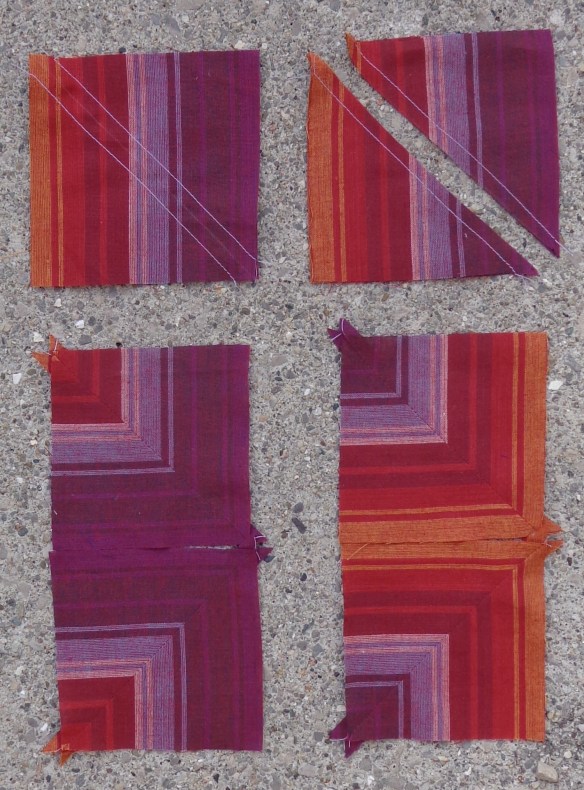
 It’s so gorgeous that I had to snap it up. I’ve had it in my stash for years but haven’t wanted to cut it. Here’s my first batch of squares in progress: