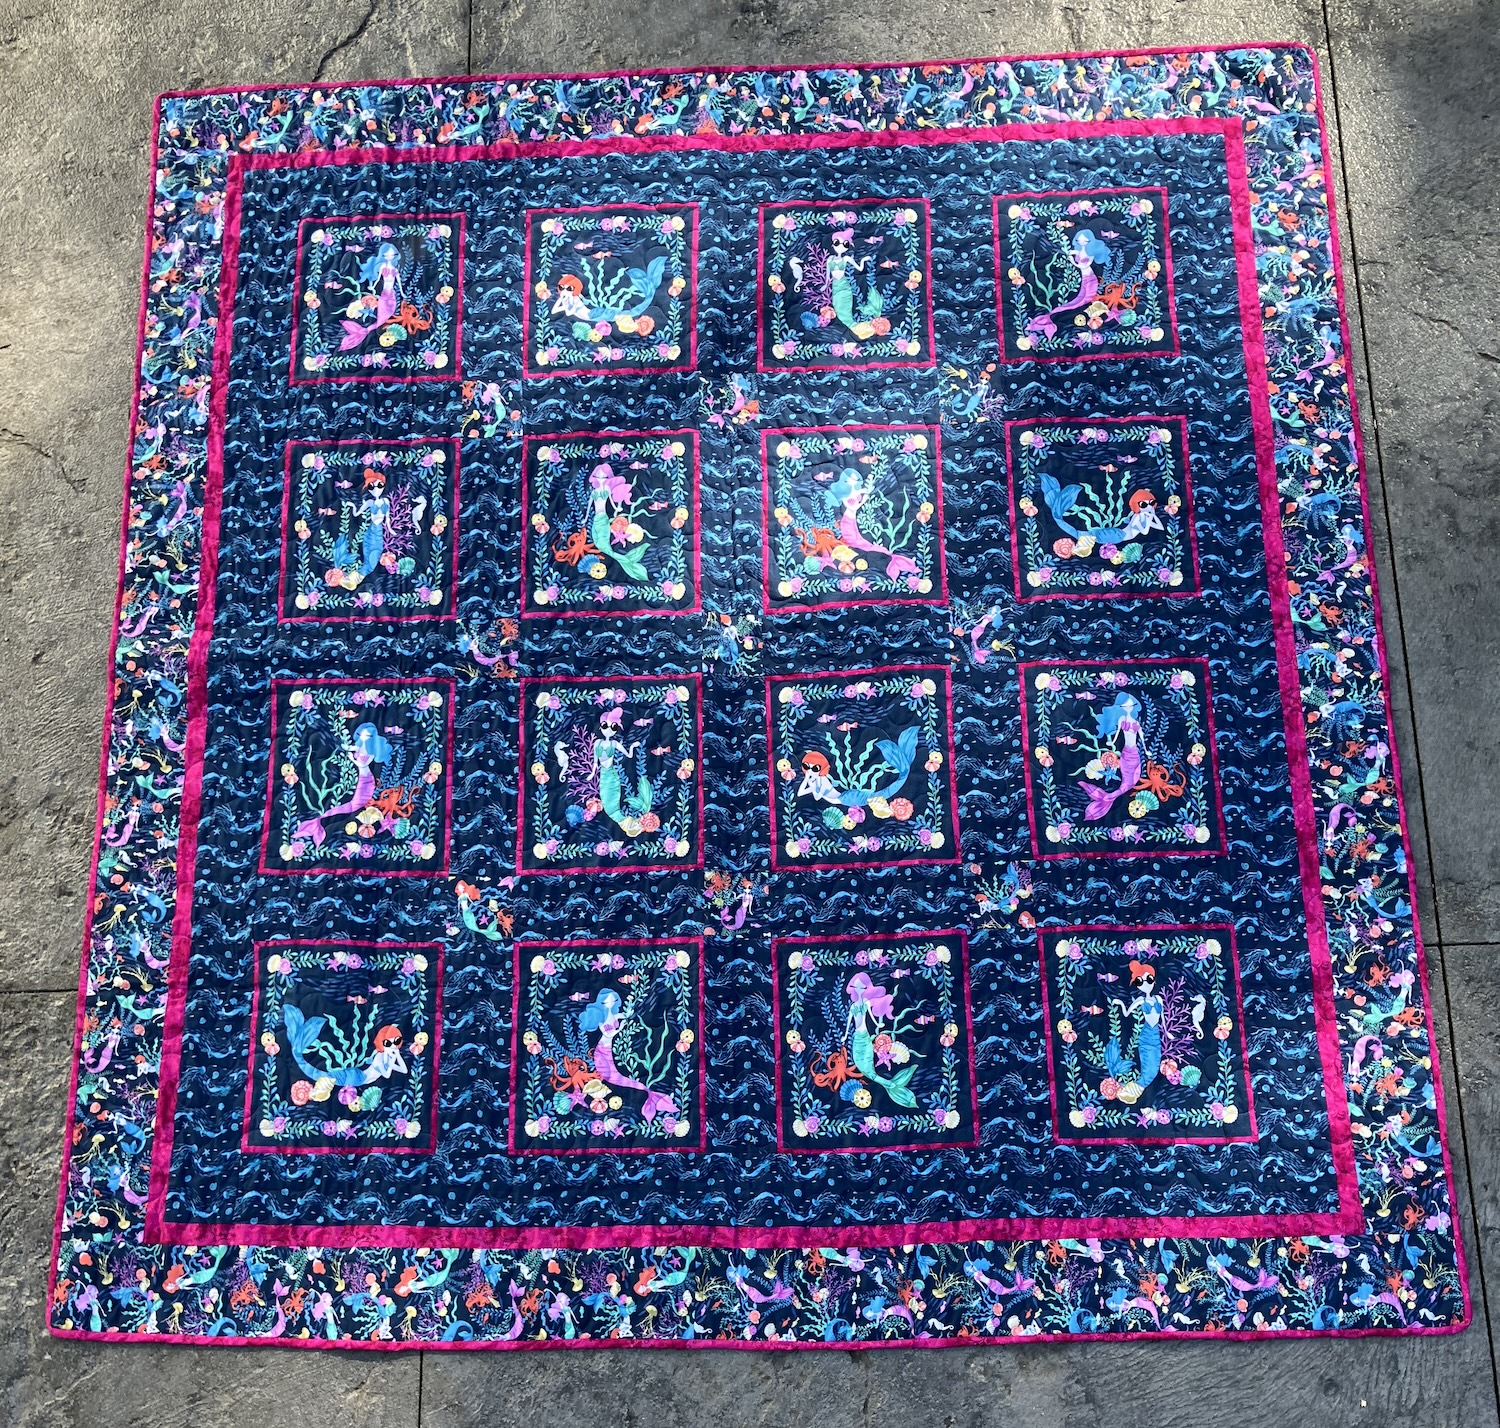
You might also remember my mermaid quilt, which used some pre-printed panels and coordinating fabrics. This one wasn’t a kit. I just made it up.
It’s been to the long arm quilter, too – the dragons and the mermaids went on that adventure together – and now it’s all finished up as well. Here it is:
The print was called Mermaid in Blue Jeans, if you’re looking for it. I think it’s so cute. There’s a blog post about piecing this quilt – from 2022! – right here.
When I pieced the top, I really wanted to use that allover print from the border for the backing, but at full price, it would have been pretty expensive. I decided to look for something that coordinated and was cheaper (I needed 6m.) About six months later, I was at my local fabric store and they’d marked down this entire line. I think it was $5 a m. So, I got my 6m and another one too, just because, and was able to make the backing match the front. It’s seamed and I was able to match the print, too. (Ha.)
Again, this was quilted in a meander pattern, also with blue thread.
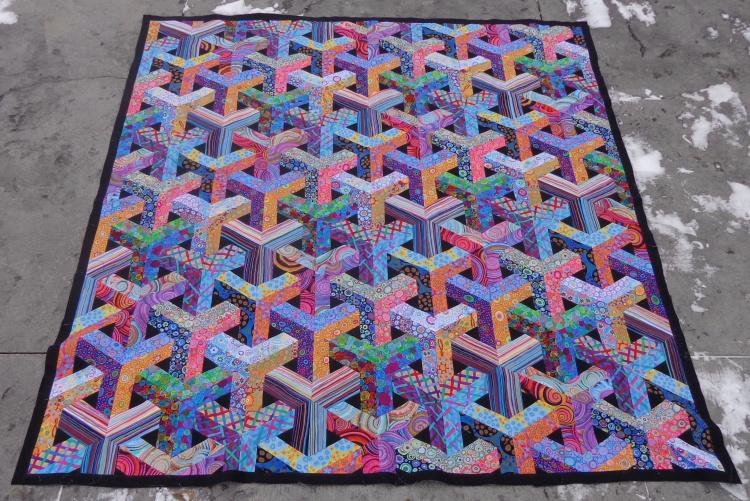
A long time ago, I showed you the Escher quilt that I’d sewn from a kit. Here’s the pieced top again from that original post. There’s snow on the driveway!
This one became my first big quilt that I machine-quilted. I’ve already completed two smaller test quilts – this one and this one. The first lap quilt used up the scraps from this quilt. This one is about 62″ by 64″, still not a full-size quilt but big enough that I had to wrestle it through the machine.
If I’d been quilting this by hand, I would have made circles or curves to contrast with the piecing. With free motion quilting, I would have made those all-over squiggles. But at this point, I’m making lines with my walking foot, so I had to come up with a different plan.
I used a cotton Gutermann quilting thread in variegated yellow, which looked nice against both the backing and the front.
The back is a quilting cotton that I’d originally bought to make a shirt for Mr. Math. He didn’t love the print, though—the birds are bigger than expected from the pix online—so it’s been in my stash, waiting for opportunity. There wasn’t quite enough of it for the entire back, especially after I matched the print, so I did a little patch of leftover blocks from the quilt top.
For the quilting design, I marked the middle of the quilt, with the plan of quilting on either side of the diagonal lines – the quilting is about 1/4″ outside of the seam on either side of the seam. I started at the top left corner—where the stripey Y is—stitched on one side of the seam, pivoted at the middle point, then quilted up to the opposite top corner. Once I’d quilted both sides of the seam, I dropped down to the next diagonal line. There’s a floral Y there. I did this three times, then flipped the quilt and did the same from the other edge. That left two triangles on either side of the middle unquilted. I followed the same idea, pivoting one column outside of the middle column until the top had all the diagonal lines quilted.
This turned out to be a really good idea and a plan I’ll follow in future. The fabric adhesive I used (Odile 505) isn’t permanent and washes out. I wondered whether it would lose its grip over the course of quilting this quilt, with all the turning and wrestling with the fabric, and it did. So, it was good to have those main lines already quilted by the time I got to the final sections.
I could have just used the walking foot to make more parallel lines but wanted some curves. I like those sinuous curves that look like water flowing. I decided to treat each black triangle like a rock in a stream—I sewed one line down the middle of each space, going around the “rocks”. I added two more quilting lines in each gap, one on either side of that wavy line and undulating between it and the straight line.
I was stumped on the binding for a day or two. I didn’t have any of the component fabrics left over, and (incredibly) anything I pulled from my stash didn’t work. The pinks were too yellow or too blue, the oranges too bright, etc. Finally, I found a piece of Kaffe Fassett Roman Glass in black and red. That colourway isn’t in the quilt top, but that design is. It’s perfect. Here’s a detail shot of one corner:
This is a small quilt comparatively, but bigger than either of my test quilts. It felt like I did a lot of wrestling to get this one done! The weight was a bit of an issue, which means I need a bigger work surface next time. Also, my walking foot didn’t walk as well as previously, maybe also because of the weight. I’ll make some changes to my set-up before tackling another one of this size. My curved lines are smoother, despite all that, and my stitch length is more consistent. I only had one teensy tuck in the top and none in the backing, which is a triumph.
Here it is:
I’m really glad it’s done. 🙂
I’m also trying to remember where I put the pattern. The kit came with the fabric and was quite a mix. The result is chaotic and fun, but I’m curious how it would look with a more limited palette, and one in which I love every fabric. I think I’ll quilt that one (if and when I do it) with parallel lines.