Finishing the Jumping Jax Flash Quilt

Jumping Jax Flash quilt designed by Judy Niemeyer

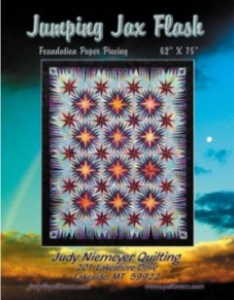
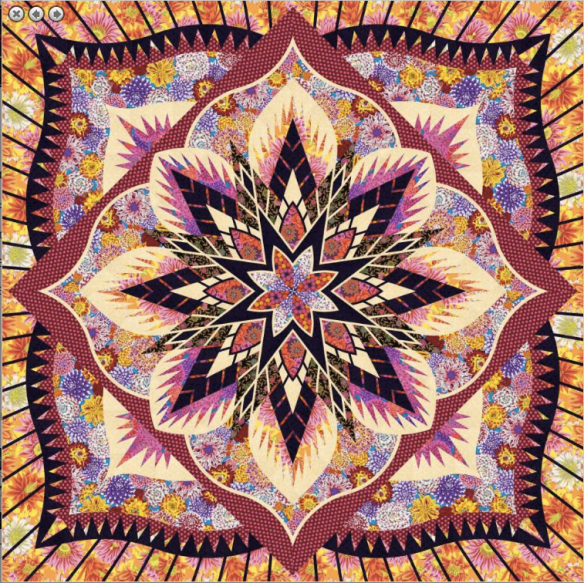
One more quilt has made its way to the shop with the long arm quilting machine and come home to be finished. This is Jumping Jax Flash, a Judy Neidemeyer design that I pieced at least twenty years ago.

Here’s the pattern envelope at right – the pattern is discontinued. This link will take you to the Quiltworx page for this design. There are still some paper copies of the pattern around – I found one at Etsy and one in a US quilt store when I was looking for an image. If you want to make one, you can find the pattern!

Obviously, I made mine bigger, with 25 blocks instead of 12. I’m not sure whether I bought more paper piecing templates, or whether I traced them out myself. It’s been a loooooooong time since this one was pieced!

Here’s what it looked like when it went to the shop. Lots and lots of paper piecing for this one.

Jumping Jack Flash quilt by Judy Neidemeyer pieced by Deborah Cooke

I’m so chuffed that this one is finally finished. Here it is now – yes, another kitchen shot because the snow just keeps on coming.

Jumping Jax Flash quilt designed by Judy Niemeyer and made by Deborah Cooke

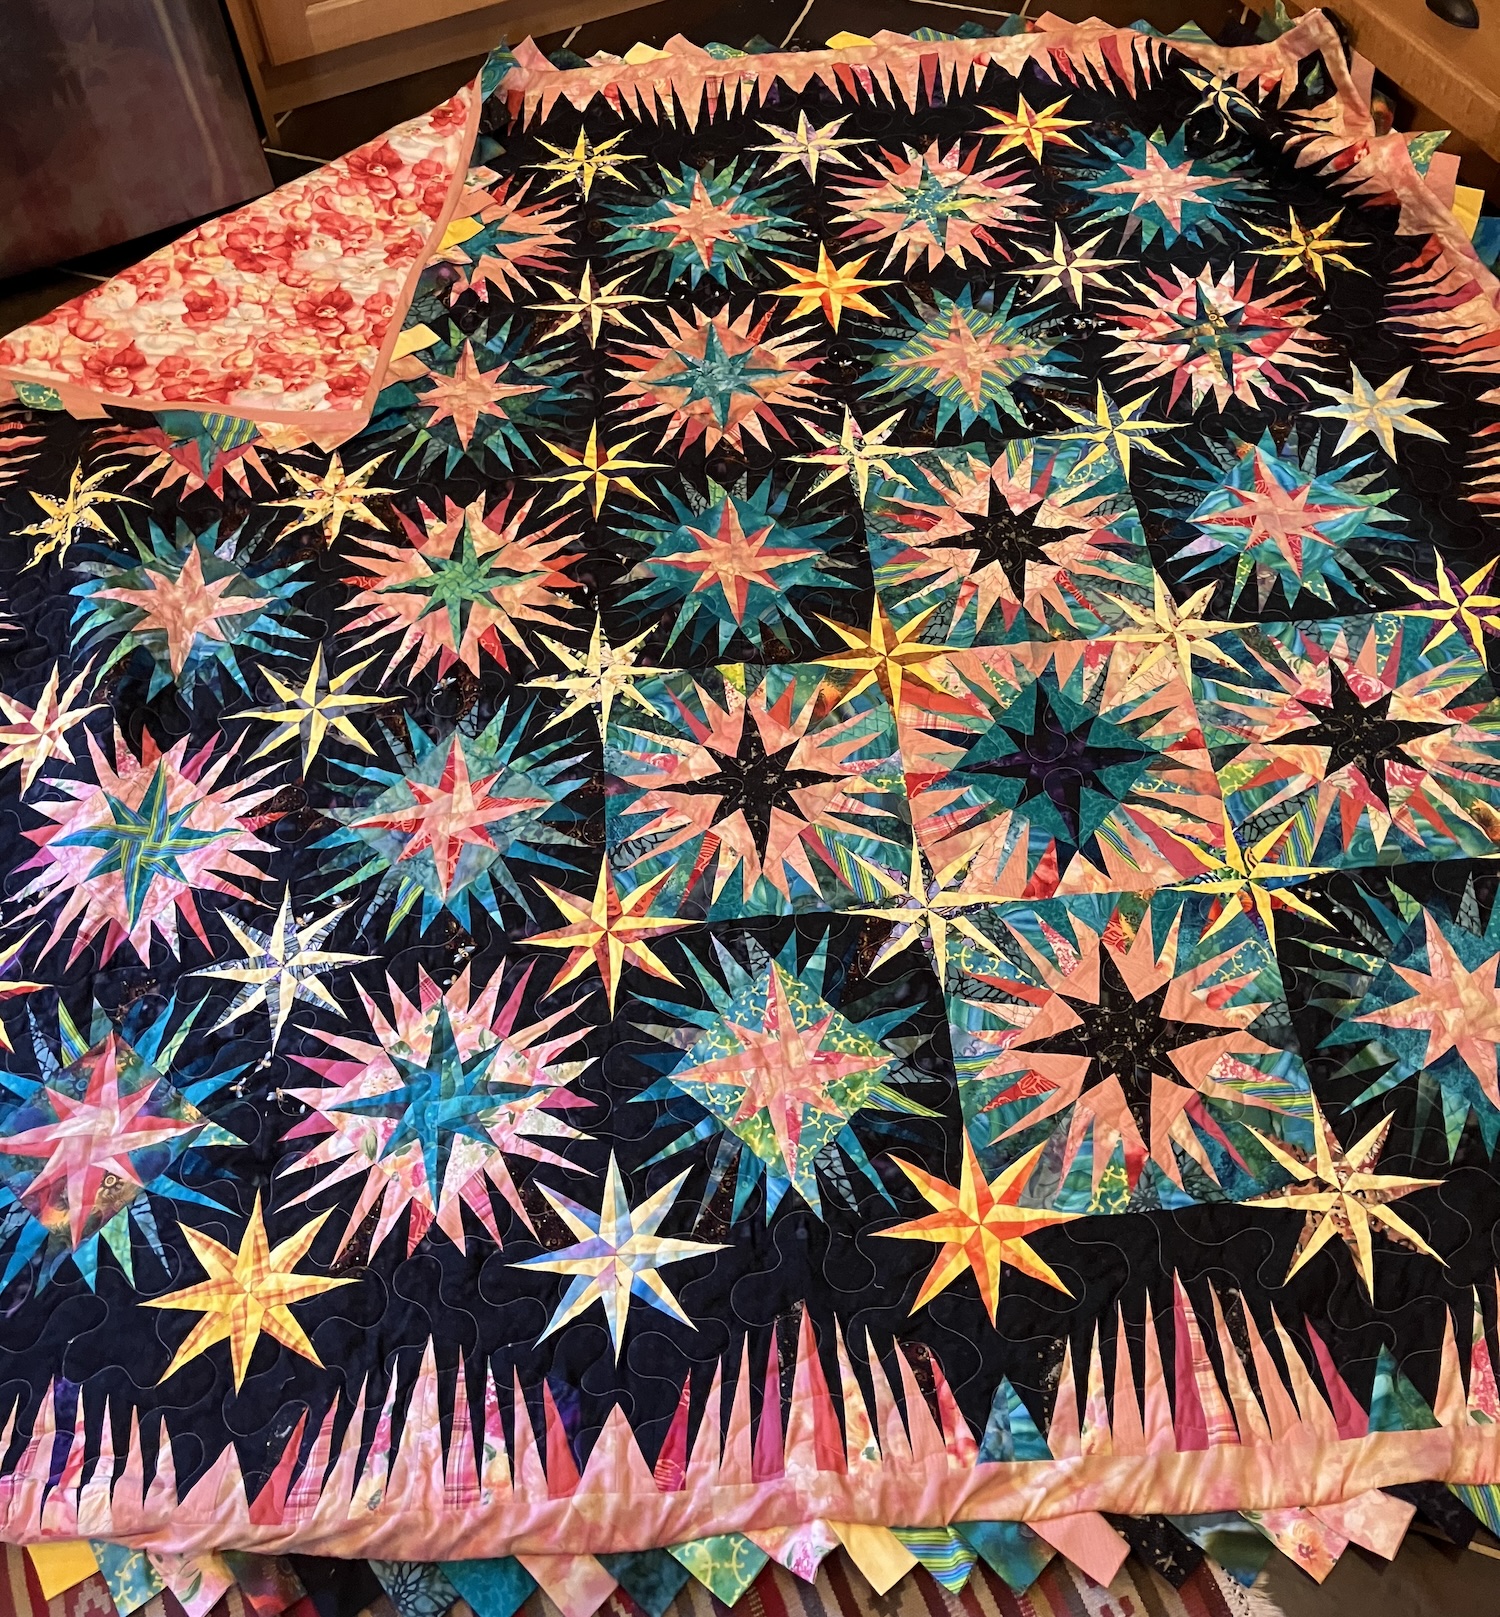
As you can see, I inverted the colours for five squares, giving them black stars instead of black backgrounds. Four have green backgrounds and the central one has a peach background. I wanted it to be a focal point, that looked illuminated compared to the others. I’m not sure that was successful, but it is what it is at this point. I am glad that I broke up the rhythm of the colours a bit.

Jumping Jax Flash quilt designed by Judy Niemeyer and made by Deborah Cooke

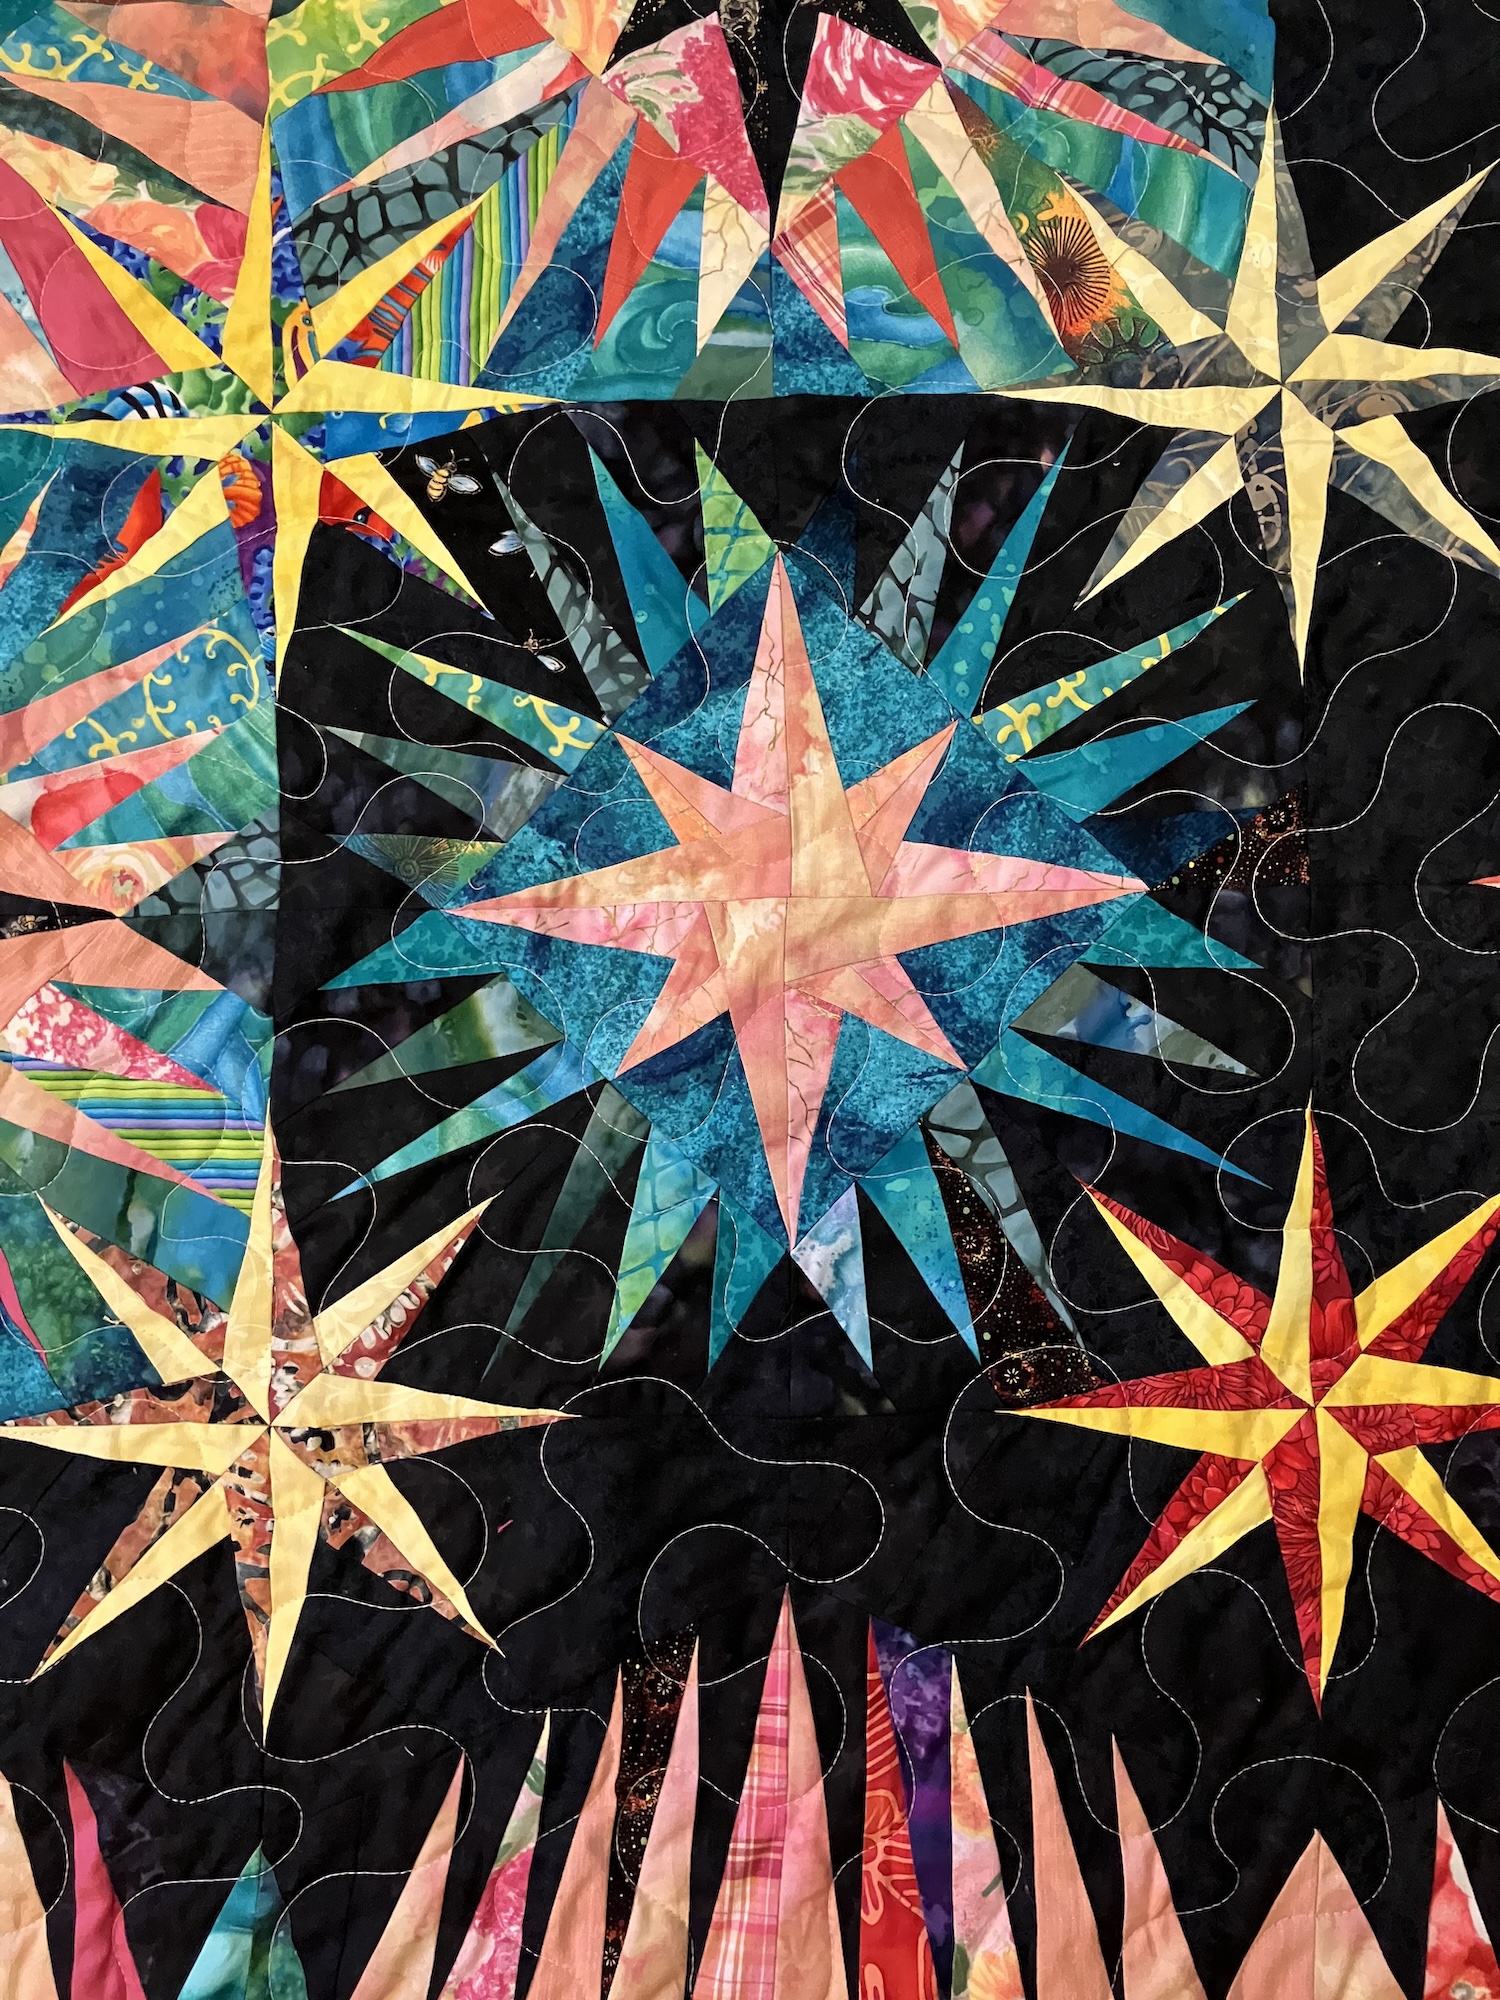
I don’t have the highest level of restraint with colours and fabric selection, and this quilt proves it. There’s a lot of range in my definition of peach/orange and even more in my definition of turquoise. The blacks are pretty consistent (esp for me.) The smaller stars are all half-yellow, although the intensity of the yellow varies greatly, and the second colour in each one, which started out as a bright, ended up becoming just about anything not-solid-yellow.

Jumping Jax Flash quilt designed by Judy Niemeyer and made by Deborah Cooke

The other day, I told you how I’d already sewn on the prairie points and wasn’t sure how the binding would work out. In the end, I sewed on the binding just the way I always would, but instead of enclosing the seam allowance, I pressed the binding flat on the back. It’s more of a facing than a binding, though it’s doing the same thing. That peach French shirting (that I used for the bias binding) has a woven windowpane design and I did use it on the top, so it brings it all together. I might even have enough of it left for a short-sleeved shirt.

The machine quilting is in a meander pattern. Though it looks like white thread here, it’s actually a peachy pink that coordinates quite well. I decided against adding more quilting, as the binding is sewn down almost halfway through that unquilted border.

I’m SO excited to have this one finally finished!

And now, of course, I’m thinking about what’s next. I have unfinished projects calling my name but am still tempted by this Judy Niemeyer pattern. It’s called Crimson Poppy and that link will take you to the pattern page at Quiltworx.

Crimson Poppy quilt design by Judy Niemeyer Quiltworx

Hmm. Not just paper piecing but curvy bits. I may have to hunt down a workshop for this one, as I’m not sure how you (I) would even begin to choose fabrics for it.
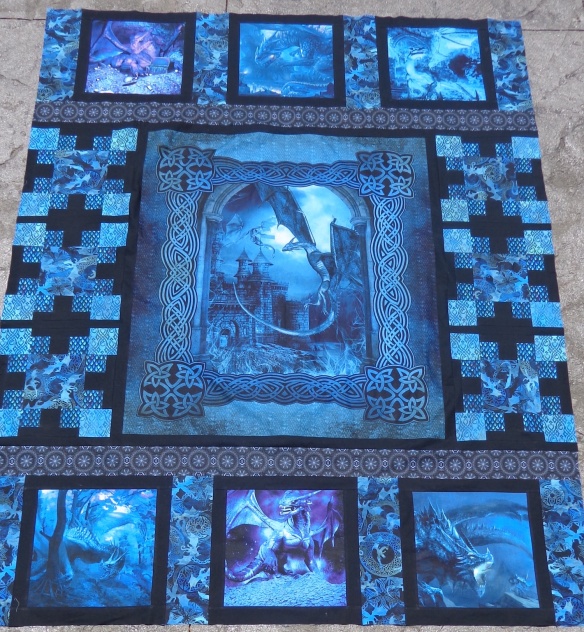
Test Lap Quilt #1

One of my goals for this year was to finish up my quilts. I have a lot of quilt tops pieced but they haven’t become finished quilts. Part of this is because I’ve always pieced by machine but quilted my tops by hand, so the first part of the process is much faster than the second. Either I needed to hire someone to quilt my tops, or I needed to learn to machine quilt them myself. I went for option B and ordered a walking foot for my machine.

This (ironically) meant that I needed to make more quilt tops in order to practice machine quilting before taking on my existing quilt tops. Also, I thought it would be easier to work with a smaller quilt first, and my existing tops are mostly big. So, I began to piece lap quilts from scraps.

This one was inspired by this YouTube video from Missouri Star, Make a Summer Squares Quilt. They suggest using a jelly roll with two contrasting solid fabrics, but I dove into my scrap bag instead. I have a lot of strips in there, many of them from my Escher quilt, and it drives me crazy to waste fabric. I grouped strips into lights and darks to piece them together, using a Kaffe Fassett stripe in greens cut crosswise and KF yarn-dyed solid mauve as my contrast squares in the middle. Here it is:

Scrappy Test Lap Quilt by Deborah Cooke

I used all the pieces leftover from the Escher quilt but was missing two strips to make enough blocks for this layout. I used some lime Roman Glass in my stash then added one non-KF fabric – it’s the lime with polka dots that’s in the border. Because fabric was so tight, I didn’t really manage the light and dark assignment of colours in the Missouri Star quilt, but I like how bright and cheerful mine is.

The walking foot was delivered while I was piecing this, so I got right down to quilting by machine for the first time. (eek) I added one more tool to my arsenal – Odif 505 temporary fabric adhesive. (That’s an Amazon link.) You spray it on the batting then iron the fabric to it, then flip it over and do the same with the backing. It keeps the layers from sliding around as you stitch and is pretty awesome. (It washes out.)

Singer 185 sewing machine

I watched this video and thought this diagonal quilting was something I could do. The trick was that I’m using my vintage Singer 185 for this project, which is a workhorse but a straight stitch machine. (My Elna has an appointment for a sewing-machine-spa-day next month!) In the video, she uses a wave stitch chosen from the machine’s options. I decided to make my own waves, even though they’d be less regular.

I used Guterman 100% cotton thread in black, a Schmetz 14 sharp “chrome” needle, and my new walking foot. I set the guide on the foot for an inch but didn’t follow it faithfully. I wanted a more organic look to the “waves” and I like how they worked out. There are a few tucks but I expected that since my borders were a bit wavy (which comes from sewing fabric cut on the crossgrain onto strips with a bias edge. Next time, I’ll be more careful!)

It was a bit of a wrestle moving the fabric, but I got used to it. And my waves improved over the course of quilting. I noticed that the 185 likes to stop with its needle up, so I learned to crank it down before doing anything else (to avoid any little jumps). My curves were also smoother when I didn’t stop in the width of the quilt. Faster and smoother is better, too. Lessons learned. 🙂

There are a lot of things you can buy to make this machine quilting easier, but I’m trying to keep a lid on expenses until I decide whether I like it or not. Instead of buying quilting gloves, for example, I used a new pair of garden gloves. I did find it a bit tough to move the quilt, even with the walking foot, so I ordered a LaPierre Studio Supreme Slider (that’s another Amazon link.) This is a reuseable plastic sheet that you lay over the machine bed to make it smoother and more slippery.

The cool thing about this quilt is that it came completely from the stash and my scrap bag, even the batting. I’d bought a big roll of 100% cotton batting to layer up all my quilt tops and this is 1/3 of the last piece. (The very last piece is destined for Scrappy Test Lap Quilt #2 which is a bit bigger than this one.) The backing is a piece of yarn-dyed cotton that I got at the thrift store, leftover from the Purl Soho apron I made for the mister.

Back of the scrappy test quilt made by Deborah Cooke

You can see some pins there – I’ll sew the bias binding down by hand on the back side. The finished quilt is about 30 by 42″.

The one thing I’d change was the colour of the thread for the quilting. I used black, because I didn’t know what to pick, but I don’t love the look of the black on the solid mauve border. So, in future, I’ll hold the quilting thread against the most solid fabric to choose a colour.

On to the next one! I’ll have some knitting to show you soon, too – a cowl, a new pair of socks and a cardigan.

In the Beginning Dragon Quilt – 3

In the Beginning Dragon Quilt in blueMore dragon quilt!

Last week, I was piecing the six blocks with the scales in this design—the ones that are stacked on either side of the central panel—and getting the scales oriented the right way. As mentioned then, I took apart my second pieced strip—the one with two strips of scale fabric with a strip of black sandwiched in the middle—and sliced it into squares. I then sewed the squares together with the scales the right way to make the units for the top and bottom of each of these blocks.

Here’s one of my finished blocks:In the Beginning Dragon quilt pieced by Deborah Cooke

All the scales are aligned!

The print called Flames is the one in the corners of this block. The instructions say to cut two 3.5″ widthwise strips out of the fabric, then cut each one into 12 squares. Because I pre-washed my fabric, I only got 11 out of the width, but there was plenty of fabric left to cut the remaining two. This print is also a one-way design: it doesn’t matter which way you think is “up” but it looks better to have the blocks all oriented the same way IMO. I sewed a couple “upside down”, so my stitch ripper got another workout, just because I wasn’t paying attention. After these blocks were done, I pieced them into vertical rectangles by adding a bit of black sashing.

Next, I pieced the dragon squares into horizontal rectangles with those rectangles of the dragon print. (I did play around with the placement of these, then ended up using the same arrangement as the illustration.) When I had the two horizontal panels on the floor, I realized what a nice quilt you could make with just these blocks. Look:In the Beginning Dragon quilt panels pieced by Deborah Cooke
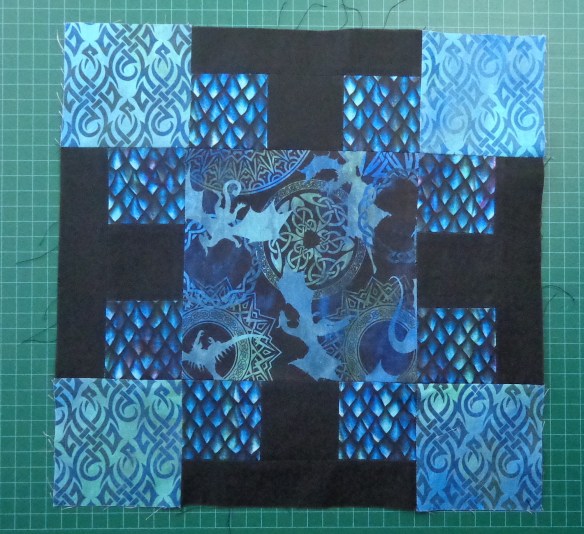
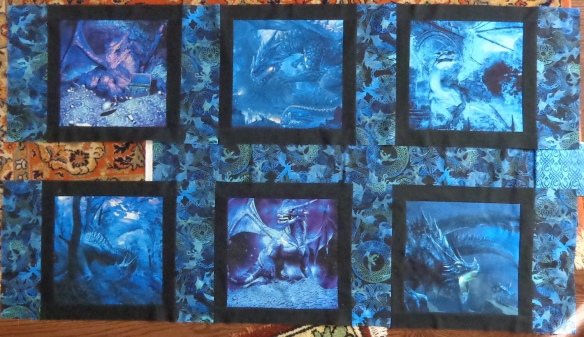
I put some of the leftover fabric between the rows—it ran out at the left, because these bands are 58″ or so wide—and put a little bit of the flames at the right. I like it better with the background all the same colour, but even one panel of these six-dragon-panels would make a fun quilt.

Next I cut the two rows of Emblems that go between the dragon blocks and the central section. I wanted to have the round medallions centered in both horizontal strips. I cut for the image not the grain. There’s extra fabric included for matching, but the design was printed slightly off-grain (as grid patterns often are). This is where the shrinkage from pre-washing almost got me. I needed more than three widthwise strips to get enough repeats, and managed to get another half width. Phew! It was just enough.

Here’s the top at this point:In the Beginning Dragon quilt panels pieced by Deborah Cooke

The sun was bright, so it’s a bit washed-out—and even with a step ladder, we didn’t get the whole thing!

I’m pleased to see that the joins in the Emblems bands are invisible. I matched the pattern between the circles as I thought it would be less obvious. You can see the print through the back of the fabric, though, so it was pretty easy to match.

Finally, the borders. The border print runs lengthwise on the fabric and there are four repeats across the width. The kit includes plenty, but I wanted prettier corners than shown in the illustrated quilts. This is going to be tough. The border print has a 23.75″ repeat after washing, which doesn’t divide neatly into anything. You already know I have matchy-matchy disease and this border print is going to make me work for it.