This post has been sitting here in draft for over a year. My original plan was to share the pattern for this little cardigan, but I never pulled it together. It’s time to show off some of the results, though. The yarn links in this post go to Ravelry, just FYI.
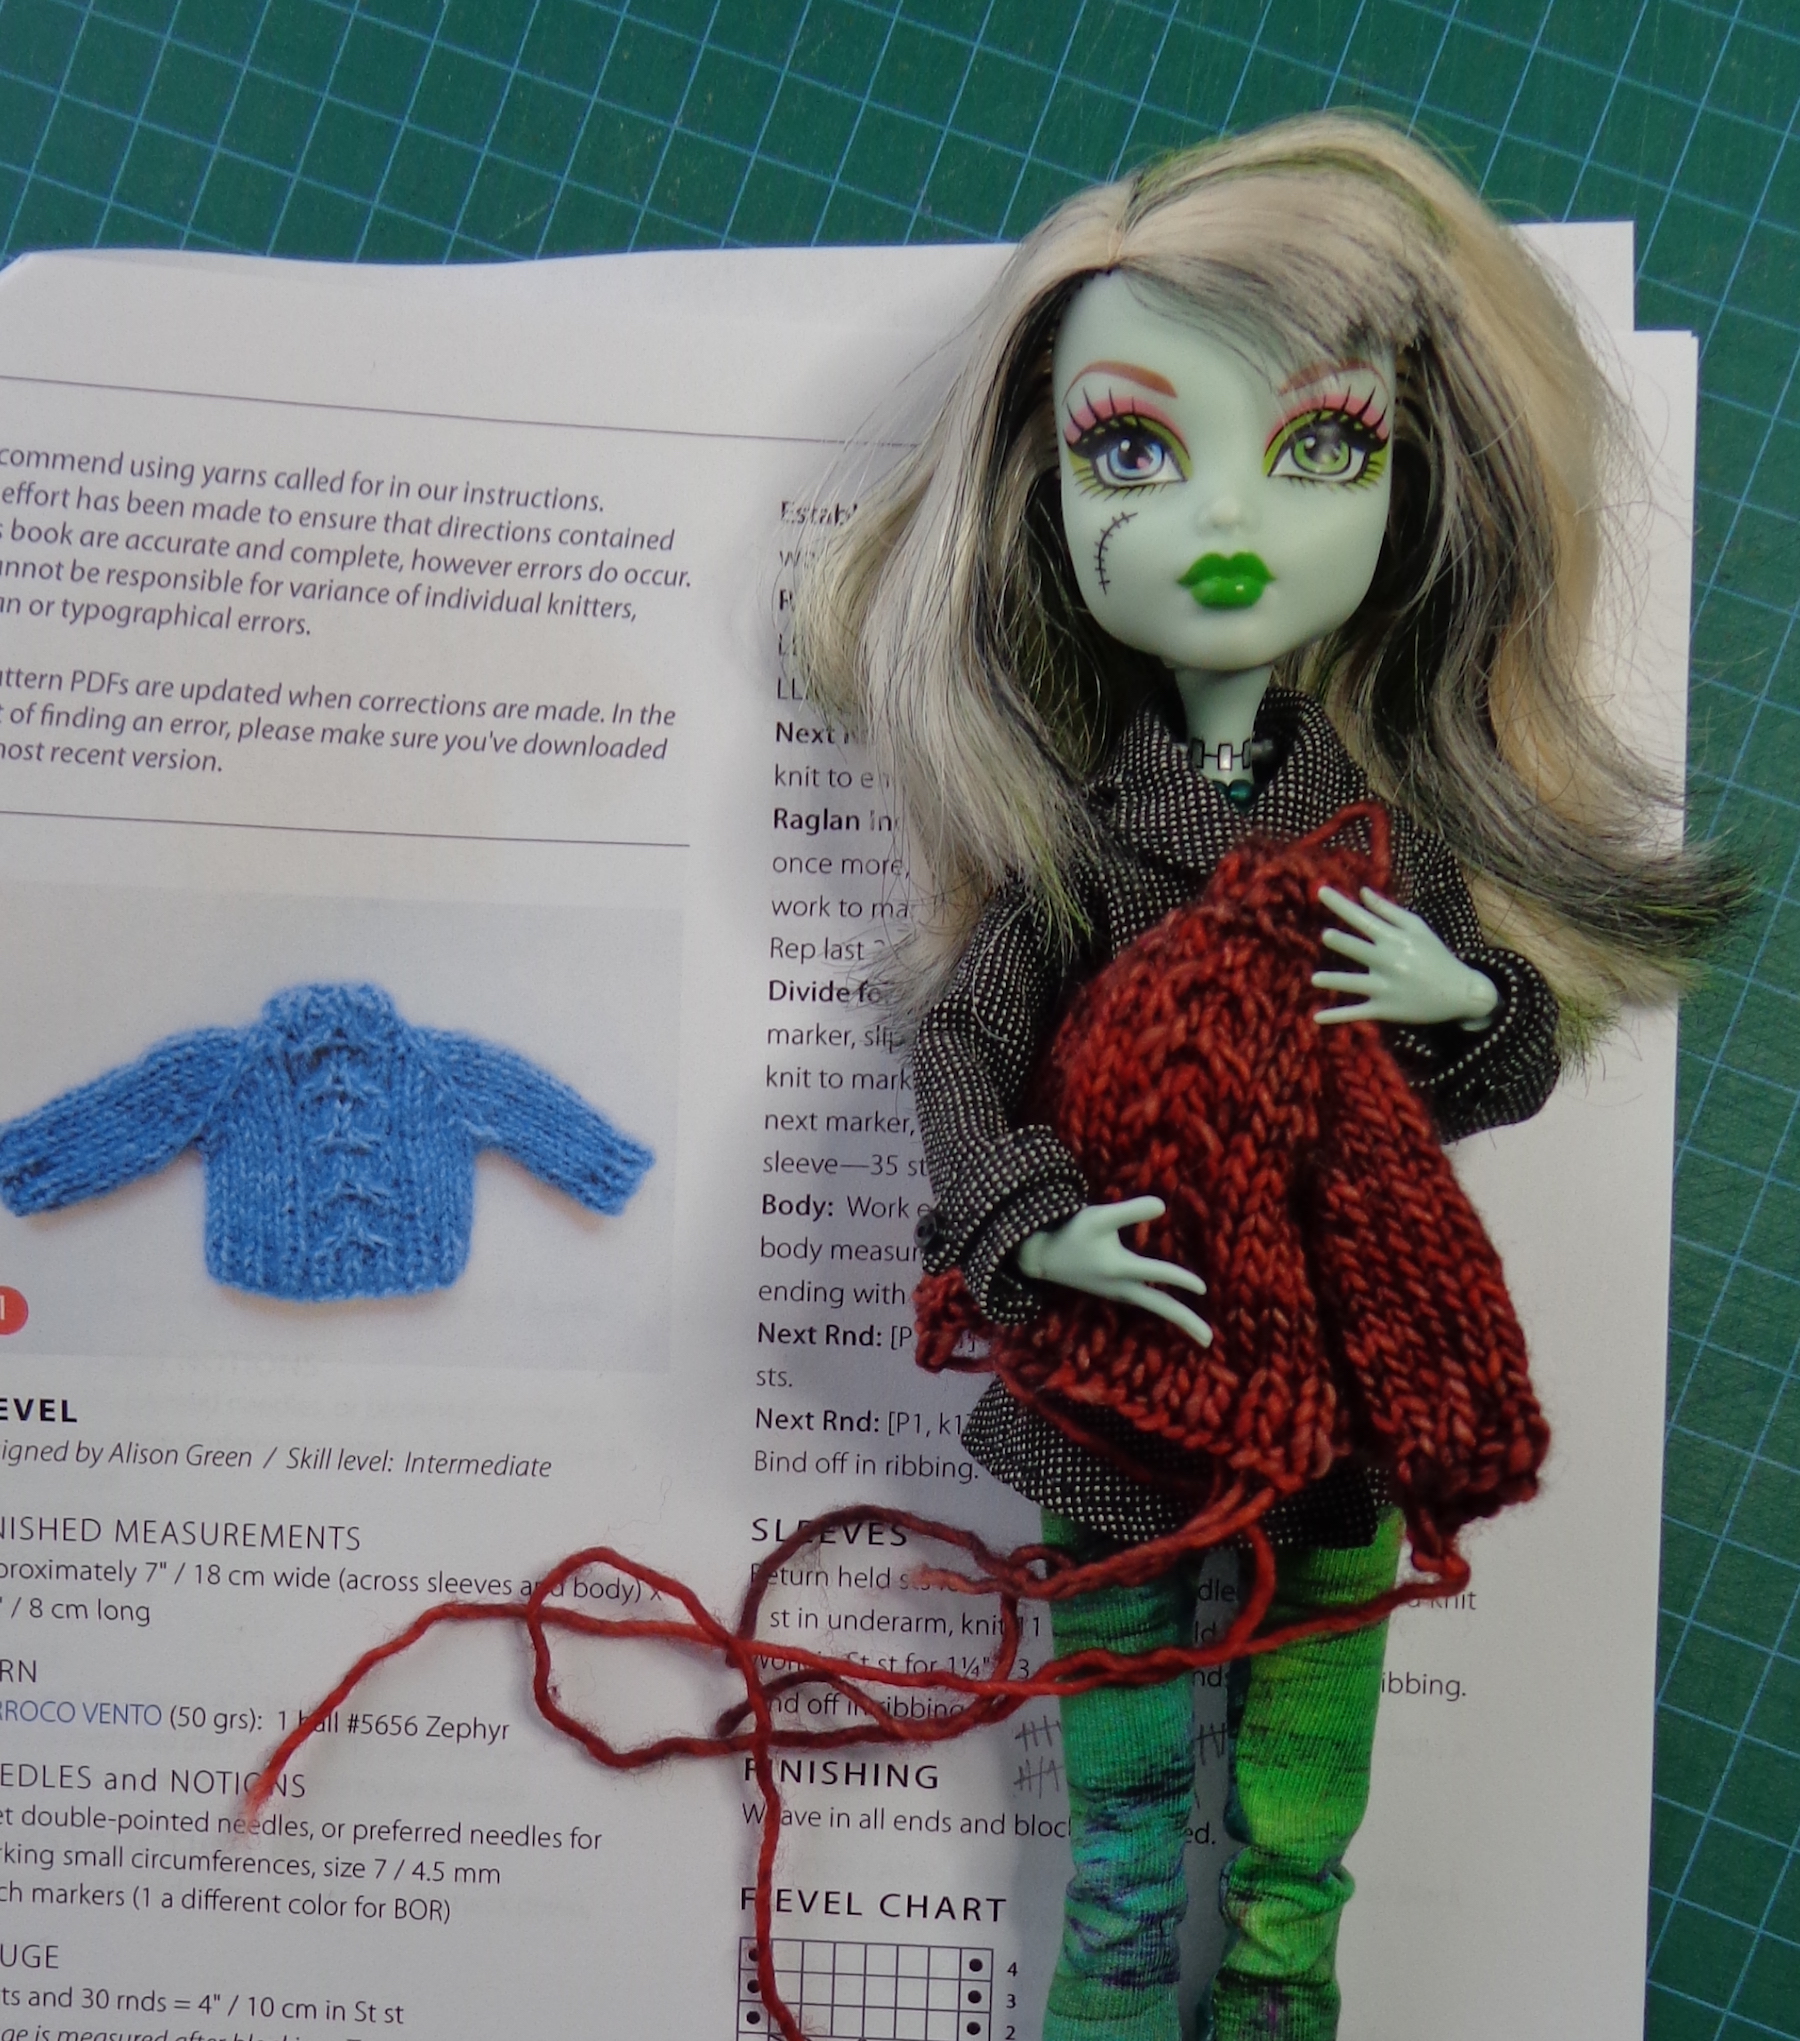
First, here are my little Monster High Girls in their wee sweaters.

These cardigans were knit from the top down, in a variation of a pattern I made up for Barbie.
Because the sleeves are skinny, you have to take off their hands to put on a sweater. It’s cropped, so their belly-buttons show. (I could knit it longer but it’s kind of cute this way.)
Here are the sweaters:

The grey one has a ribbed collar and hem, ribbed button bands and ribbed cuffs. The raglan increases are done with make-one increases, which disappears more into the fabric.
The purple one has collar, hem, button bands and cuffs worked in reverse stockinette. The raglan increases are done with yarn-overs, which creates a little lacey pattern.
The front fastens with three snaps and the buttons are just for show.
As you can see, slight variations in yarn weight end up resulting in bigger differences. I knit both of these with the same needles and instructions. The purple one, though, is a teensy bit bigger because the yarn is a teensy bit thicker. The grey was knit with The Loving Path Fibre Arts High Twist Sock (that’s a Ravelry link) which has 424m in 100g and is classed on Ravelry as a light fingering. The purple was knit with Dragon Strings Sleipnir (another Rav link) which has 343m in 100g and is classed as fingering on Ravelry.
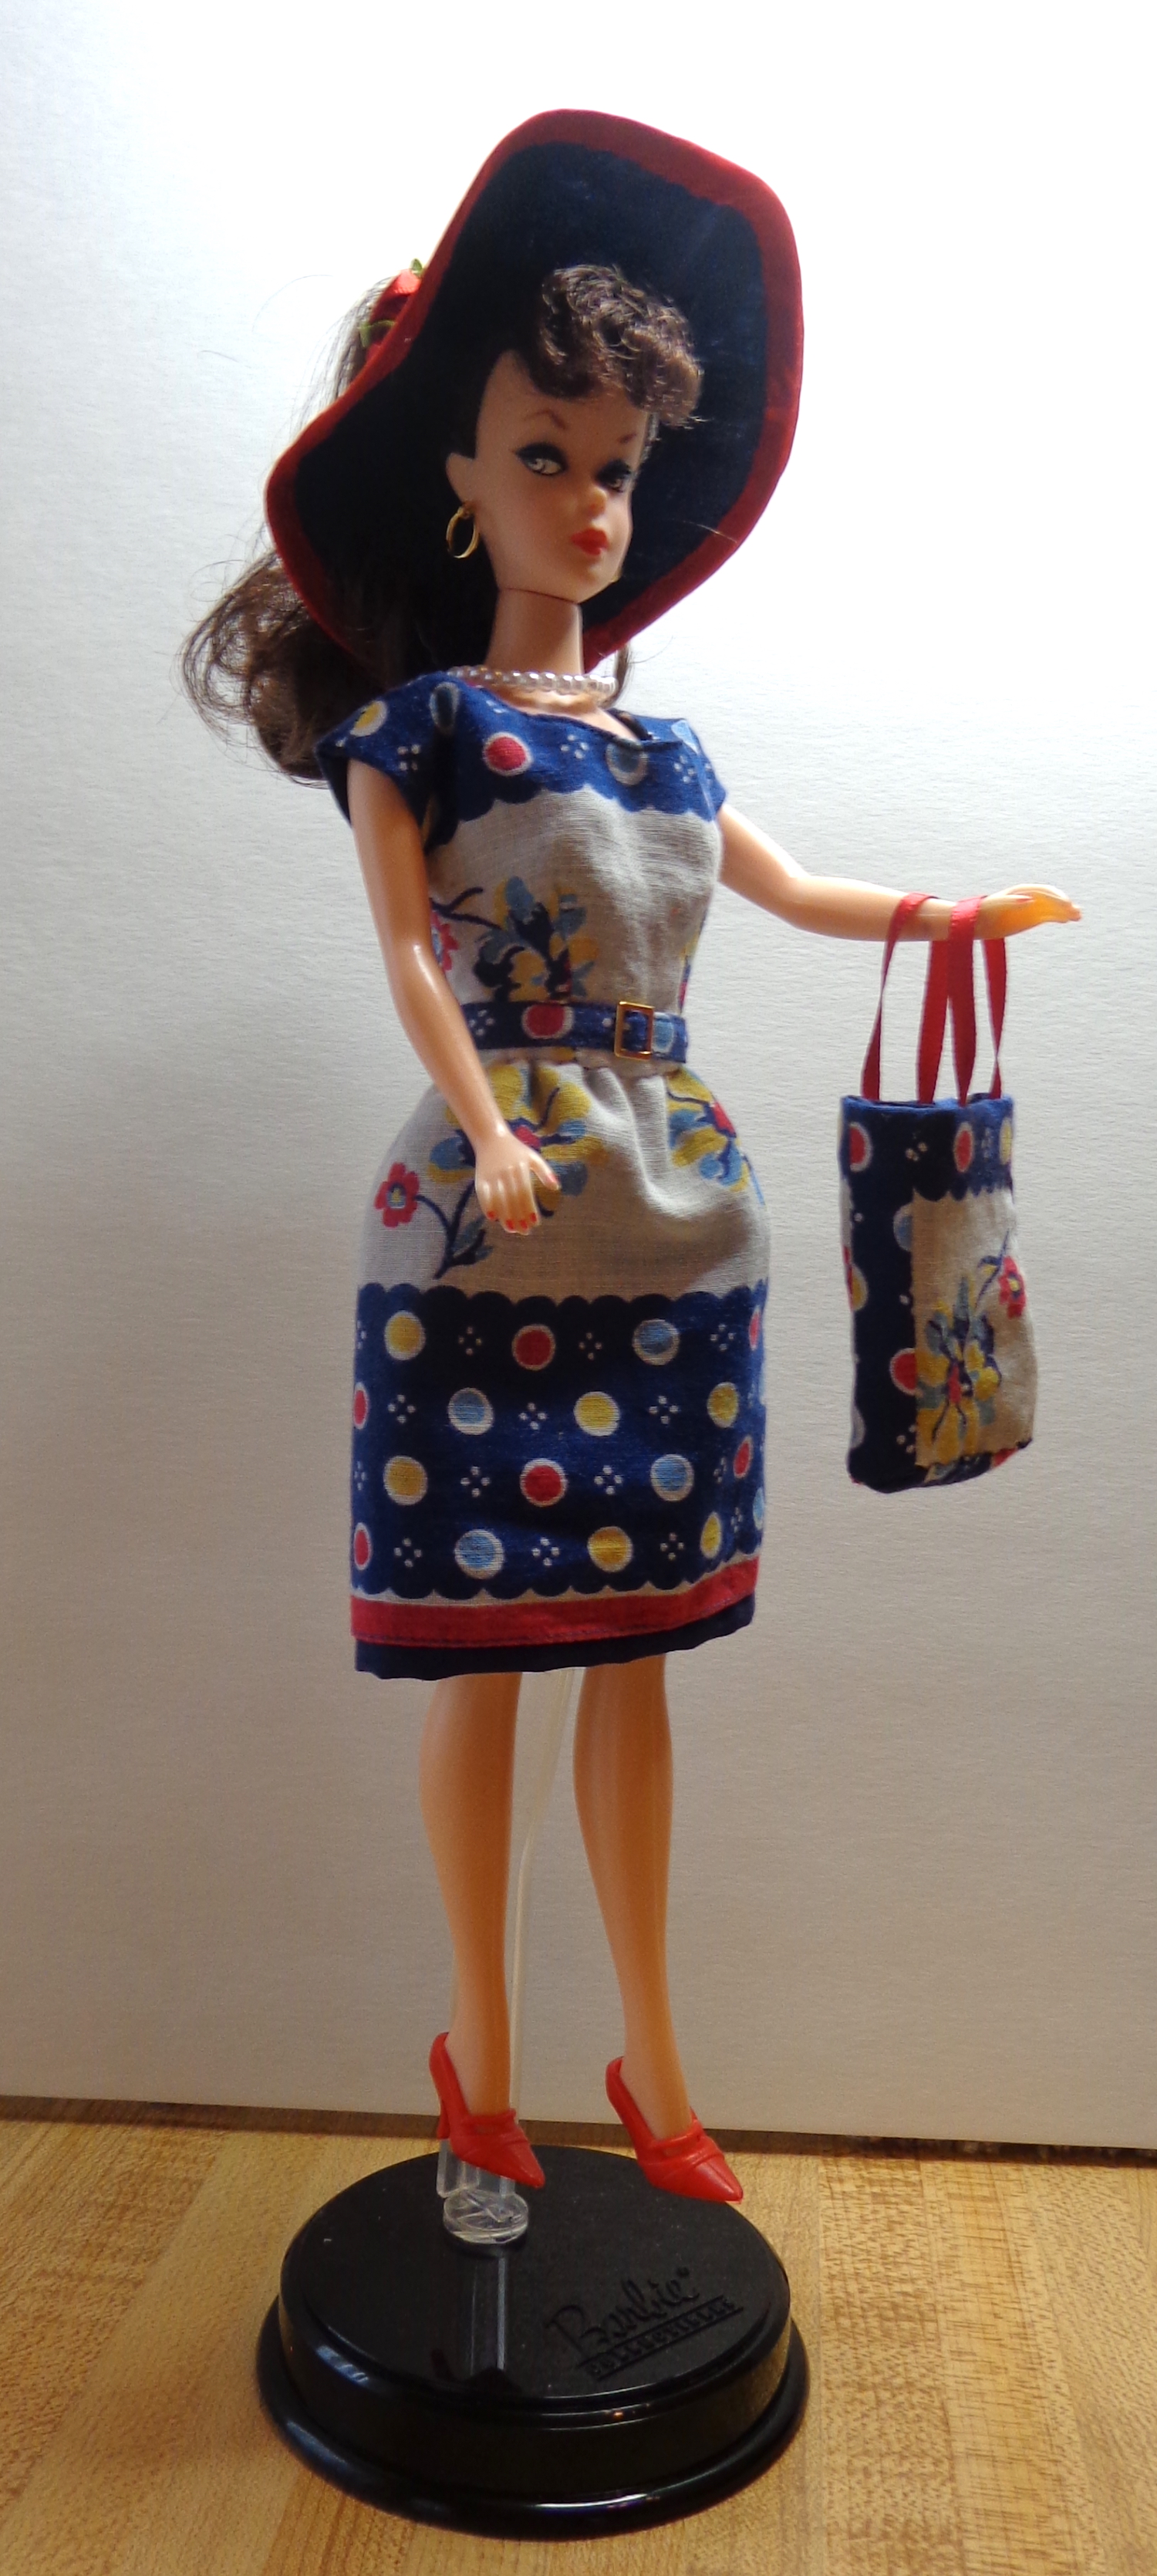
Here’s my Barbie version of this little cardigan in several variations:

These ones all have working buttons – there are buttonholes in the right fronts. And I made the increases in all of them with YOs. Again, they’re all knit on the same needles with the same stitch counts and you can see the variation in size. Starting from the top left, the green one is knit in Malabrigo Sock (the colourway is Rayon Vert) and is the smallest. Malabrigo Sock is put up in 100g hanks which have 402m. This sweater has 3/4 sleeves, which works out well for Barbie since her hands don’t come off. (I wrap her hands to get the sweaters on.)
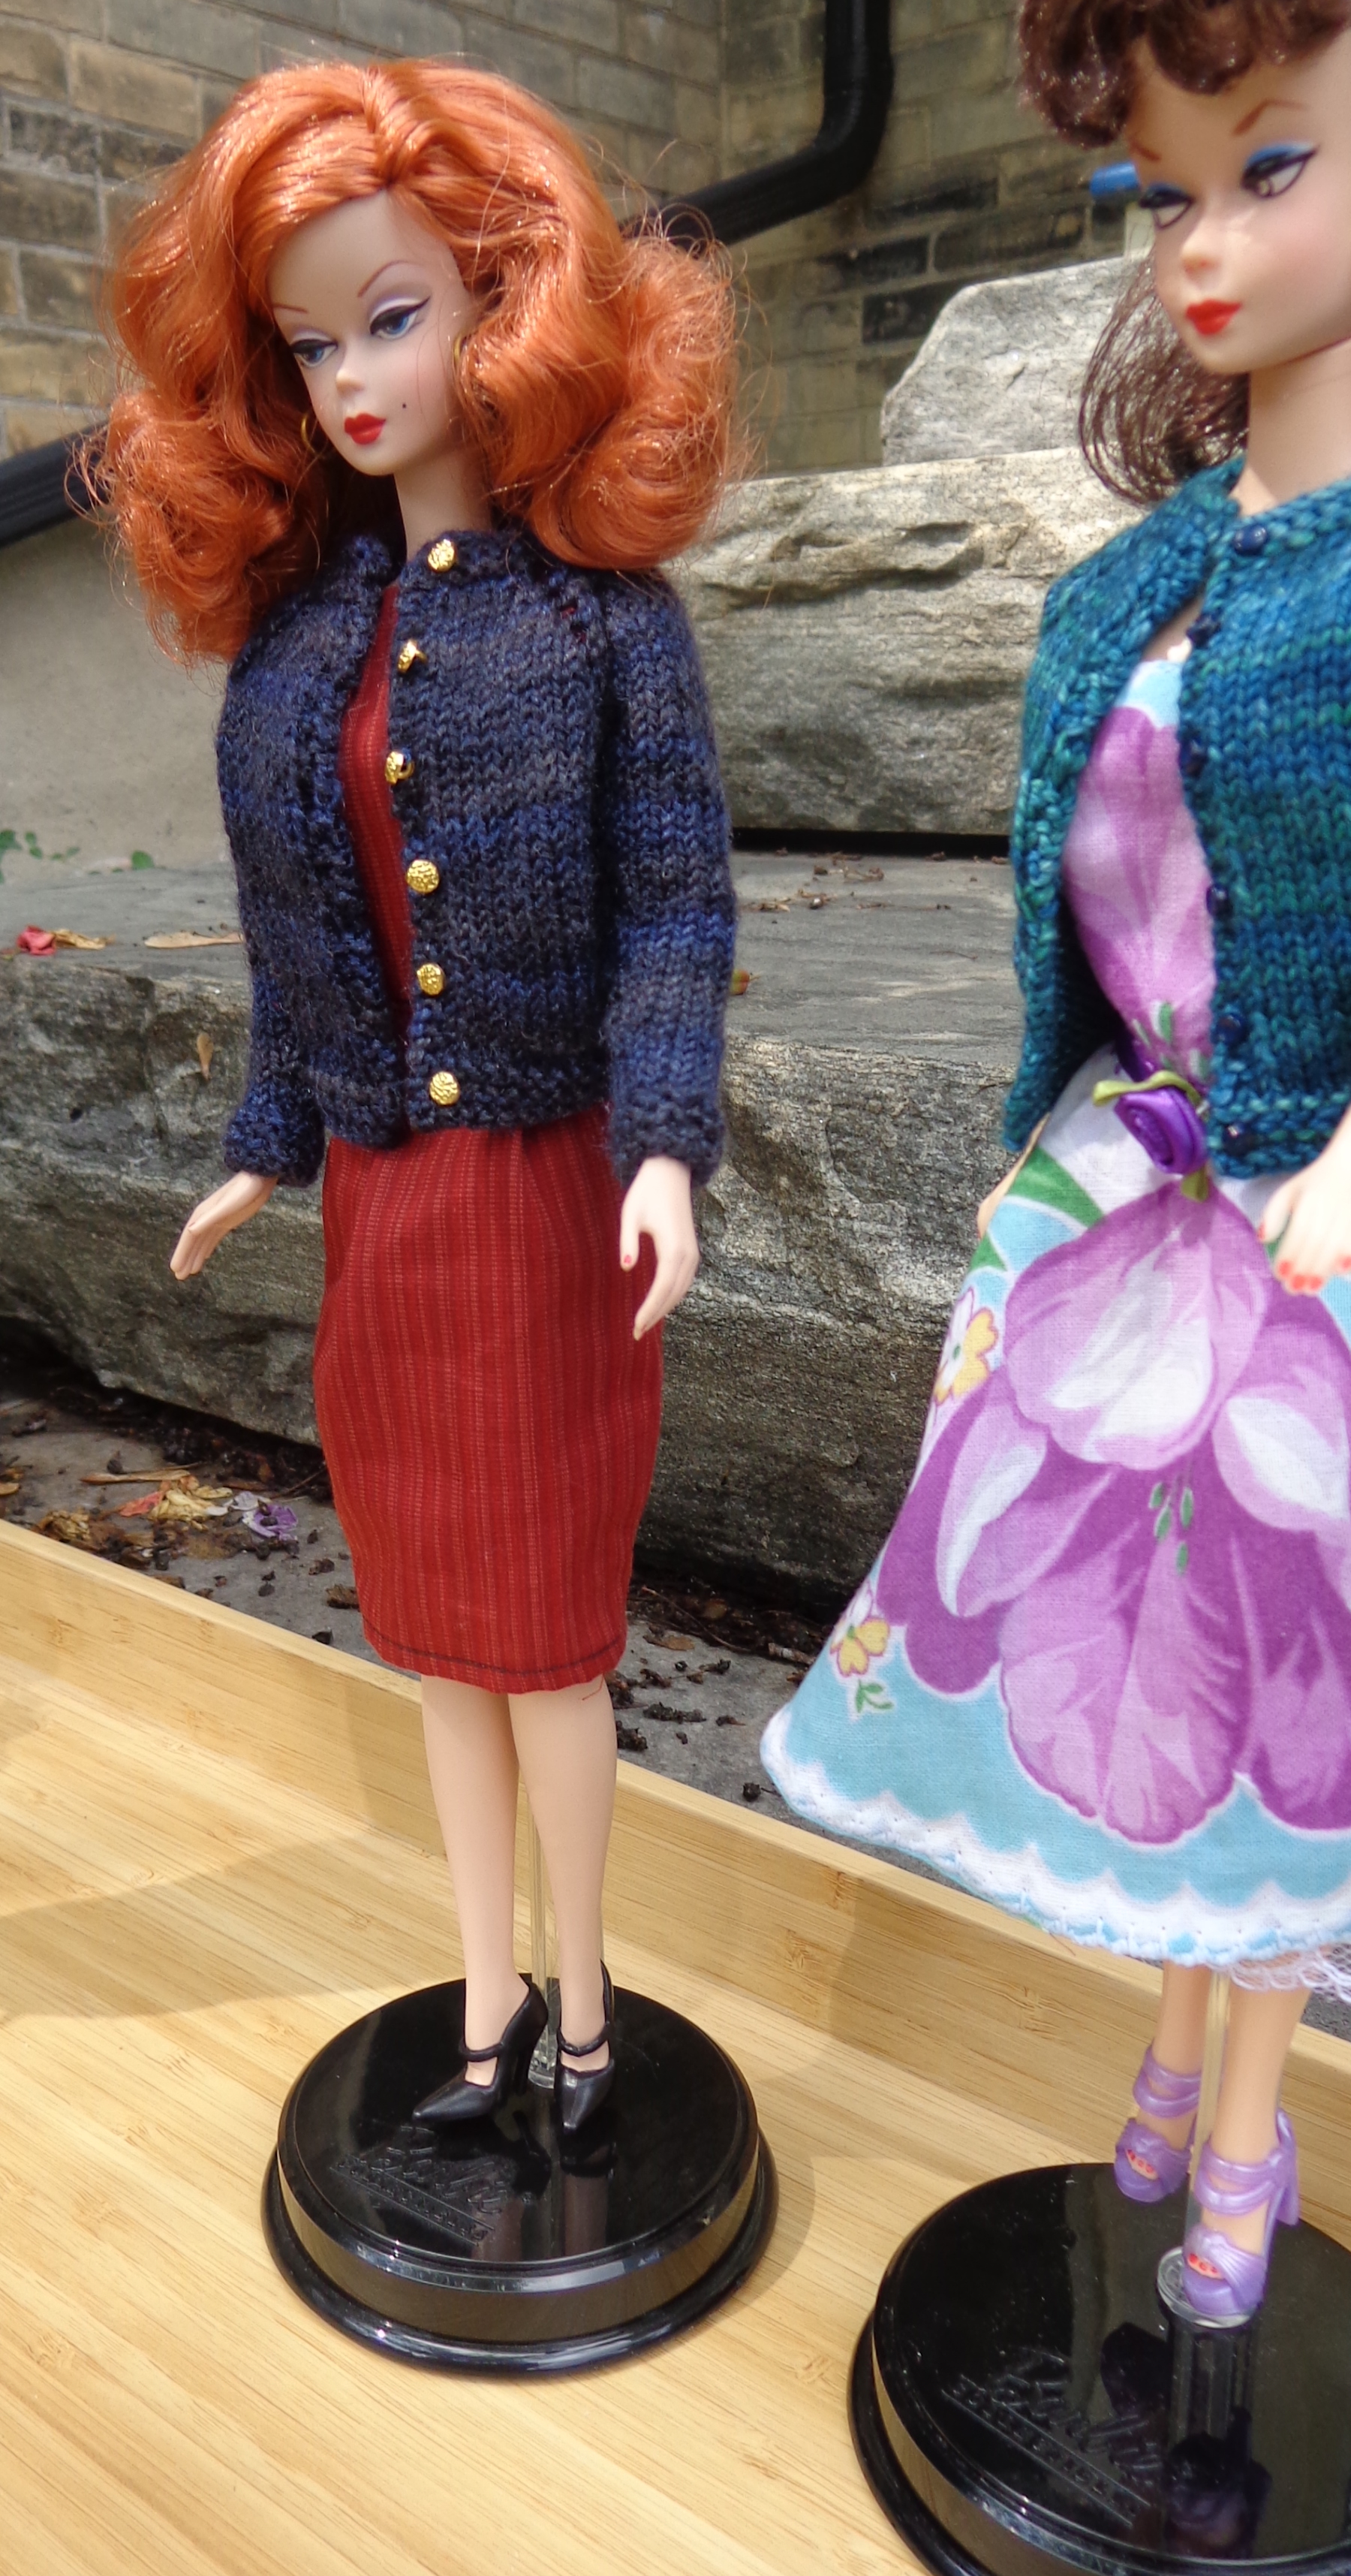
The russet one to the right is knit of MadTosh Merino Light (384m in 100g) in Cardinal also with 3/4 sleeves. It’s bigger – 20m less in 100g makes a difference even when you’re only using 7g or so!
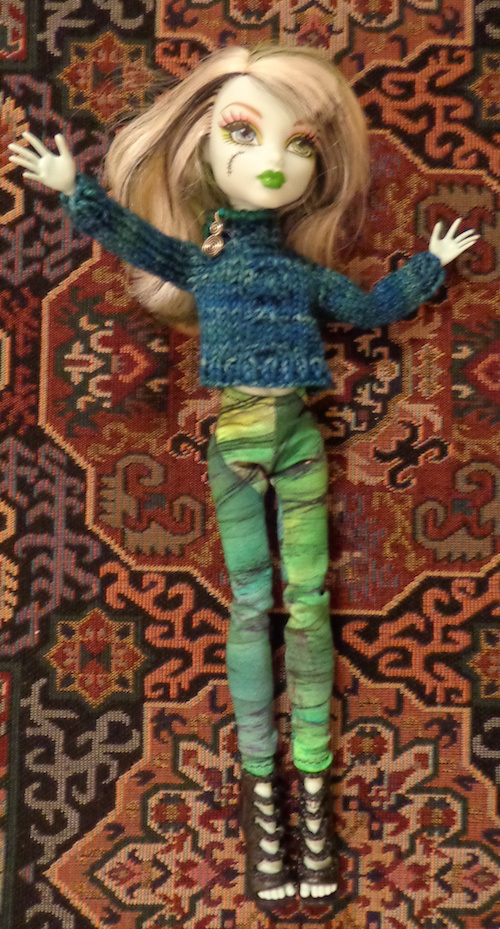
The deep blue one, with long sleeves, is knit from leftover Unique Sheep Luxe from my Celestarium Shawl. It has 366m in 100g, which makes it a bit thicker. This one is pretty bulky on the girls.
The blue and grey one is knit of Rowan Kidsilk Haze Stripe (colourway Cool) which has 421m to 50g – it knits up as if it’s much thicker, though, because of the halo. I used the stitch counts for the Barbie size and it’s kind of fun how the striping came out.
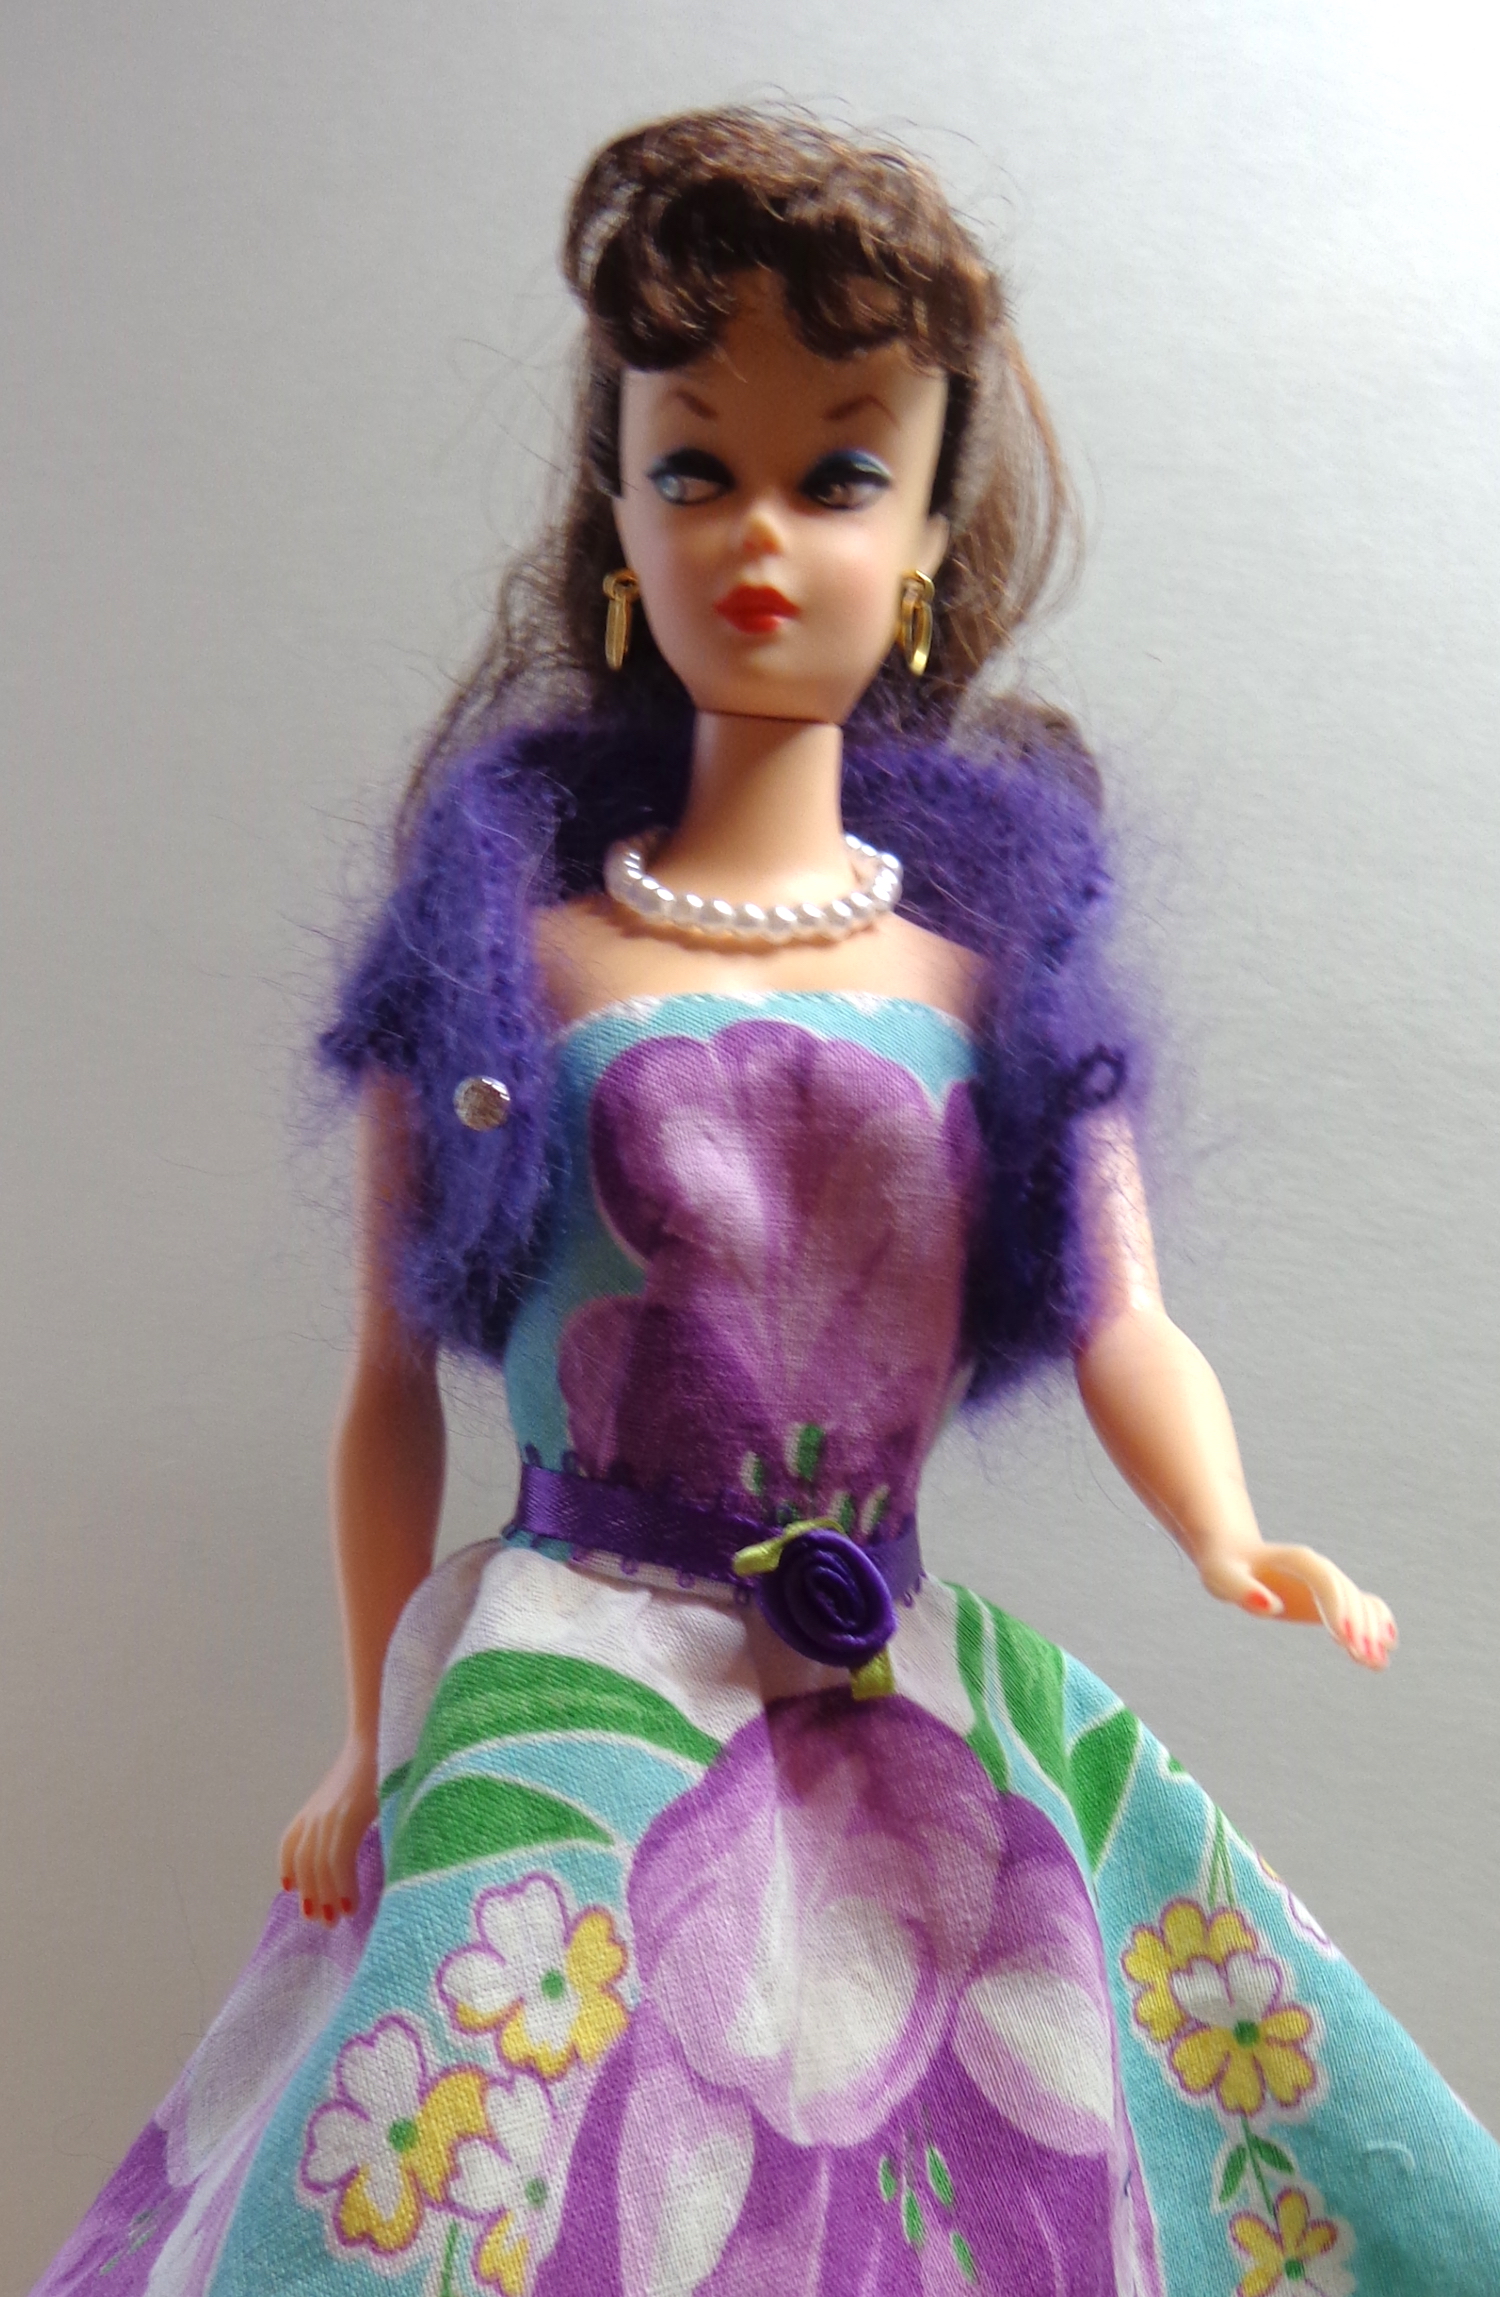
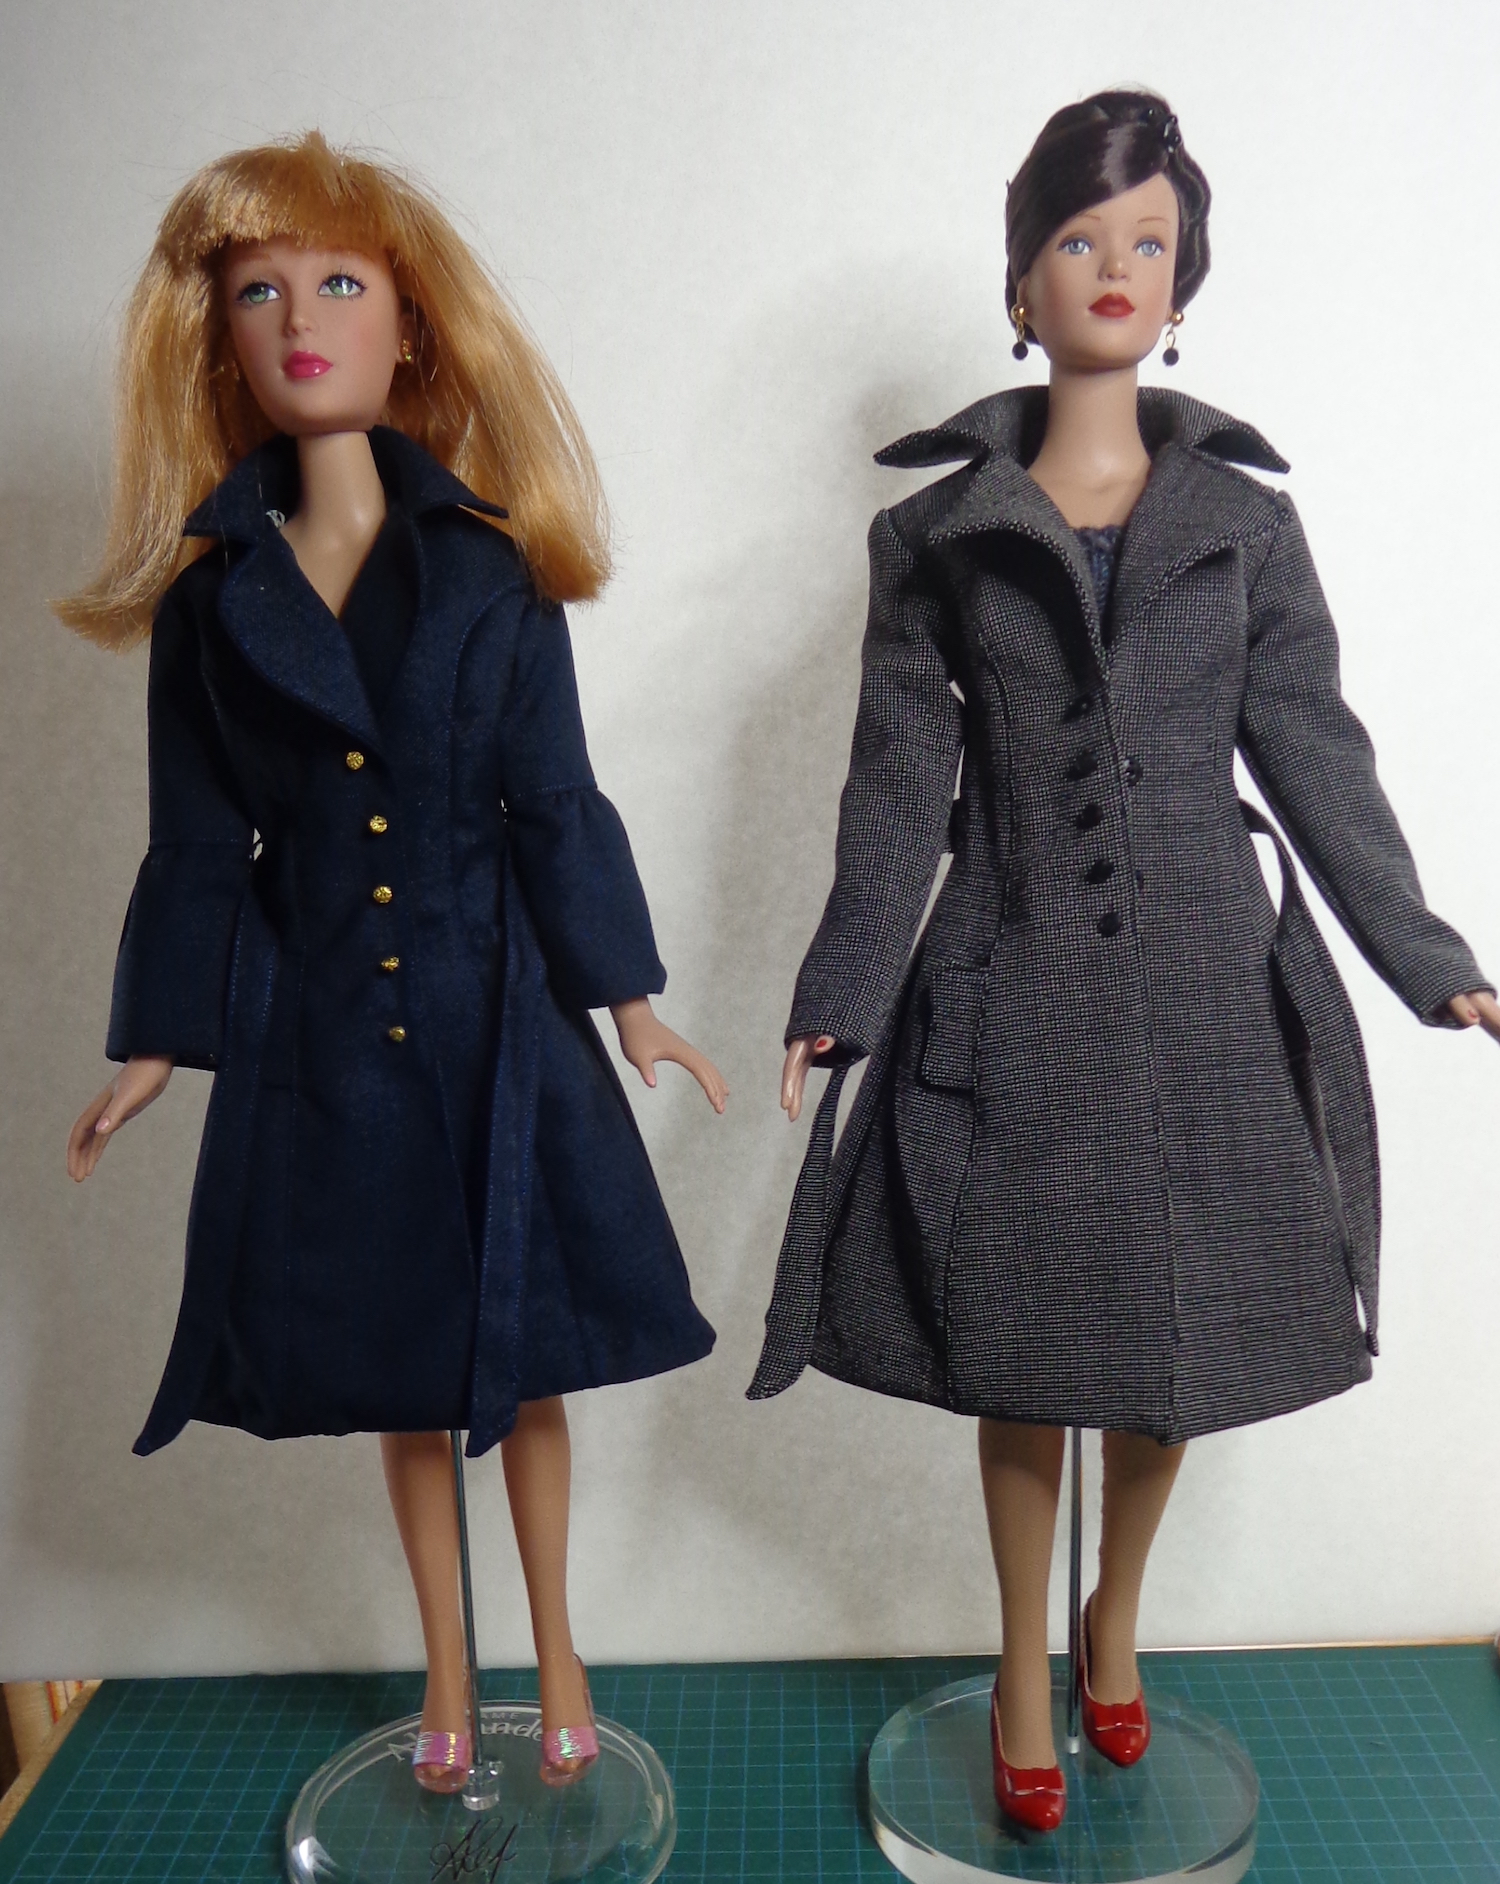
Here are the girls modelling two of them. The redhead is Dusk to Dawn Silkstone, who is skinnier than repro Barbie. The navy one is particularly big on her.

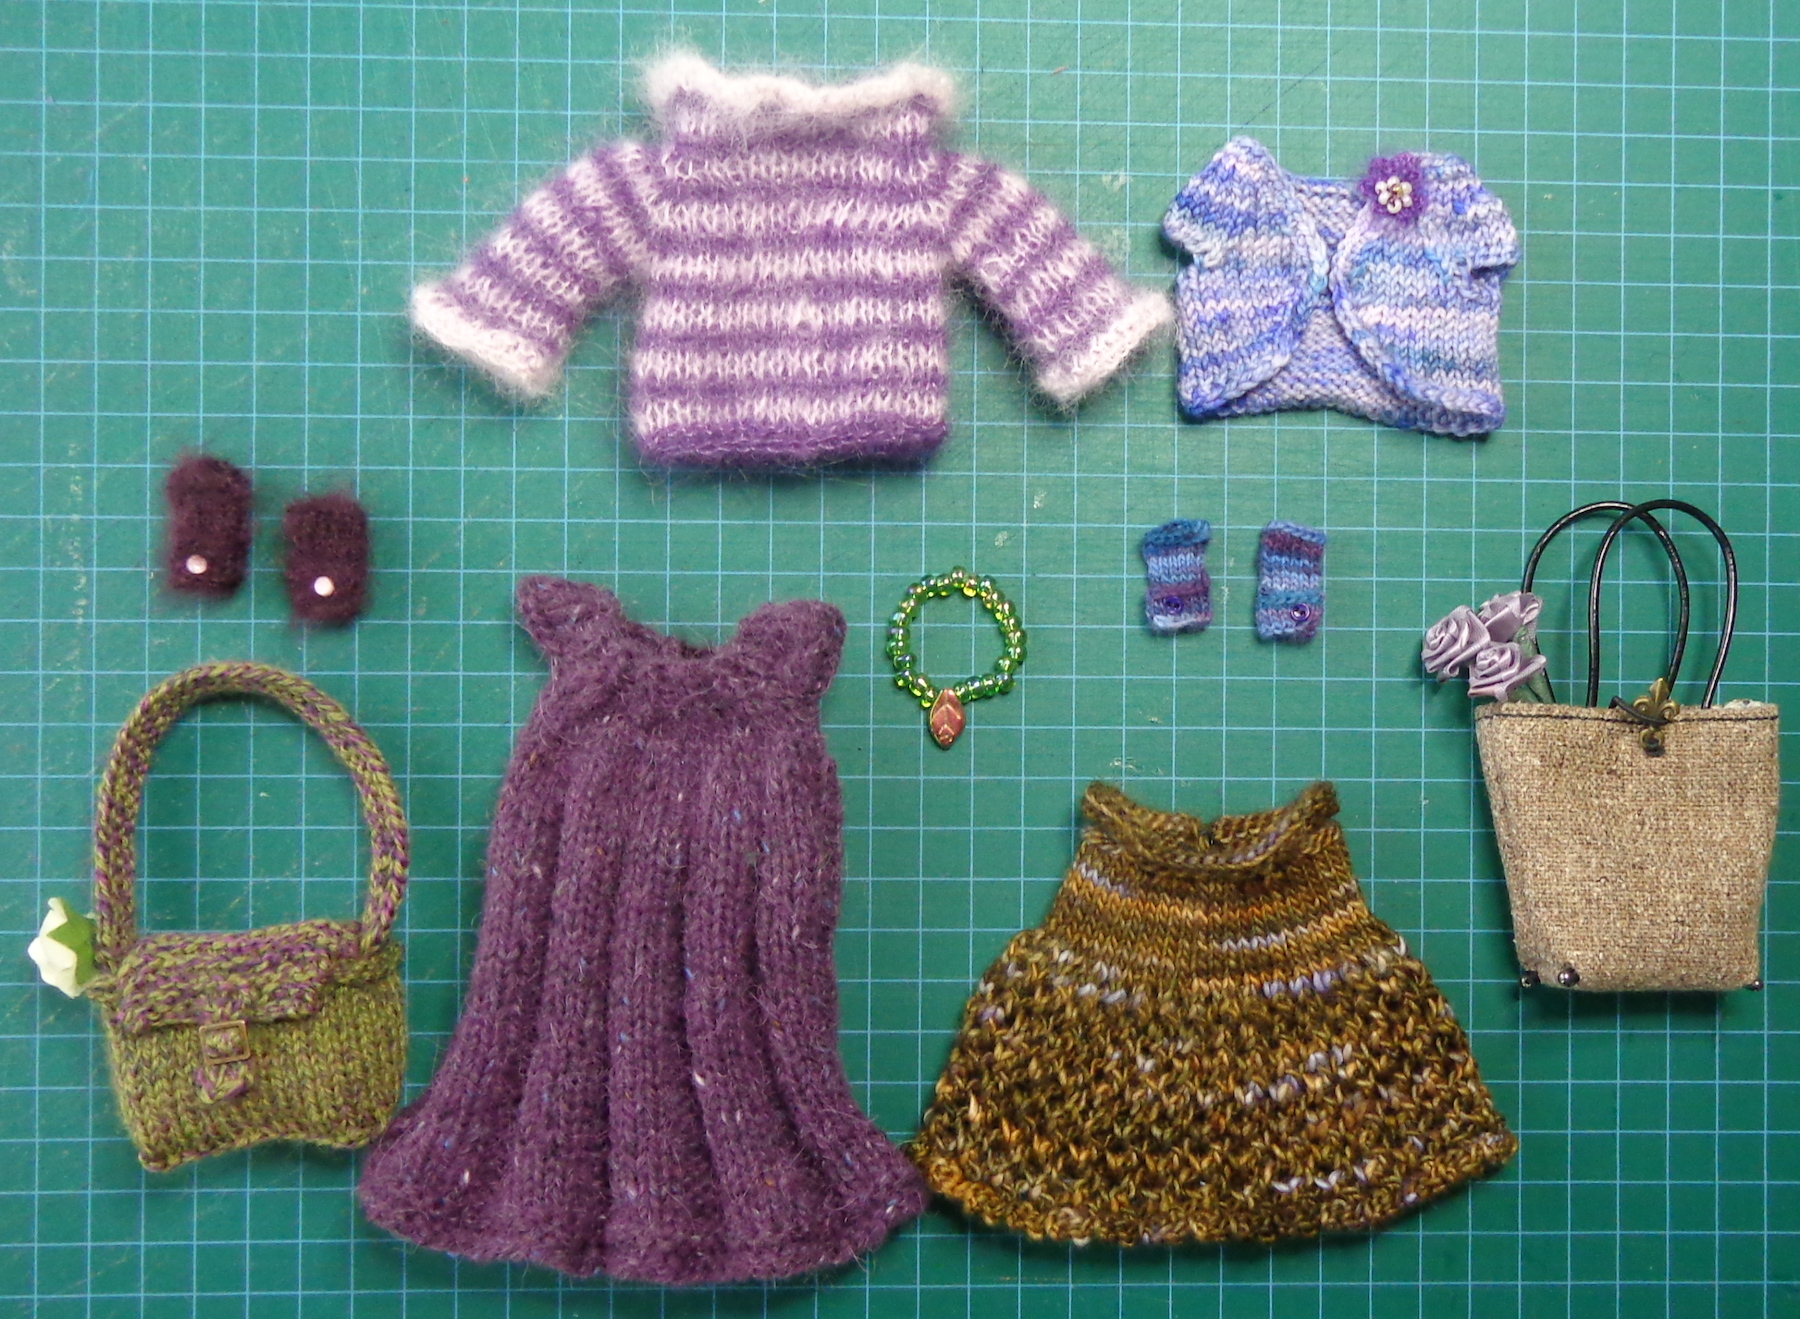
Here are two more cardigans which were adapted to fit Tyler Wentworth.

The purple one is knit of Shibui Knits Sock, which has 175m in 50g. I used the stitch counts for Barbie and realized it would be enormous after knitting the body. I stopped working on this one before knitting the sleeves, because it was so big. Recently, I realized it would fit Tyler – even with the Barbie stitch counts. It’s pretty snug for Tyler, so it’s a sweater to wear without a blouse underneath. I knit the sleeves longer on this one. (Like B, Tyler has to have her hands wrapped to get her sweater on.)
Finally, I recalculated the stitch counts for Tyler for the last one in mixed brown shades. It’s knit of Koigu KPPPM in colourway 513P – KPPPM is 175m for 50g. I knit this one a little longer and also did some back neck shaping to make the front of the collar sit better.
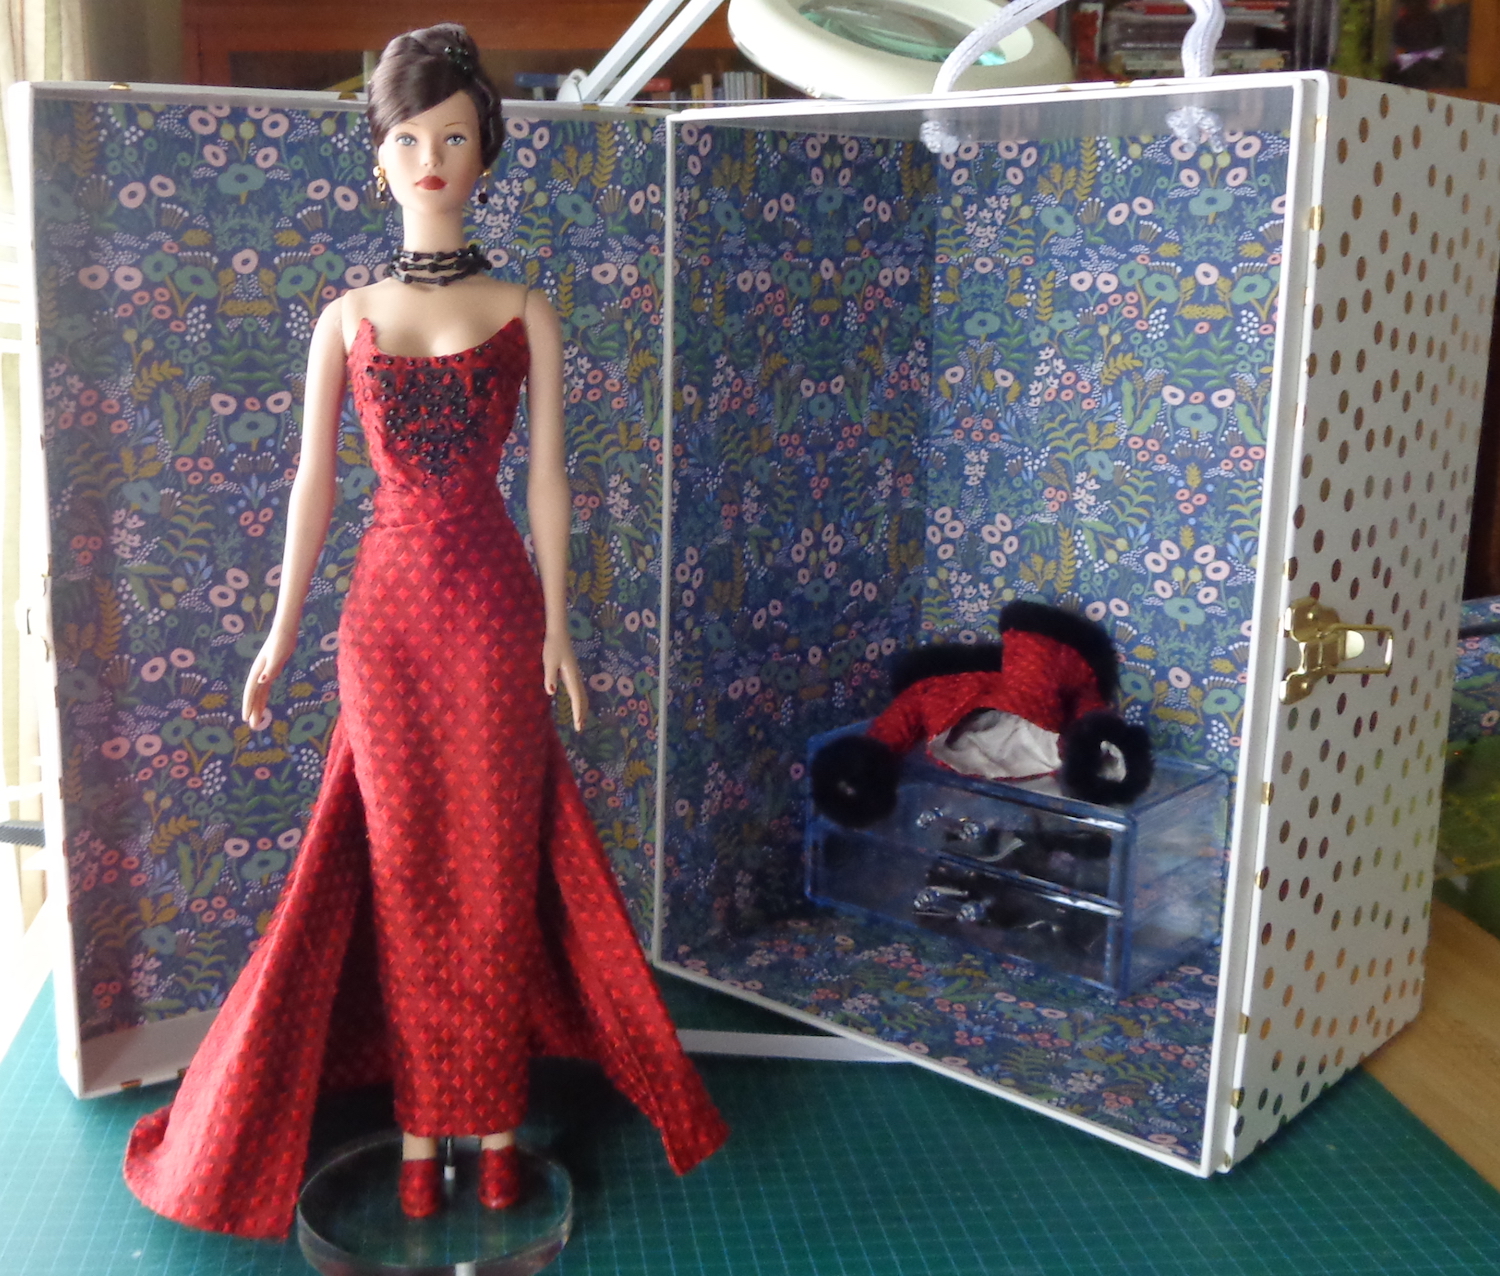
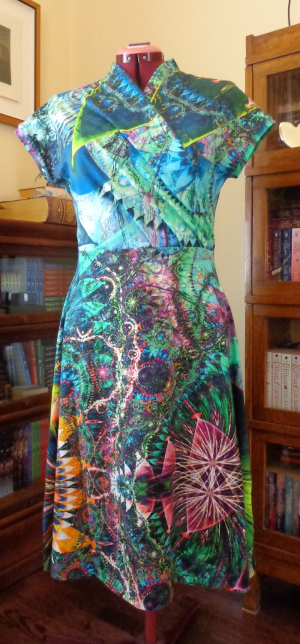
Here’s the last one on RTW Rouge Sydney Chase, with a matching dress.

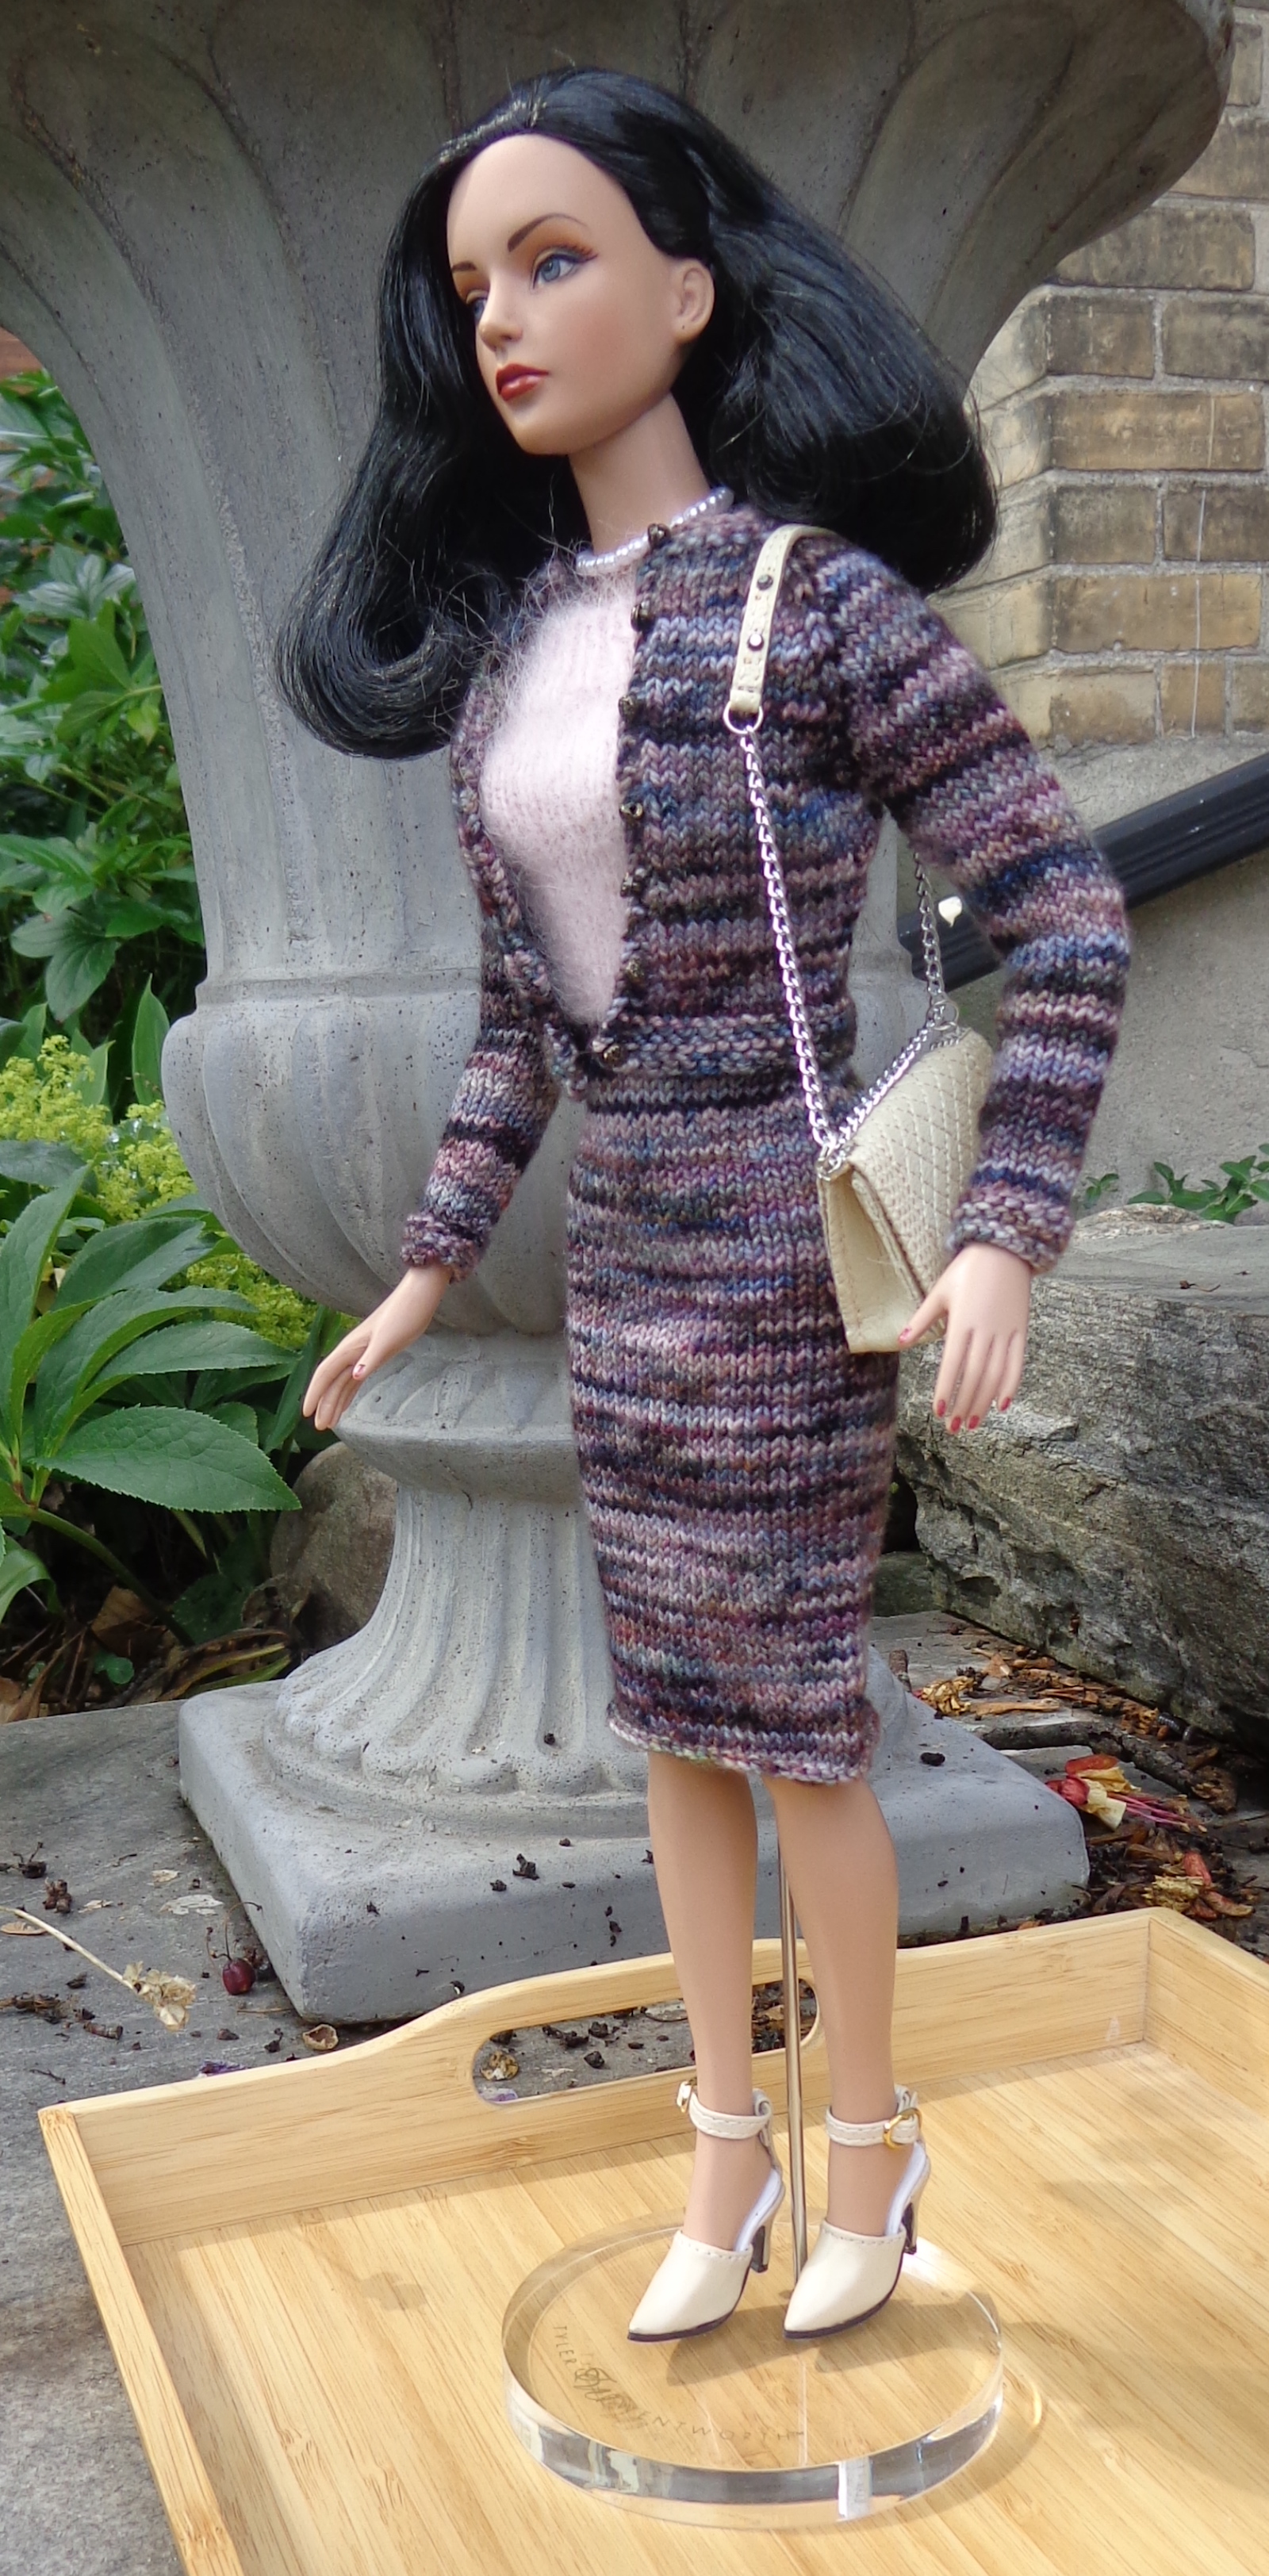
I used the free pattern T-Shirt Dress for Tonner Dolls by Samira Jessica (that’s a Ravelry link) but divided the color. It’s a top-down knit with cap sleeves that are created when you cast off for the arms. I started with Sugar Bush Drizzle, held double, in Pink Puddle. At the waist, I changed to the Koigu KPPPM. I didn’t rib the skirt but just knit it in stockinette, then purled one row and cast off purlwise. I thought that might keep it from curling at the hem, but the hem still wants to roll up, even after blocking. I also added a little kickpleat at the center back. 🙂 If I knit it again, I’ll do some moss stitch at the hem.
So, there are the girls with their new cardigans!