Cabled Denim Bag 3

My denim cabled bag is getting closer to completion:

Cable Bag knit in Rowan Denim by Deborah Cooke
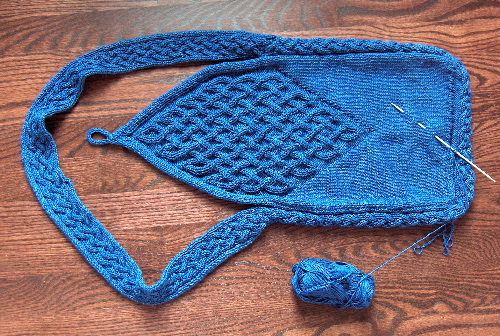
You can see that I finished the flap. I had increased the cables to the top of the bag, then worked a couple of repeats in the full width to come across the top of the bag, then decreased down to the point.

Then I started with applied I-cord. As much as I love the look of applied I-cord, it’s pretty boring to knit, and invariably, you need a lot of it. It’s not good TV knitting, either, because you have to keep looking to pick up that stitch. I feel as if I’ve knit a couple of kilometers of it so far! It kind of disappears, but does give the edge a better appearance – if you look at the handle, at about 7 or 8 o’clock, you can see the difference between the two edges.

I’ve done all around the other side and around the flap – the button loop is I-cord that isn’t applied – and need to continue around the bag and the one edge of the strap. The I-cord does cover up the picked up stitches nicely across the lower edge of the bag – you can compare and contrast here, between the part with the I-cord and the part I still need to do.

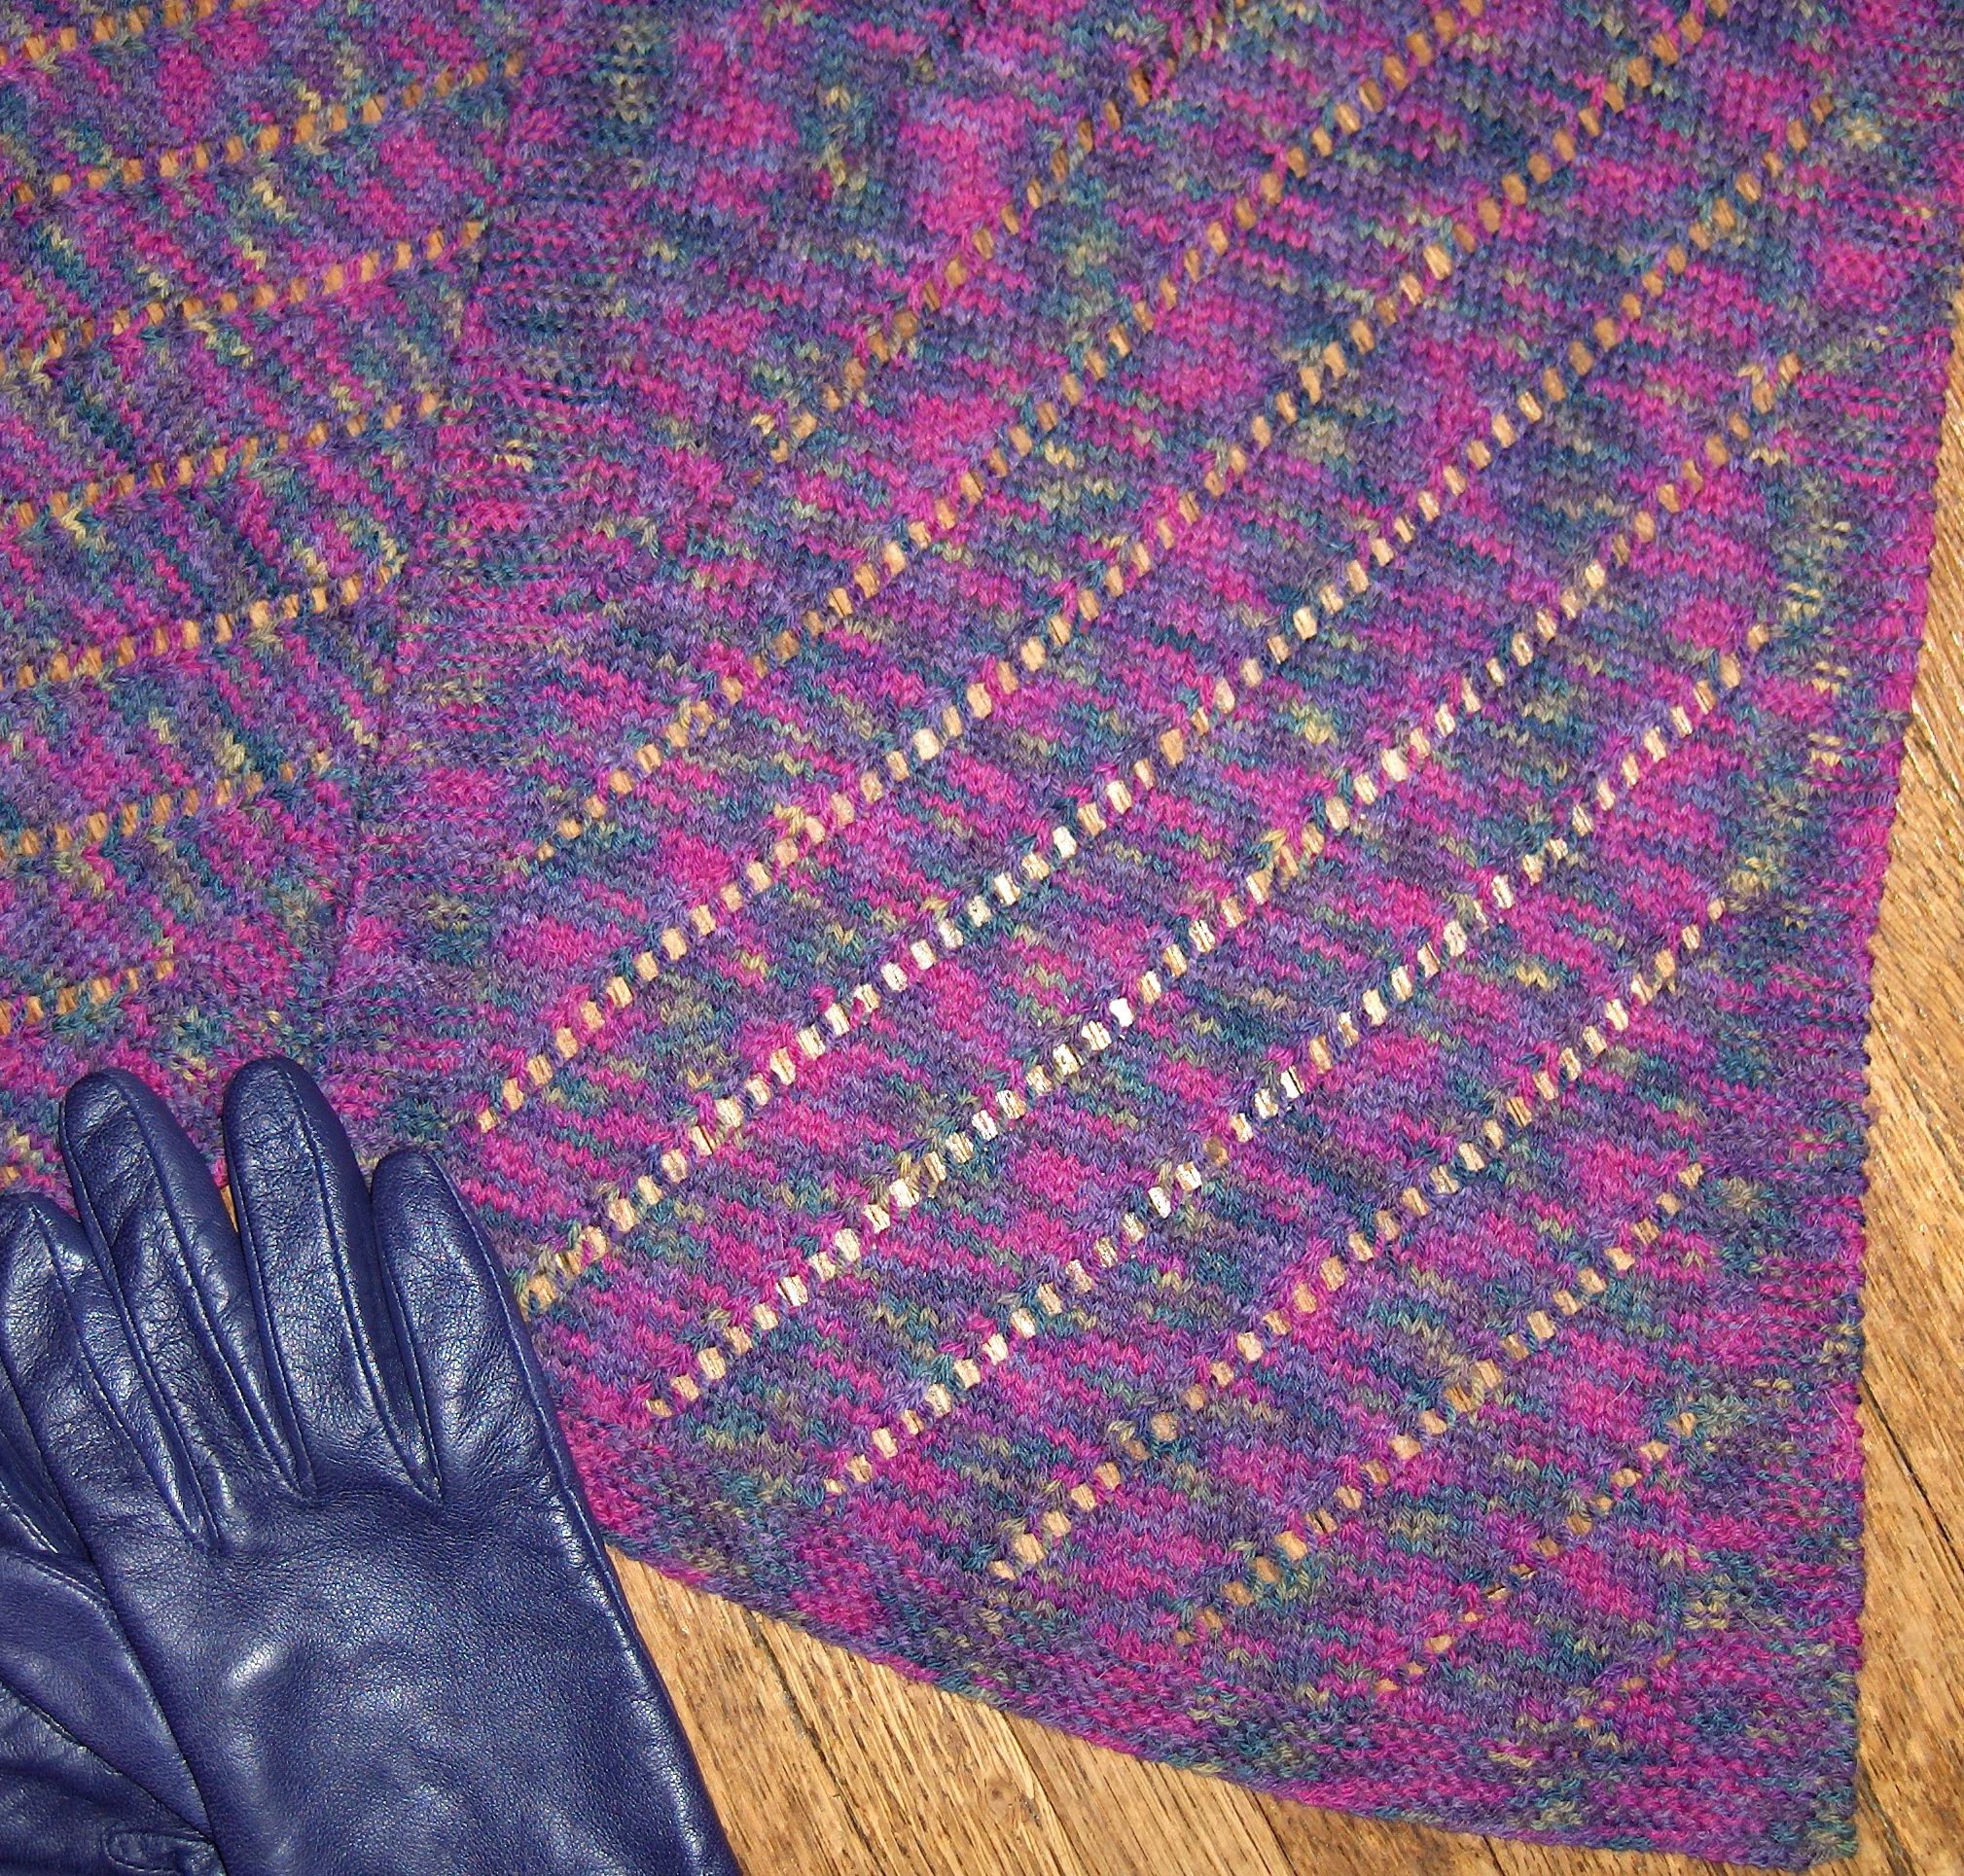
I also found some zingy lining fabric in the remnant bin, a Madras cotton stripe in hot pink and denim blue which might be a Kaffe Fassett fabric. As those are distributed by Rowan, it seems appropriate. I like it either way.

All I need to find now is a great button.

Rowan Denim is said to shrink quite a bit in the length when it’s blocked/washed – just the way jeans used to – so I’m curious to see what happens when I wash this. It wouldn’t break my heart if the fabric was a bit stiffer. I washed the lining already, so everything will be pre-shrunk by the time it gets joined together.

Plus the additional feet for my Weekend Getaway Satchel arrived this week, so I’ll finally be able to finish that. It looks really good – what a fun project. A lot of hours of work but none of it was too hard, and the felting was fun. If you follow this link to Interweave, it will show you all of the patterns in the Fall 2005 issue – the Weekend Getaway Satchel is about a third of the way down the page. Of course, mine is a bit different – why make it the same as everyone else’s?!

Cabled Denim Bag 2

I started that bag last week and it’s coming along really well. I finished the body of the bag and did the casting off bits I told you about. Pix next – sorry they blurred a little bit, but I needed to take them without the flash to show the cables.

Right now I’m finishing the flap. I’m going to shape it to a point, so the cabled part will be diamond-shaped – the flap should end about halfway down the front.

Cable Bag knit in Rowan Denim by Deborah CookeOn the other side, it’s easier to see the construction. The front has been cast off and the cabled handle is on waste yarn on either side. I’ll finish the handle after the flap.

Cable Bag knit in Rowan Denim by Deborah CookeYou can see that the front hem is rolling, as stockinette is inclined to do. I’m going to do some applied I-cord all the way around the opening, to stabilize this edge and also finish the flap edge.

This has been one of those lucky projects. I’ve been pretty much winging it, but the counts have come out beautifully – for example, I have four purl stitches on the each side of the cable work on the back/flap. When I had increased the cable pattern to its largest width, there were four knit stitches left on either side. Just like I’d planned it!

Plus I found a wonderful new book for cables – it’s called CONTINUOUS CABLES by Melissa Leapman. This diamond cable isn’t from the book exactly, but after reading her explanation of how cables work, I was able to make it up.

It took 3 balls of the Rowan Denim to finish the body and I’m into the fourth one now. It looks as if I’ll have enough with the 6 – I’d like to do applied I-cord on each side of the handle and around the bottom of the bag, but that might have to happen in a contrasting colour. The RD is supposed to shrink in blocking/washing, and I hope it stiffens up a bit too. Right now, it’s droopy and soft, like old jeans, and doesn’t feel as if it’ll wear that well in a purse.

Which means it also needs to be lined. Maybe this is one of those little projects that keeps getting bigger!

(P.S. – I sewed up that seam before taking the pictures.)

Modifying the Slippery Slope Scarf

The Slippery Slope Scarf by Deborah Cooke knitted by Deborah CookeThis post includes some suggestions for modifying the Slippery Slope Scarf pattern.

Knitters call their modifications “mods”. They may be modern or moderate or not. They certainly are changes to the basic pattern – and the variations are always infinite.

1/ Make a cleaner lead edge.

When you’re knitting a garter stitch border like this one, you can make the long edges neater by slipping the first stitch on each row. Knitters can have long debates about the relative merit of slipping purl-wise (inserting the needle as if to purl, then slipping the stitch) or slipping knit-wise (inserting the needle as if to knit, then slipping the stitch) but the most important thing is to be consistent. Slip whichever way you prefer. You’d start each row with Slip 1, K7 instead of just K8.

2/ Beads are easy to add into lace.

The easiest way to add beads is with the crochet-hook method. Essentially, you add a bead wherever you want one, by picking up the stitch before you knit it and putting a bead on it. Then you put the stitch back on the left needle, and knit (or purl) the stitch. The bead gets locked in, on the row beneath the one you just worked.

First you need beads. You’ll need beads that can slide over a double thickness of your yarn.

Then you need a crochet hook, one that grips your yarn yet also fits through the hole in the bead with the yarn on it.

Then you need to decide where to put the beads. With the crochet hook method, the beads slide down to nestle on the stitch on the row below. Because of this, I always add these beads when I’m purling back on the wrong side row. As a bonus, I don’t need to pay attention to the pattern when I’m purling, so I can pay attention to the beads.

There are lots of places you could put beads on the Slippery Slope Scarf/Stole. You could put them above each k2tog and make a diagonal line of beads. It would get heavy, though, so you might want to do alternate rows or even every third row.

You could put beads all around the perimeter of the pattern stitches. Place beads on the first and last stitches of the stockinette central pattern panel, on every second row. Just to balance things out, put beads on every second stitch on either end of the scarf.

Or, you could commit random acts of beadness. Put one bead somewhere on every second 4th row. (That’s every second purl row.) Go crazy and put two beads on one row every once in a while. You’ll get a night sky starry thing going on.

3/ Making a wider border.

You could knit 12 rows or even 16 rows of garter stitch at either end. I’m doing that on my stole, because it’s wider and I think the bigger end border balances it better.

4/ Knitting the border in a contrasting colour.

Just for fun, you could knit the garter stitch borders in another colour. Cast on with your border colour, knit the first 8 rows, then on the first row of the pattern, use that thread for the first K8. Join the yarn you’re using for the pattern stitch, then join another ball of the border colour for that last K8. Knit the length, then bind off both the colour for the pattern and one of the balls of border colour before knitting the last border with the last border colour ball. Easy. It would look really striking to border a hand-painted yarn with a coordinating solid.

5/ Adding a fringe.

I’m not a fringey chic but maybe you are. If so, go for it.

You could even put beads in your fringe.

6/ Making stripes.

You could use two or even three colours of yarn and work the pattern – for example – through once in one colour, then change to the next. Or you could work two rows – knit and purl back – in each colour, alternating them out.

7/ Knitting on larger needles.

If you knit on larger needles, the holes will be bigger and the fabric will be looser. You might like it better. You’ll also need more yarn to do as the same number of rows.

My other proposed mods are bigger, and justify being patterns in themselves. Look for them in the next few weeks. (I need to knit a bit faster to be able to show you what I mean!