When you need a quick project, a doll garment can provide that almost-instant gratification – and a free pattern from Sticka-till-Barbie might be just the thing.
Here’s the Internet Archive backup of the Sticka till Barbie patterns. There is no longer the option of downloading individual patterns at the Wayback Machine, but the Internet Archive offers a zip file of the entire catalogue. I’d grab it now.
This is a straight dress knitted top down with ribbing at the waist. The original pattern is seamed down the back, but I joined the cast-on stitches in the round.
I think they allowed two stitches for the CB seam, as the first dress was a bit broad in the back for Barbie (who is bigger in the front than the back). I knit that first dress, then modified the pattern and knit the second. I liked it much better so I frogged the first and reknit it following the modified instructions.
This one fits vintage B best. The yarn is Koigu KPPPM and it used 10g on 2mm needles.
My modifications: Instead of casting on 52 and knitting flat, I cast on 50 and knit in the round.
Row 1 in the pattern says: K9, cast off 8, K7, k2tog, K2tog, K7, cast of 8, K9 (34 sts)
My revised Row 1 is: K7, cast off 8, K20, cast off 8, K7 (32 sts)
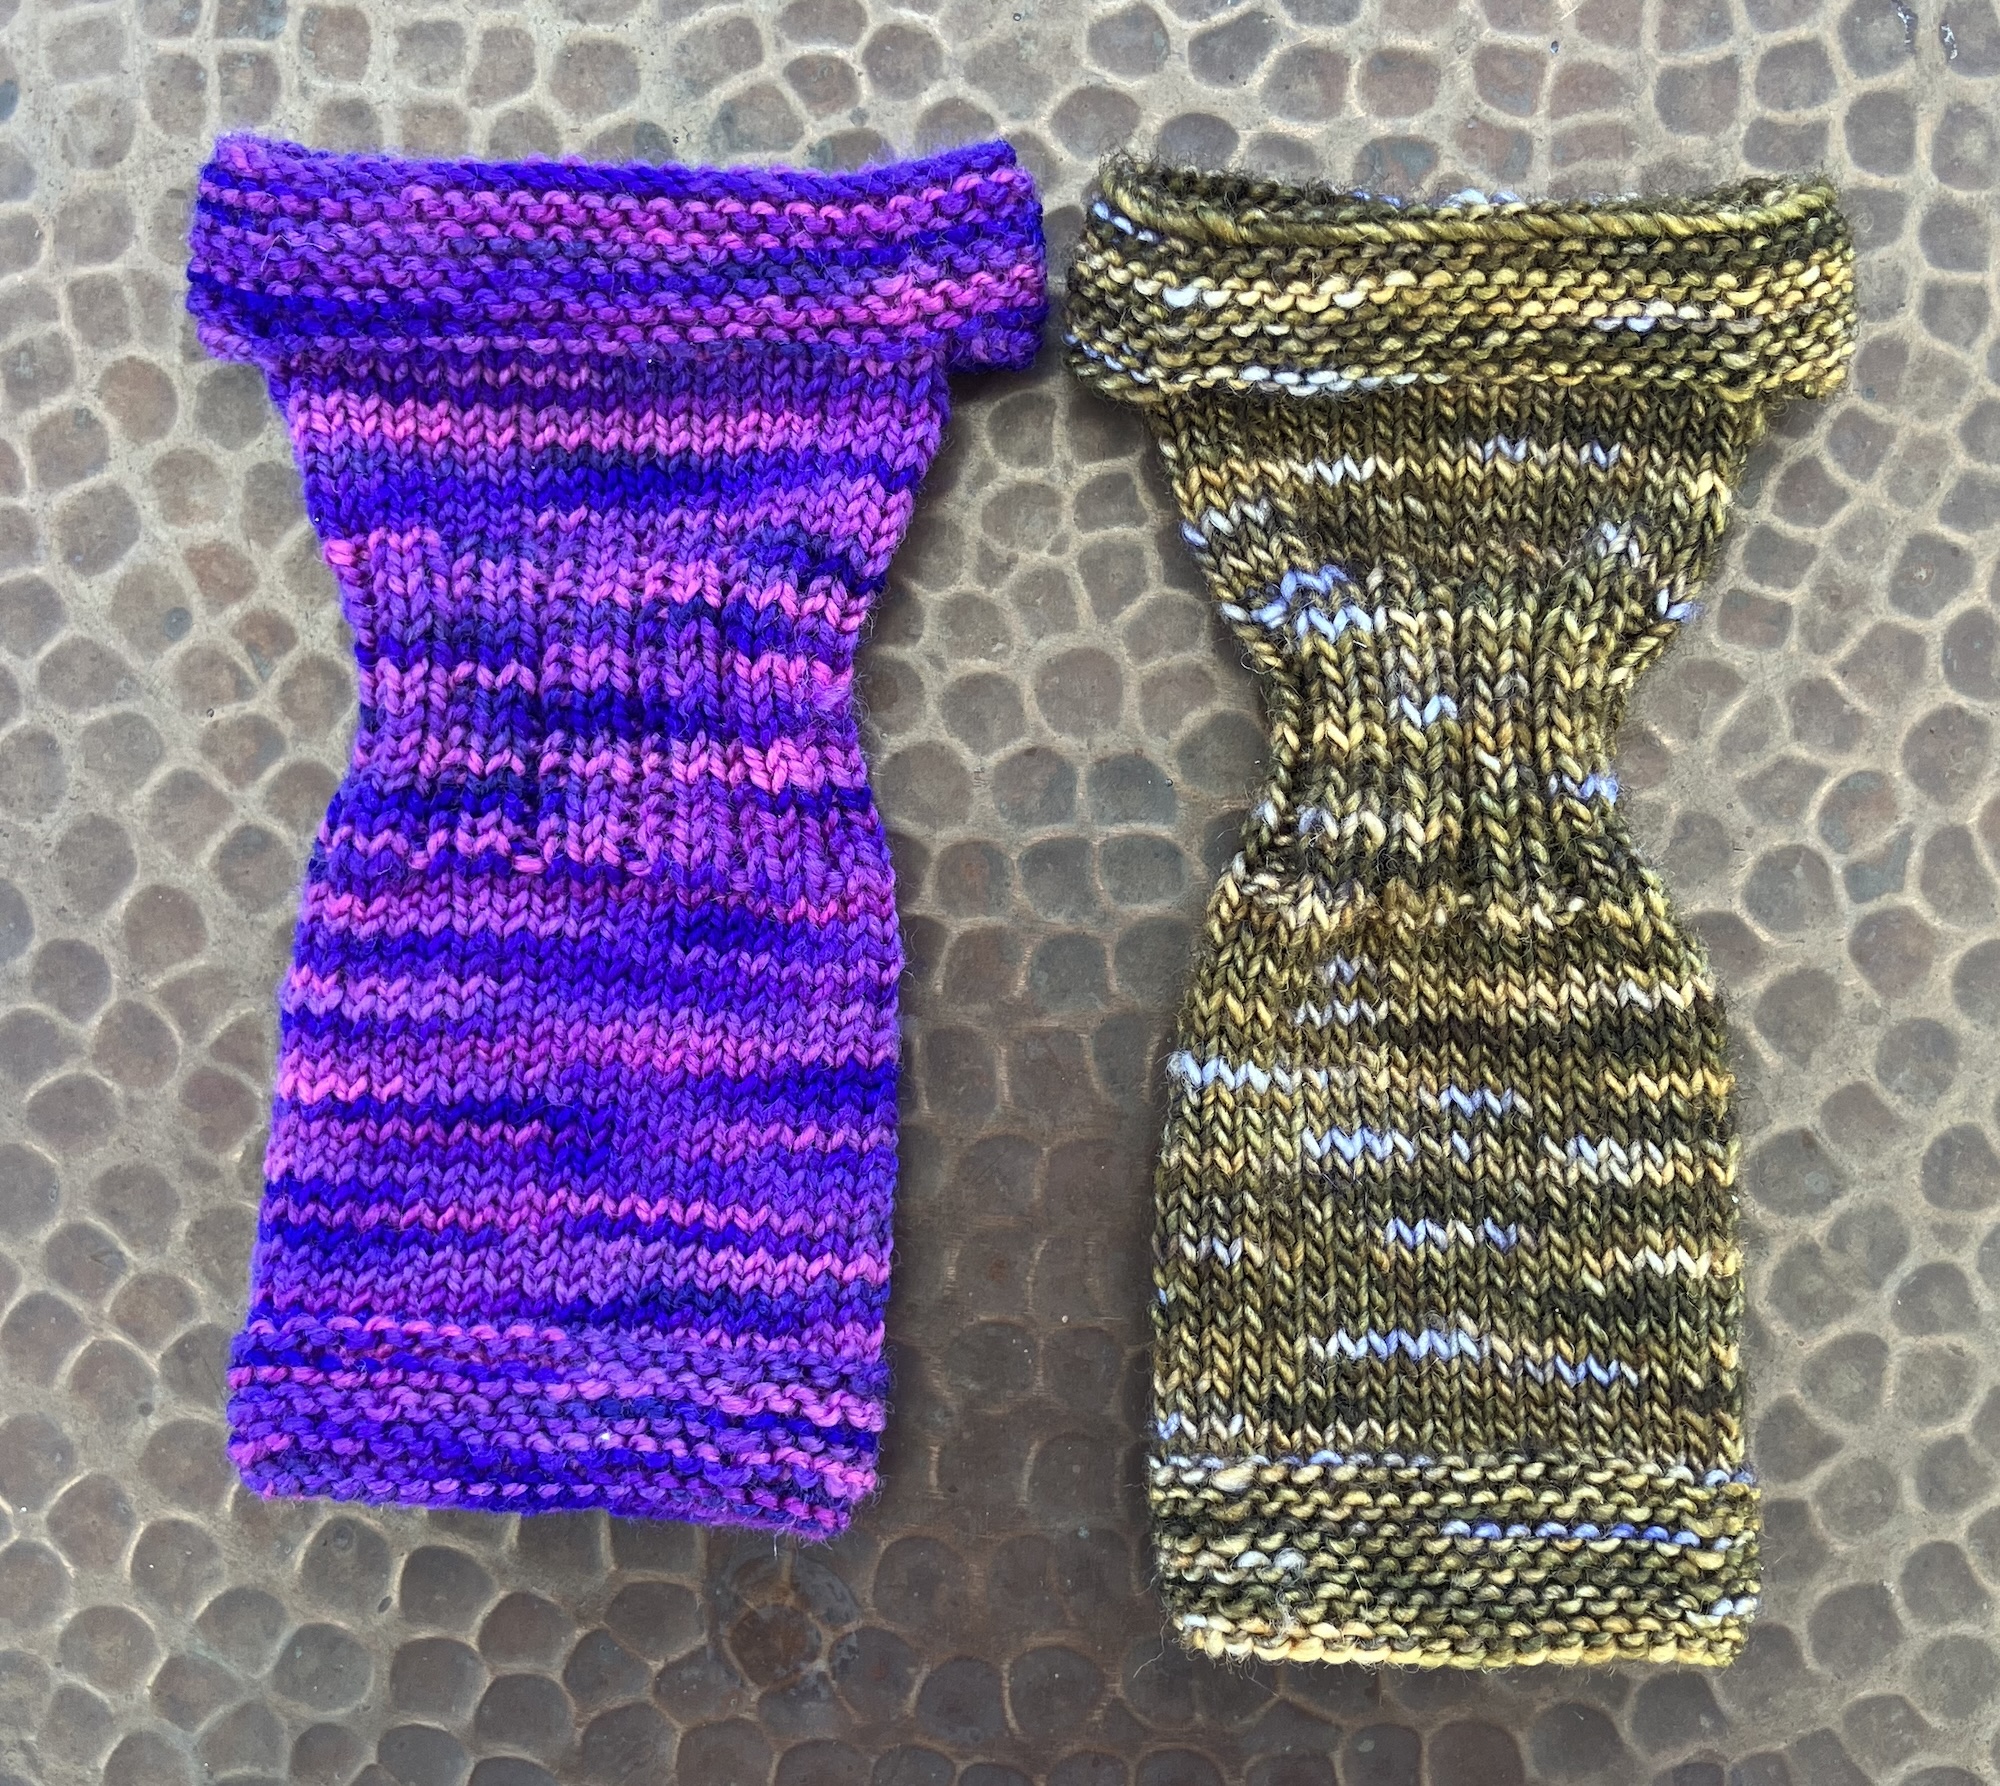
I tried the dress on my skinnier girl and it was too big, especially in the shoulders. I could have diminished the stitch counts again, but remembered the differing results I had with different yarns when knitting sweaters for the girls. Mad Tosh Merino Light is still a fingering yarn, but it’s much thinner than Koigu KPPPM – Koigu KPPPM has 160m per 50g, or 320 m per 100g, while MadTosh Merino Light has 384 m in 100g. It’s thinner.
I followed the same instructions and used the same needles, and look at the size difference:
Purple is Koigu KPPPM and the brown is MadTosh Merino Light. I may have added a row or two more to the length, but it’s amazing how much skinnier the second dress is. (It also took 10g of yarn.)
And here’s the brown dress on a MTM Barbie with the regular body sculpt:
She’s the 2025 Barbie Basics #2, and yes, her hair does have a bit of a violet cast to it. Here she is for sale at the big river. (Interesting that it notes this product is often returned. All of the boxes on my 2025 Barbie Basics dolls were damaged. The dolls were fine, but for those who keep their dolls boxed, that would be an unacceptable situation.)
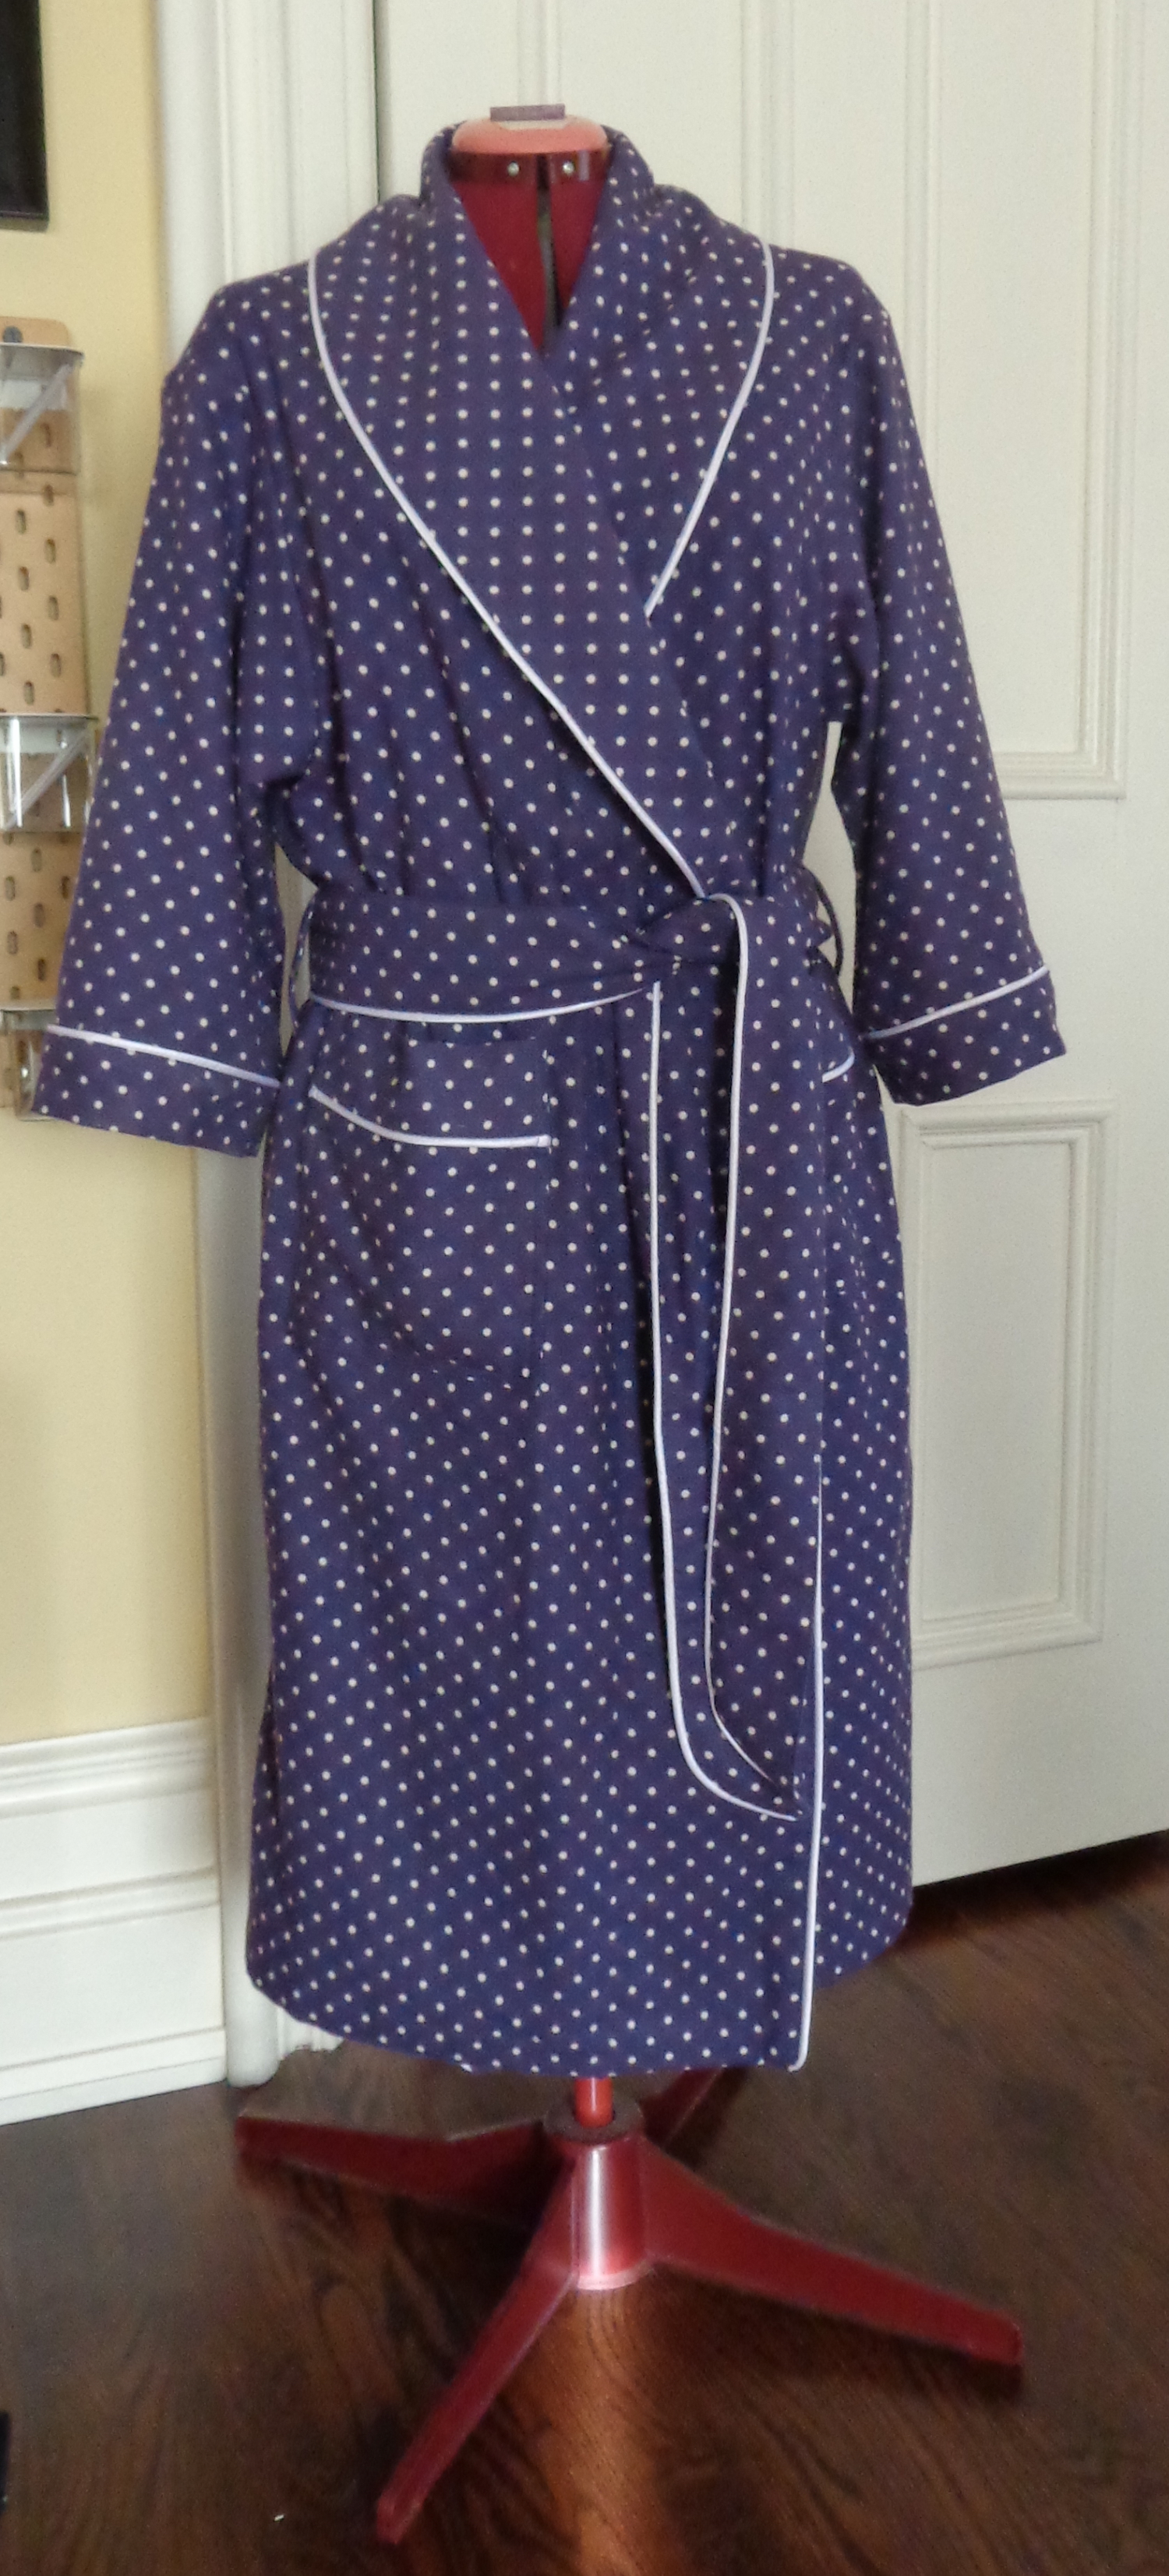
Butterick 5537 is a unisex pattern for a robe and pajamas. I needed a flannel robe and like the shawl collar on this one, so I gave it a try.
It gave me a Eureka moment so I’ll just skip right to that. I’ve only made one unisex pattern before. It was a Hawaiian style shirt and didn’t fit me well. I remembered it when I’d cut this robe because I had a similar result.
Mr. Math is 6’2″. I’m 5’5″. He has a 40″ chest and I have a 39″ bust. No matter whether I was making this robe for him or for me, I’d cut a Medium (which I did). But which of us will it fit? It can’t possibly fit both of us well and it doesn’t. This isn’t really a unisex pattern – it’s been drafted for a man. It fits the mister perfectly and the details are proportionate. I, on the other hand, was overwhelmed by fabric. So, if you’re a woman who is buxom or who has broad shoulders, a broad back, is tall, or wants a robe that is longer than mid-calf, this pattern might work for you right out of the envelope. If you’re a shorter, pear-shaped woman with narrow shoulders, who chose a pattern for a mid-calf length robe because you actually wanted a mid-calf length robe, then you (like me!) will have some modifications to make.
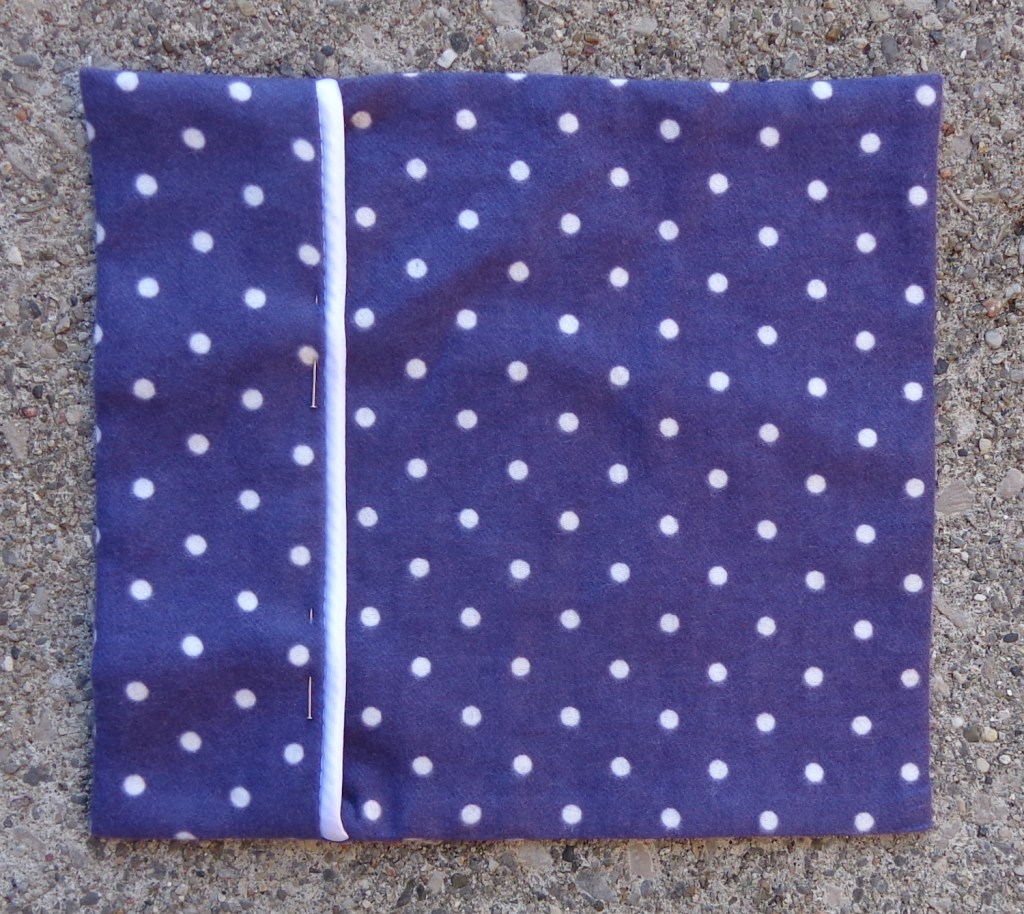
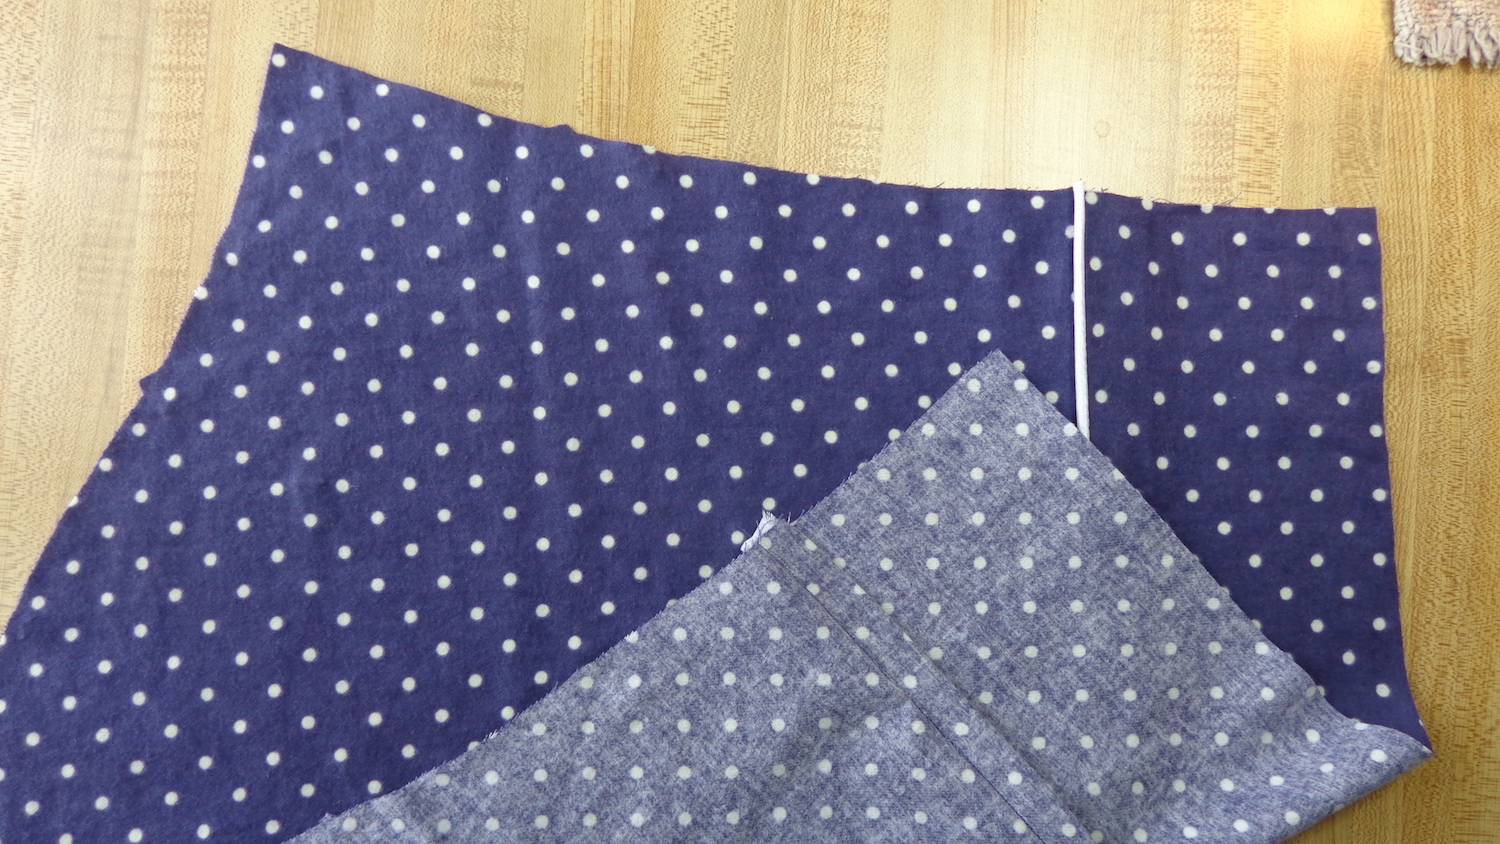
I bought a purple 100% cotton flannel with white polka dots (115cm wide) at Fabricland. The design is printed, and (as is so often the case) it’s printed off-grain – this made it a bit of a challenge to match the pockets but I did my best. I added some satin piping in white, as well. Since this robe is going to be washed, I pre-washed both the flannel and the piping (put it in a pillowcase or lingerie bag in the washer), so there won’t be any surprises later. I used a fusible knit interfacing for the collar facing and also interfaced the belt.
Here’s my finished robe, so you don’t lose hope reading about my modifications!
The surprises were in the dimensions of the garment: it was absolutely enormous for me. When I seamed the shoulders, thought “wowza” and tried on the unfinished robe, the bottom edge was on the ground. There was no way it would hem to mid-calf as in the illustration. I cut six inches off the hems right away and began to modify. The pocket placement was far too low – sadly, I sewed them on before having my “wowza” moment, so I got to pick them off again. I could only put my fingertips in the pockets – and the pockets were proportionately too big, IMO. The armscye is closer to my waist, so naturally, the placement of the belt loops is too low. The sleeves are similarly long and wide – I knew at that point I’d have to cut at least 4″ off them. At this point, I abandoned the directions and began to make modifications each step of the way.
I had already decided to fell the seams wherever possible, since that finishing will ensure it wears better. I picked off the pockets and put them aside, working on the collar first. I felled the shoulder seams, added the piping to the outside edge of the collar, then sewed the facing to the fronts along the outside edge but stopped about 6″ from the bottom edge. Then I sewed the side seams and felled them, then I turned up a two-inch hem (one inch rolled twice) and ironed it in place. With this done, I could fold under the hems at the front edge and finish that seam. Then I sewed the hem. Once turned and pressed, I top-stitched the outer edge of the collar near the piping to make that edge crisp.
The facing on the collar was supposed to be slip-stitched in place over the shoulder seams, which didn’t make sense to me. I pressed mine, but before sewing it in, I added a loop at the center back to hang the robe on a bathroom hook, and a label, just because. 🙂 I then pinned and sewed the collar facing down, from one hem, all the way around to the other. Phew!
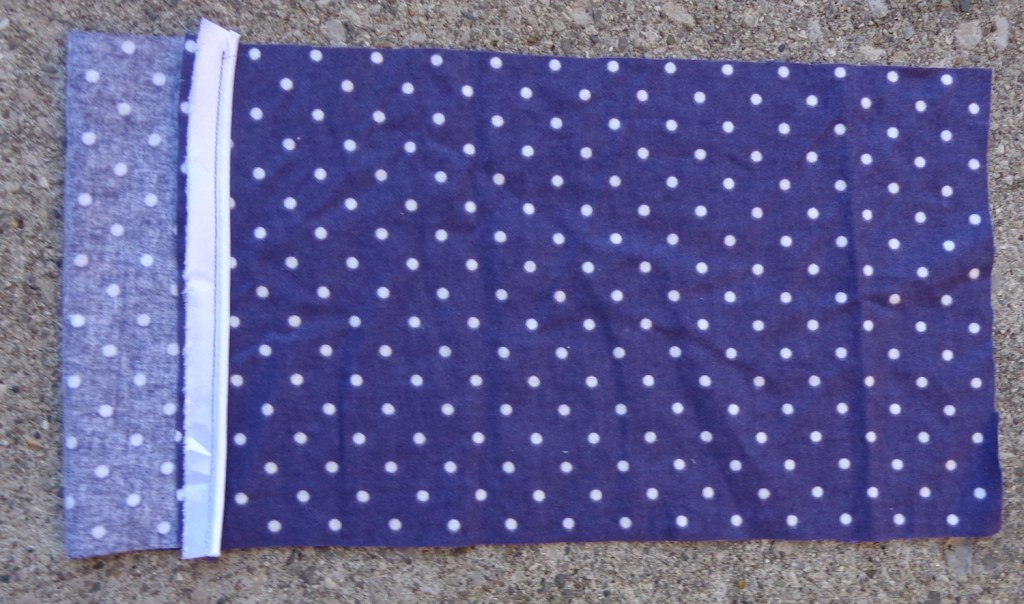
On to the pockets. (If you place them sooner, you might inadvertently catch them when sewing down that collar facing.) I made a modification to the pockets since I had to do them again anyway. I wanted the piping to run across each one, like a cuff, and thought it would be better for the pockets to be lined so there’d be no raw edges inside. I cut two pockets, each 8″ by 18″. I sewed the piping on one 8″ edge, and pressed the seam allowance to the inside. In these pictures, the top of the pocket is at the left and the bottom on the right. (They look off-square partly because I’m bad at holding the camera level.)
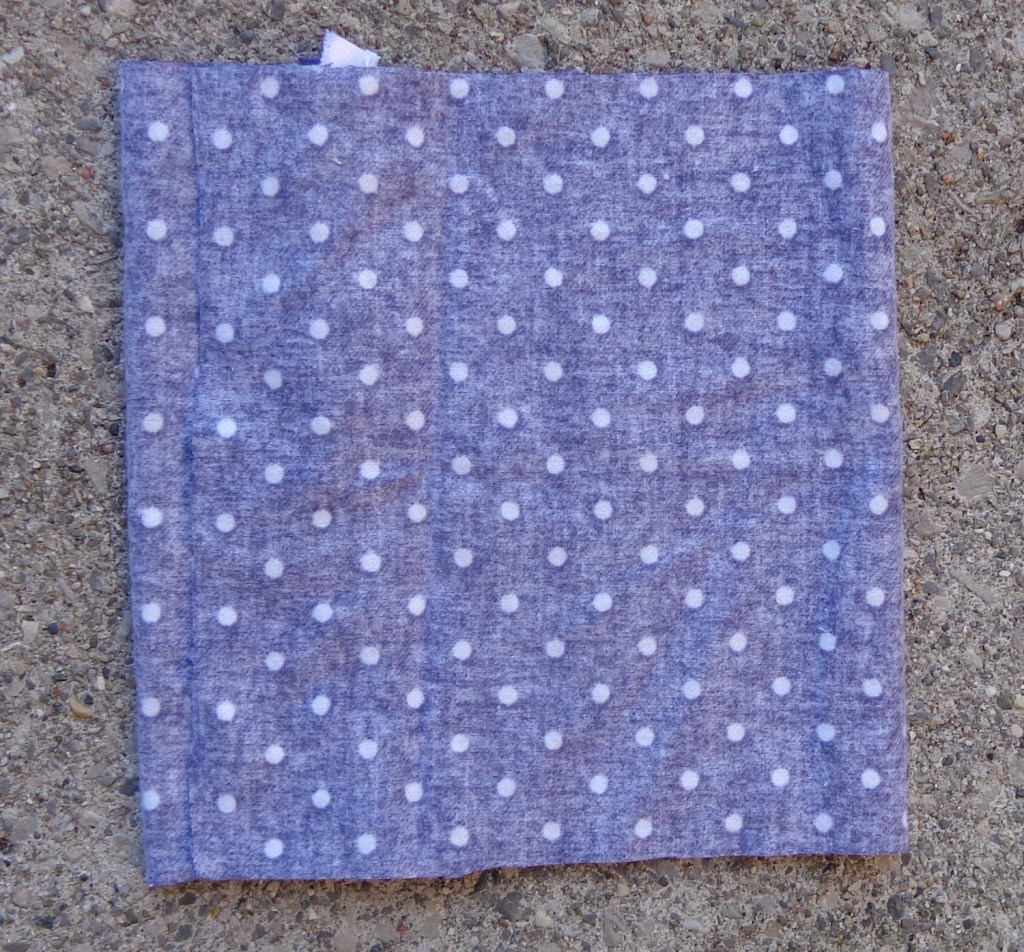
Next, I turned it over and folded the “cuff” to the inside, right sides together – mine is 2.25″ from the fold to the outer edge of the piping.
I folded the length of the pocket over this, so that the depth of the pocket was 8″. This created an overlap at the cuff end. See the raw edge at the left?
I sewed the sides of the pocket with 1/4″ seam allowances – in these pictures, those are the top and bottom edges – then turned the pocket through the cuff. This is is before it was pressed: I then top-stitched along the edge of the piping to close the opening forever, leaving a nice lined pocket.
I tried on the robe and positioned the pockets after I’d sewn down the collar facing, then edge-stitched and top-stitched them in place. I couldn’t match them perfectly because of that off-grain thing – also, I had to cut them crosswise instead of lengthwise out of the leftover fabric. If I’d shortened the robe in the first place, there would have been lots of fabric to cut them lengthwise. It turned out that the placement line closest to the center front was good, but my pockets are 4″ higher than the pattern specifies. They are too high, but they’re staying put—I should have only moved them up 2″
The sleeves were my next challenge. I knew they were too long, so pinned one in and tried on the robe. I marked a hem, took off the robe to pin it all the way across the sleeve, then tried it on to verify the position again. I pinned for a bracelet-length sleeve, so the cuff (which is wide on me) doesn’t slide through my breakfast. I had 11″ of fabric folded back for the hem, but I didn’t cut it yet. I wanted a piped cuff like the one on the pockets. I marked two inches above the pinned hemline, then removed those pins. (They were about to become incorrect.) Then I sewed a piece of piping across that line, piping cord toward the shoulder.
I pressed and folded up the hem to encase the raw edges of the piping and sewed again.
I pressed that seam allowance down toward the cuff, then cut the sleeve 4.5″ from the piping. There was over 7″ of excess that had to go away.
Next I sewed the sleeve seam and felled it.
I pressed under 1/2″ on the cuff, then pressed it up 2″. This makes a cuff with that seam allowance from the piping trapped inside. (Ha.) If I did this again, I’d fell the seam first and do the cuff in the round afterward. That would simplify the bulkiness of the two ends of piping coming together at the same place. Here’s one sleeve inside-out, and one turned the right way.
I then pinned the sleeves into the robe and sewed them in place, trimming back the seam allowance. Since I was all-in at this point, I cut some bias binding from the flannel and bound those shoulder seams with it to finish them neatly.
I also put piping around the belt, and interfaced it, just to give it a bit more definition. The piping could only be on one side – I realized belatedly – since the belt folds lengthwise and is seamed in the middle. If I cut it again, I’d split the belt lengthwise and eliminate that middle seam so it could be piped all the way around.
I’m basically happy with the result but am still swimming in it, mostly because of those deep armholes and the extra fabric in the bodice. (It makes me look like a blueberry hobbit.) If I cut this pattern again, I’d take two inches out of the length between the shoulders and the bottom of the armholes – I’d just fold the pattern an inch on the front, back and collar facing. That would also mean folding two inches out of the sleeve width, one on each side of the center line. They’d still be 13″ wide, so that would be fine. That would take 2″ out of the length, so I’d cut the robe 4″ shorter than the pattern piece. (It’s rectangular, so I could just fold up the hem.)
I also think the collar is proportionately a bit wide for my size – it’s perfect on Mr. Math – but I’d probably leave that alone. I might take an inch out of the width on the fronts and the back, to make that drop shoulder extend a little less than it does now. That would mean adding an inch to my modified sleeve length.
The interesting thing is that I cut a pair of the pants from this same pattern for Mr. Math. To my surprise, they weren’t drafted for either of us – I had to add 3″ to the length for his, and would have to shorten them by at least that much for me. The inconsistency is strange.
I’ve been meaning to sew myself a corduroy jumper for a while but finally have gotten around to it. When I’m thinking about a project, I keep buying fabric for it—I have four lengths of featherweight corduroy in my stash thanks to this bit of procrastination. At least they’re different colours!
I chose the teal and McCalls 8365. I had been thinking of using the SmockE pattern from the Stylish Dress book, but went for this old McCalls pattern instead. I thought Smock E might look too much like a maternity dress in the corduroy. It’s really a generous cut and I like it better in the rayon woven than the cotton for that reason.
You can see that I paid the princely sum of 49 cents for it at a thrift store—it was uncut. I did make quite a few changes though and included the instruction sheet in the image so you could see what I mean. There are four views, all of which have the same back: there are two variations of the neckline and two lengths. The deeper neck has box pleats and the straighter neck has tucks.
The back view shows that the jumper has a zipper, which I decided was unnecessary. The cut is wide enough that it can be just pulled over my head. You can also see that the neck and armholes have facings, and that they’ve been combined into a single facing for the front and backs. I know this is going to curl etc. when washed, so I eliminated those pieces—I’ll finish the openings with bias binding.
The design is described as semi-fitted, which means up to 4″ of ease in the bust. I cut for the full 4″, since I want to wear a cotton turtleneck underneath. If I was using the pattern for a sundress, I’d cut closer to 2″ ease. I checked the length and one option was too short (38″ from back neck) and the other too long (51″ from back neck). I cut one in between (44″ – don’t forget the hem allowance!) that will be just right.
In the end, I cut the front and backs from the corduroy as well as the ties. I then found a coordinating cotton print in my stash and cut some 1.5″ wide bias strips. The fiber is the same as the corduroy (100% cotton) so both fabrics should behave the same way when washed.
I don’t want to fuss with these pleats each time the jumper is washed, so I used an old trick: once the pleats were sewn and ironed, I secured them, by sewing through all layers in the ditch of the pleat. I’m counting on this stitching line disappearing in the wales of the corduroy. With another fabric, I might have done two lines of topstitching, one on each side of the pleat, and made it a more decorative element.
I felled the seams to finish the edges. I also topstitched down one edge of each tie, to keep them from becoming tubes. I pressed a 3.5″ hem, then turned under the raw edge so that the hem was 2″. Then I finished the neck and armholes with my bias binding, topstitching it in place.
And there we go. A new jumper in an afternoon!
The photo doesn’t show the colour well. It’s actually teal.
What would I do differently? Well, I sewed the bias binding to the neck and armholes at the original seam line, which had a 5/8″ seam allowance. I didn’t trim that at the neck because I thought a wider bias facing would look nice. It doesn’t lie as flat on the curve at the front as would be ideal, because of the bulk of the corduroy. (Even featherweight.) I trimmed the seam allowance back to 3/8″ on the sleeves and it’s better. If I sewed this again, I’d trim it back to a scant 1/4″ and cut the bias binding narrower. I also would use a darker print for the binding so there wouldn’t be little glimpses of white at the edges.
If I wanted to use this as a sundress pattern – i.e. without wearing anything under it – I’d cut a smaller bodice and maybe raise the armholes. This gapes too much to wear alone, but I plan to wear a blouse or turtleneck under it, so the extra ease is a good thing.
I really like the weight of the hem and the way the jumper hangs so overall, this one is a win.