This is a bizarre – and compulsive – project, but one that I haven’t been able to avoid since I first had the idea.
Once upon a time, I found a cardigan at a thrift sale. It was $1 and handknit from wool. I couldn’t leave it behind. (This is a problem I have at thrift sales.) A year later, I went to the same sale (it’s an annual one) and found another cardigan, handknit in wool for $1. I brought it home too. It was only once I got the second one home, that I saw how similar they were. I think they were knitted by the same person.
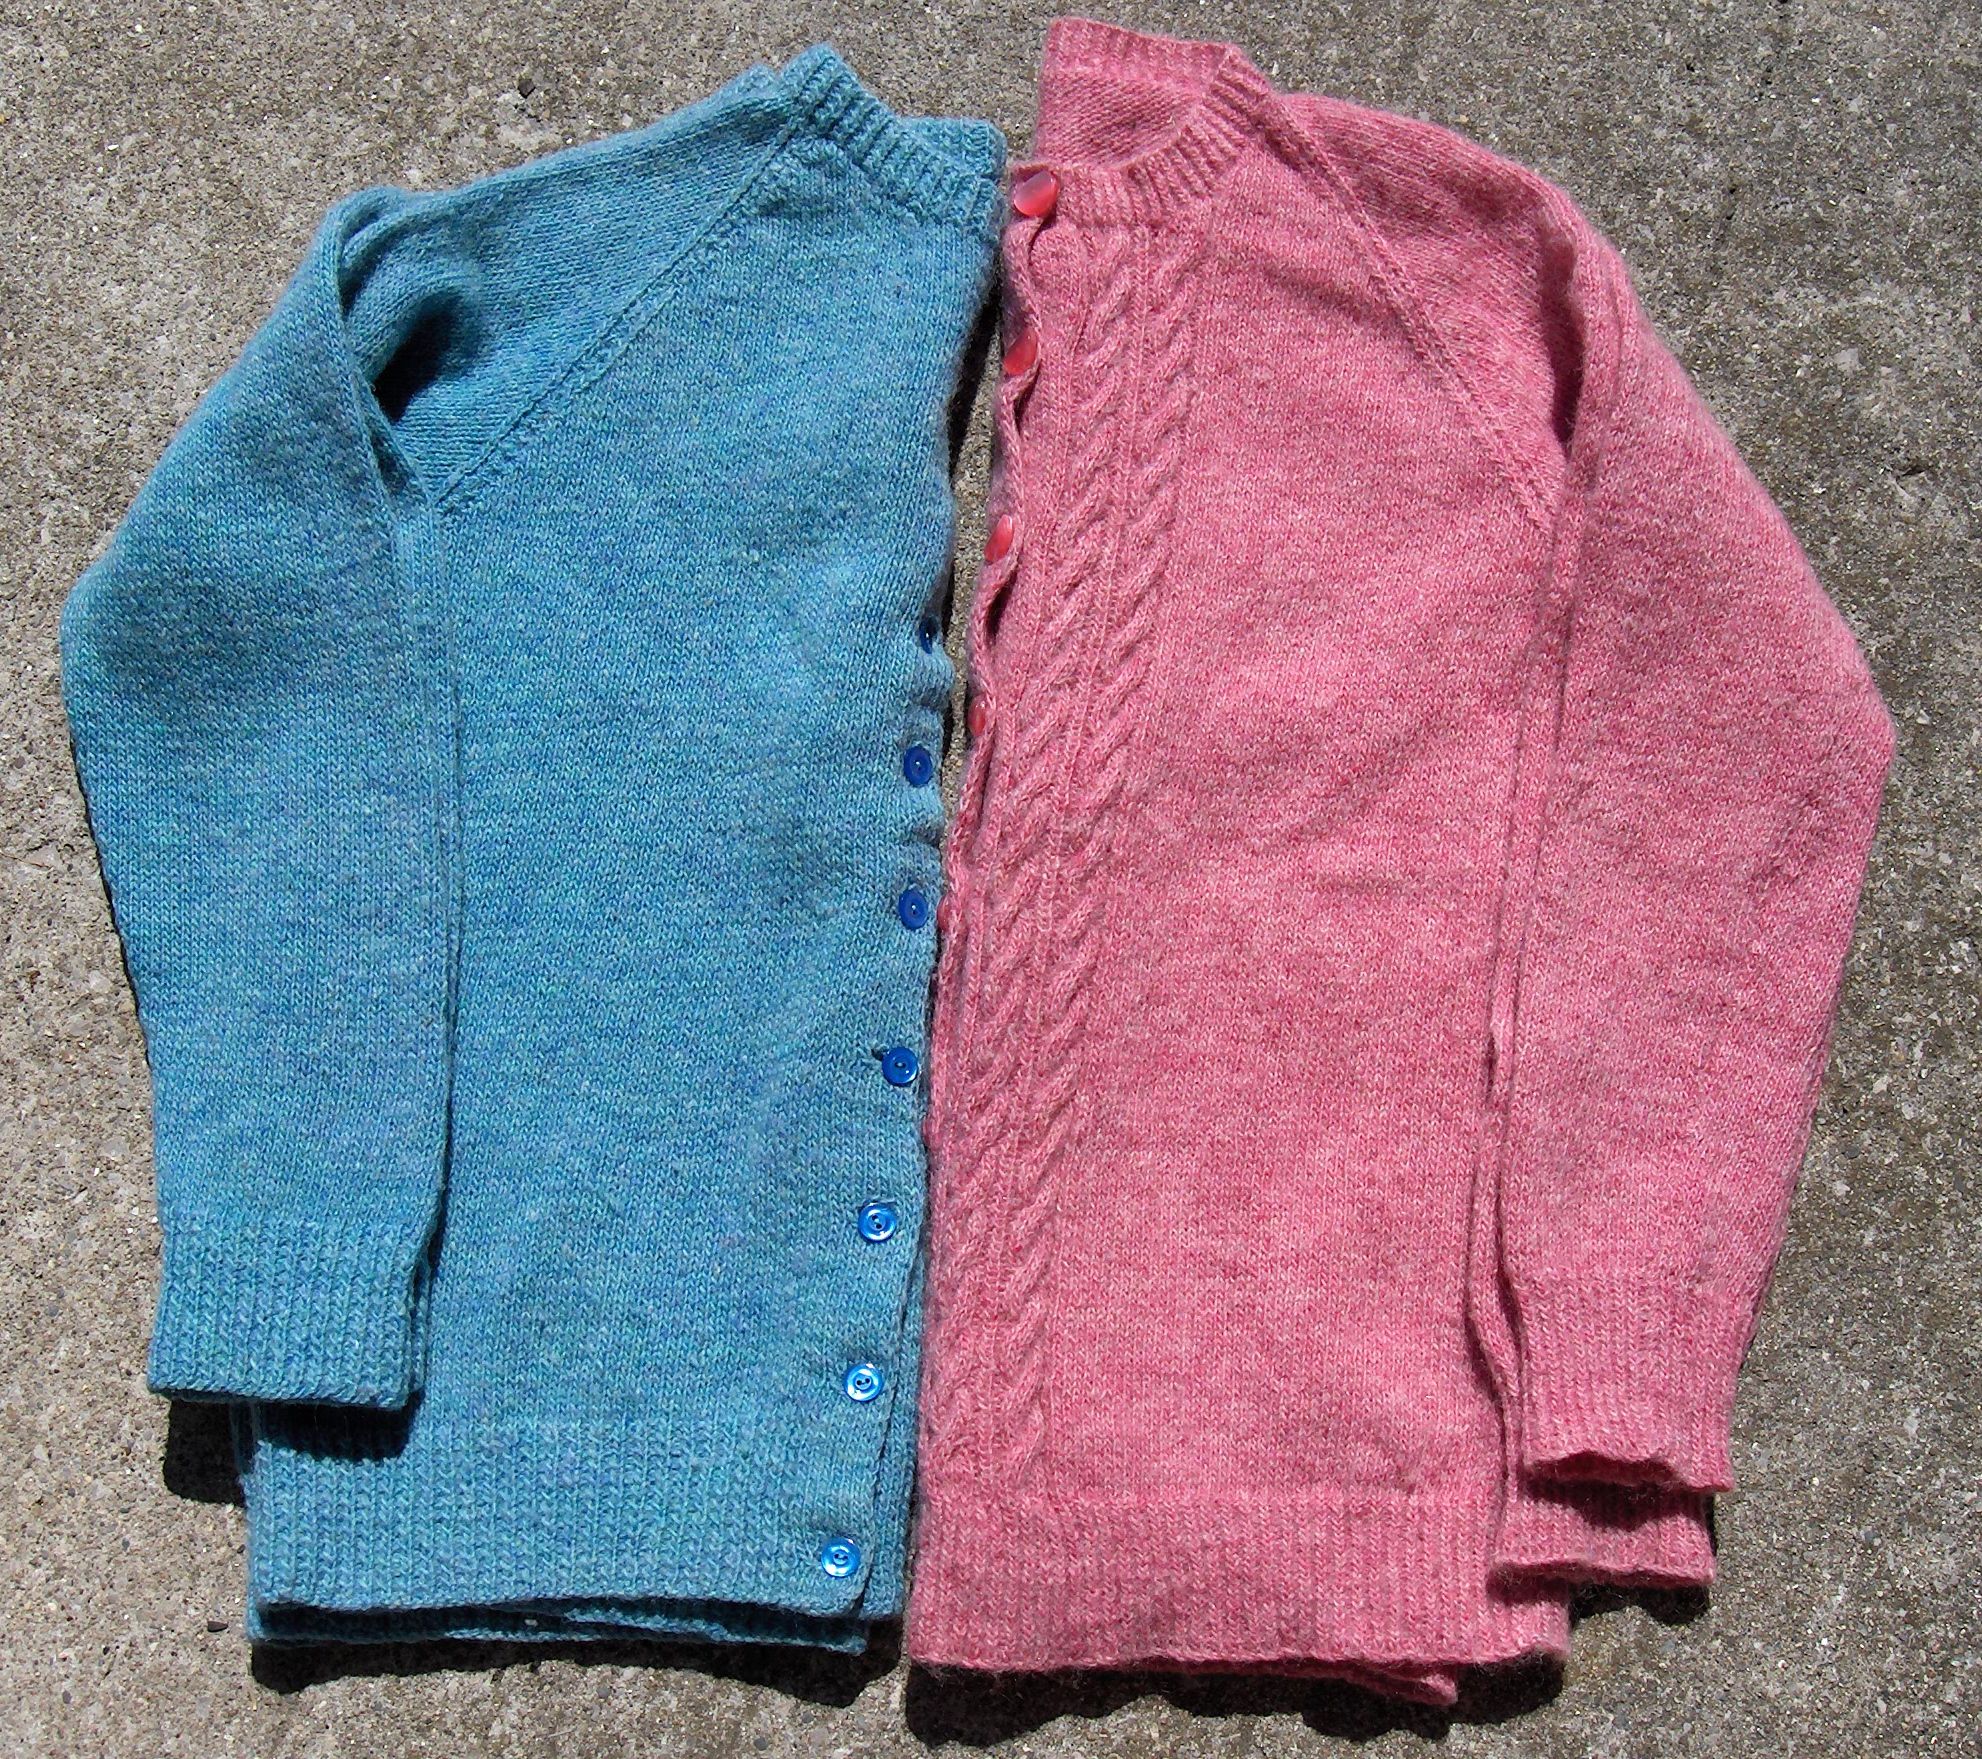
Here they are: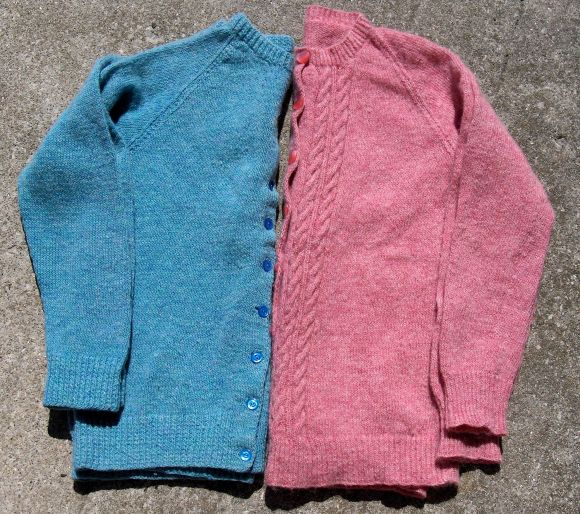 They also were unusual colours. I wondered whether the Original Knitter had dyed the wool herself, maybe with Kool-Aid or food colouring. And this gave me the idea, the one I couldn’t forget.
I love self-striping yarn, like Kauni Effektgarn. The problem is getting it to match when you make a whole sweater. Sleeves are narrower than fronts and backs. When I knit the Elrond Sweater for Mr. C., I solved much of this by making it a top-down raglan – everything matched to the underarms. The fronts and back remained one piece, so they matched all the way to the hem. I had to fiddle around to make the sleeves match each other, and they don’t match the body of the sweater.
But what if you already had a raglan knit sweater, dyed it so that the pieces matched, frogged it, then knitted a sweater from that yarn again? You would need two sweaters if you were going to knit one fair isle one, and you’d be able to make it bigger, like a jacket. This is mildly insane (it might even be more than mildly so, but I do have a biased perspective) but I was intrigued by this idea.
And so, I did it.
First, I took the pink sweater apart. This was harder than I’d expected – the yarn kept breaking when I was trying to frog the ribbing at the neck. I realized then that the yarn was a single ply, which makes it prone to both felting and breaking. (That’s when I came up with the title for this post.) Ultimately, I just cut through most of the neck ribbing, then took the sweater apart from there. I soaked the pieces in a vinegar and water bath, then started to paint.
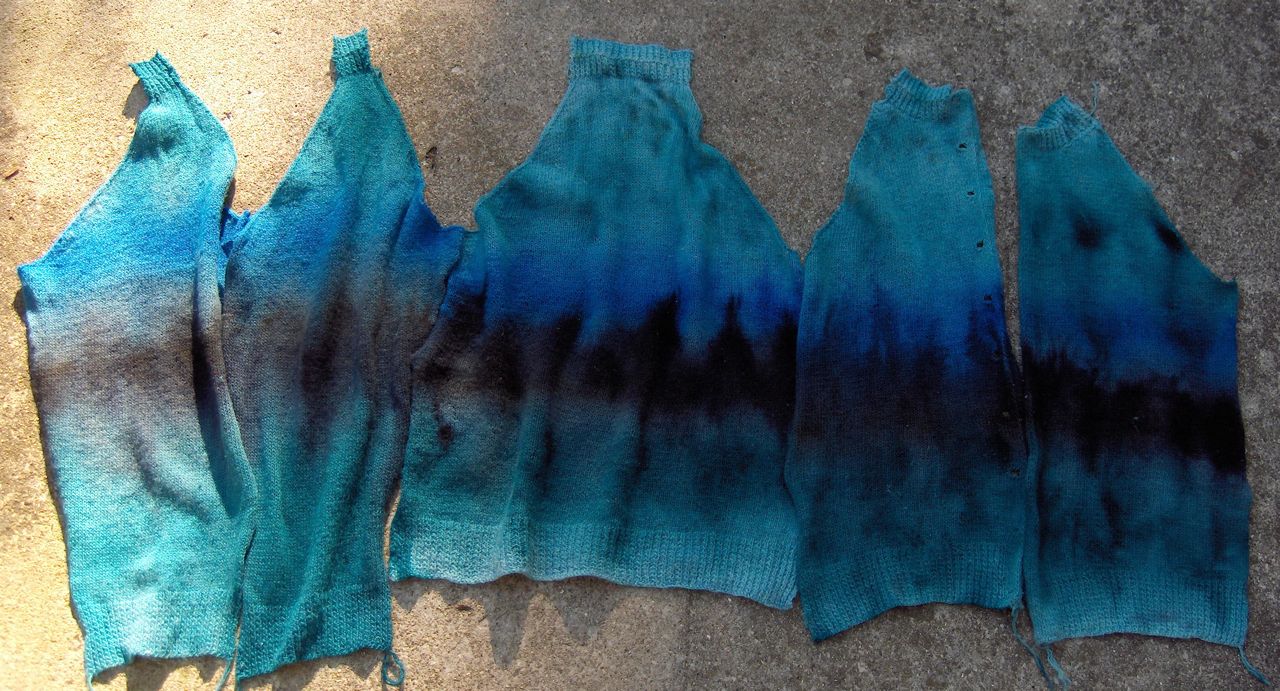
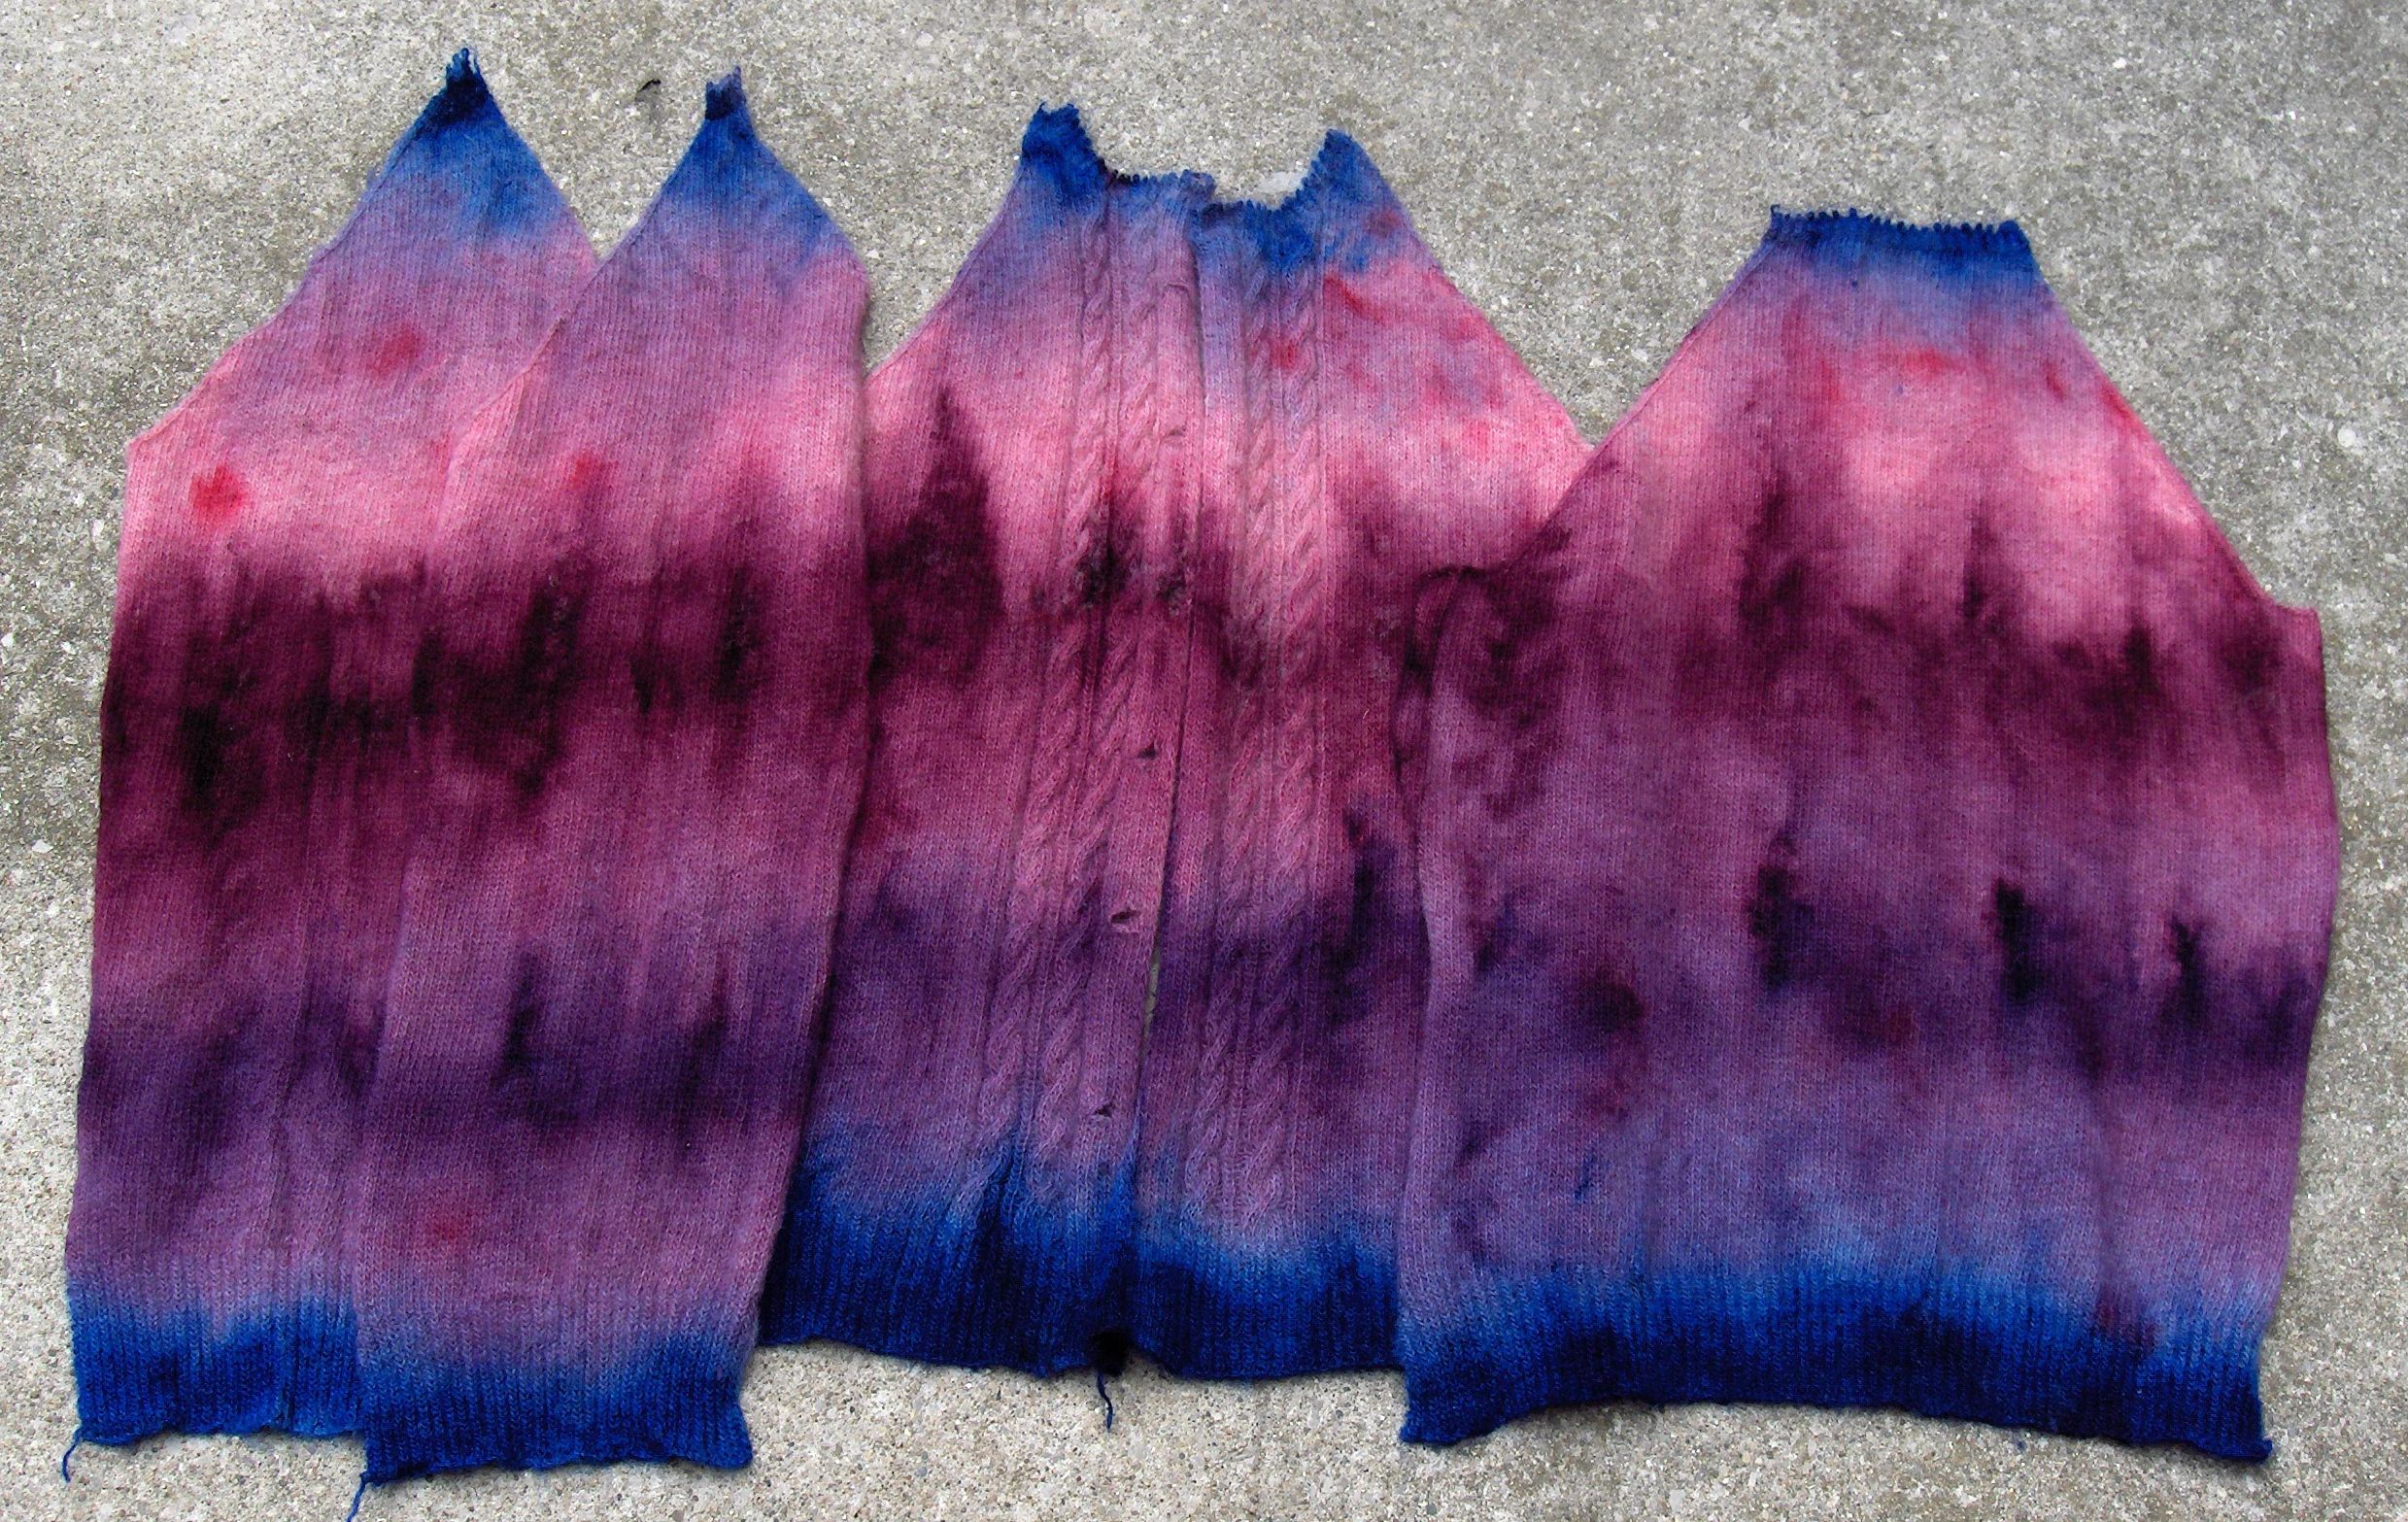
I used the acid dyes made by Jacquard, and steamed the pieces to set the colour. The sweater was pinkish, so I used Burgundy, Purple, a bit of Fire Red and some Sapphire Blue at the tops and hems. Note that there is less Sapphire Blue in the finished yarn, because there’s that bit of ribbing at the top that just got chucked. Here’s the result: My plan had been to make wide bands of colour that then blended into each other. What happened was that the colour struck very quickly, even when the dye was diluted, and it was hard to blend smoothly. This was likely because I put vinegar in the soaking bath – vinegar makes the dye adhere to the fabric/fibre. That’s why they’re called acid dyes – but I liked the effect anyhow. It turned out that the yarn had both fulled and softened in the dye process. It was really easy to frog the pieces and cake up the yarn. No splits or joins in the yarn, which leads me to believe that the Original Knitter had a cone of this stuff. Some nice construction details – she knew what she was on about.
Here’s one of the cakes, all ready to go. I labelled them so I wouldn’t get them mixed up. Next up – the green sweater. I left one front unfrogged from the pink one so I could make some attempt to line up the colours and ensure that there’s good contrast between the two shades. (And no surprise, I chose the front that has the knit-in buttonholes. Those don’t look like they’ll be fun to frog.) I’ll show you what happened with the green sweater next week.
So, what’s the craziest project you’ve ever undertaken?